Diy black wheels
D.I.Y. Black Wheels
Stage 1 (Removing old paint)
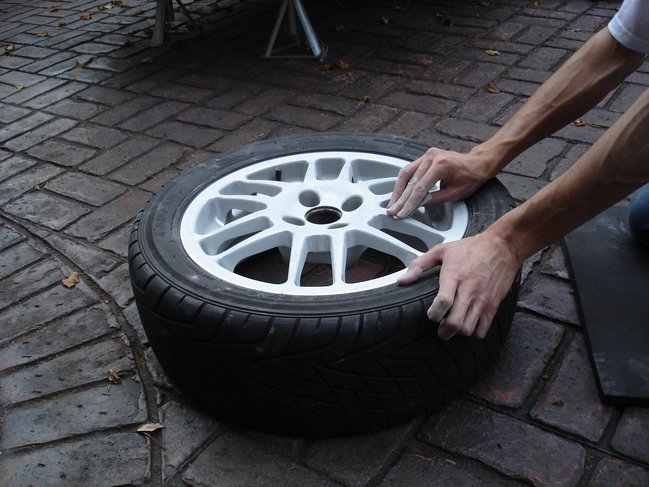
I decided that taking the tyres off the wheels would involve more hassle and cost and only worth it if planning on doing an absolutely flawless job - in which case you would not be d.i.y.ing anyway (or if the tyres were already off)
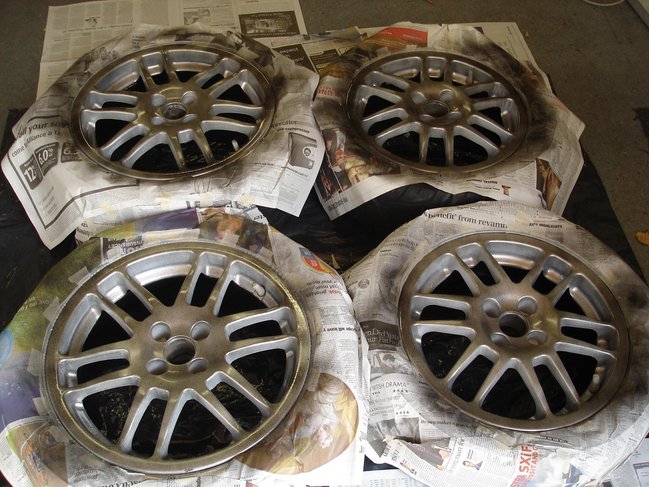
Started by sanding the paint off the wheels till only what looked like the undercoat was left, the old paint was very pitted and rough from ground in brake dust (this part took most of the time) and then cleaned them with a bit of petrol on a rag, although something like brake cleaner will do the same
Theres no going back now!
Stage 2 (Masking off the tyres)
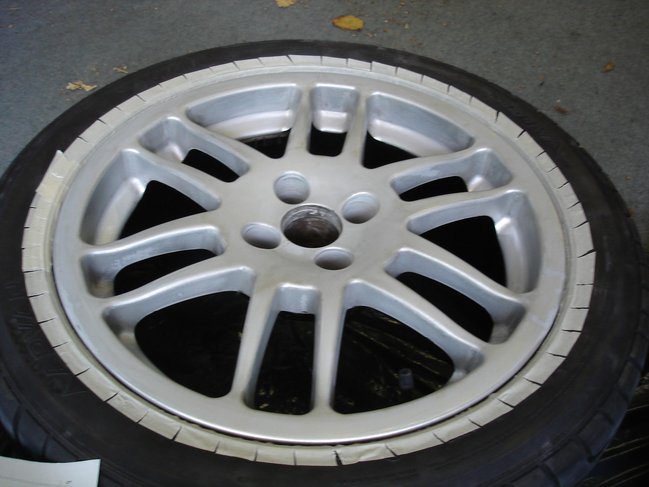
As the tyres were not coming off I needed to make sure that no paint got on them. I believe you can buy special masking tape that goes round corners but the ordinary stuff is fine - thats why I have made cuts across the tape to allow it to bend.
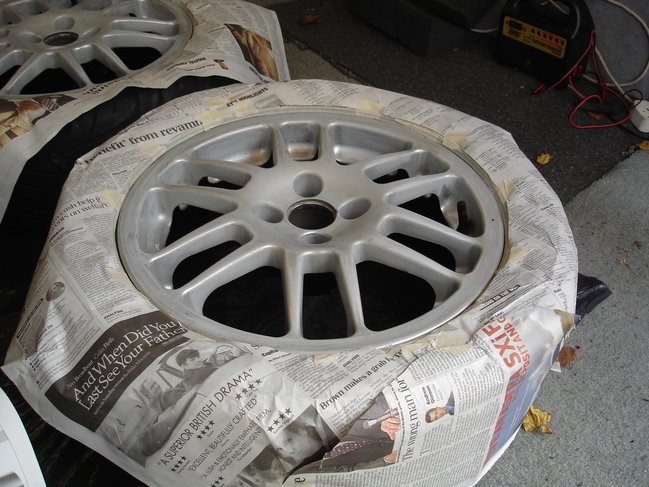
After the first stage of fine taping around the rim I placed a sheet of newspaper over the wheel and marked off a line to cut around the shape of the rim and then attached the sheet of newspaper to the masking tape put on earlier so as to cover the whole of the tyre area at risk.
Stage 3 (Applying the paint)
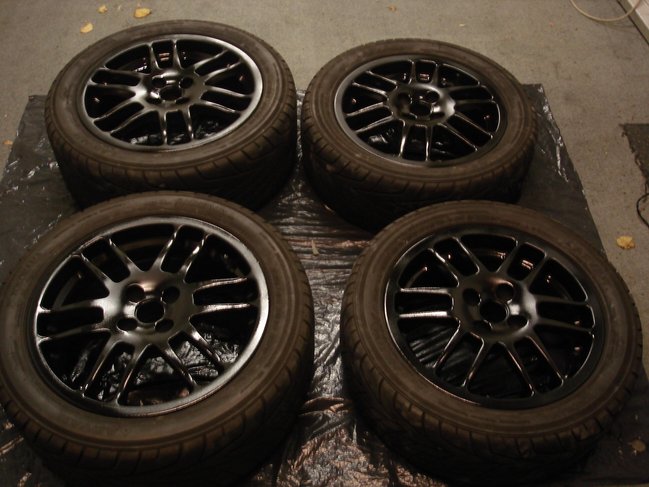
I did this by applying many light coats (about 10 if i remember!) and changing angles to make sure I got all of the wheel surfaces and angles (quite a difficult task). Its important to not start or stop spraying while pointing at the desired area as you get spits from the aerosol so nice sweeping motions without stopping on a spot seemed to work best. I used Hammerite smooth black aerosol paint (x2 400ml tins) and painted the inside of the wheel with the same from a tin but brushed on smoothly as not seen.
First coat:
Last coat with masking removed:
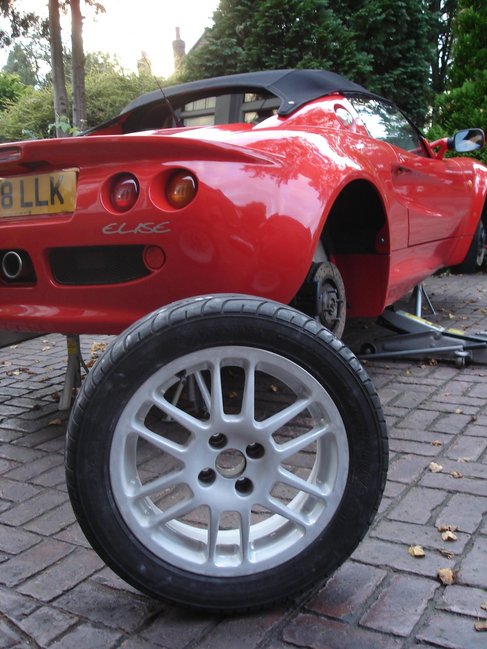
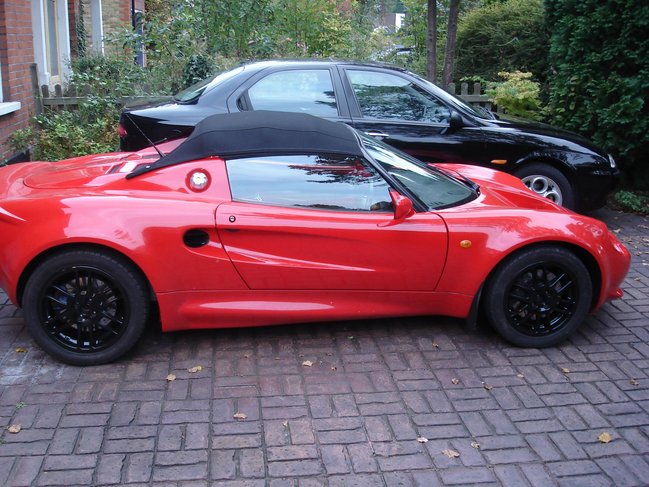
And finally the finished item back on the car:
