How to fix the rear cable on the Elise S2 long roof soft top
1) Short description of the long roof top
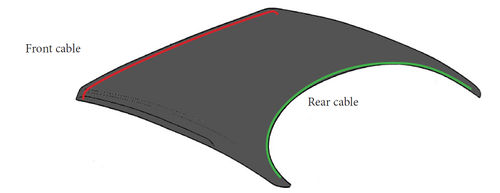
There are 2 cables in the soft top : front and rear.
Both cables are quite the same but the few differences aren’t negligible.
1.1) Similarities
Each cable have the same technology :
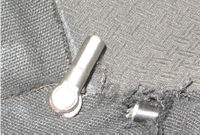
- a fastening plate where the cable is set (left side)
- a cable (awesome, isn’t it ?)
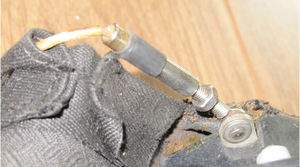
- an hollow nut. And inside the nut we can notice the other setting of the cable
- a fastening plate with a threaded part
1.2) Differences
- The rear cable is a few centimers longer than the front cable.
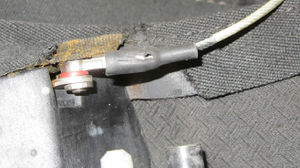
- The rear cable is the only one with a cover.
- The fastening plates of the front cable are srewed in the roof trim panels. So it’s easy to change.
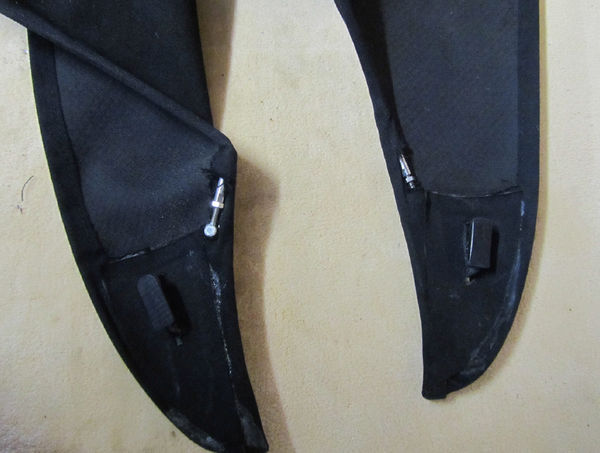
- The fastening plates of the rear cable are set in plastic parts. And that’s why it’s not easy to change. ^_^
2) What we are going to do
Trying to fix the rear brocken cable and finnally getting both new cable !
3) Needed stuffs
External things :
- a bowden bicycle braking cable with :
- an inner cable
- a housing cable
- 1 pop rivet with a diameter of 4 mm
- 2 pop rivets with a diameter of 2mm
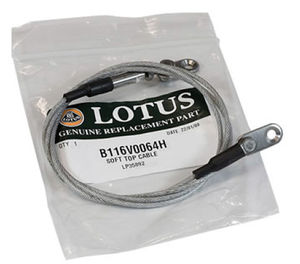
- the official front roof cable (REF : B116V0064H)
NB : in real life, I suggest to have a few pop rivets more in case of one of the following steps goes wrong...
Tools :
- Drill with a 3,5mm bit
- Dremel
- Cutting plier
- Hand metal saw
- Pop rivet plier
- Vice
- Measuring tape
- Hammer
4) Let’s go !
Step 1 : Changing the front cable
All right, that’s strange to change the front cable in order to fix the rear cable. But as we’re going cut and recycle parts, it’s more efficient to cut the old cable instaed of the brand new one.
Just follow these this simple article "Fixing a broken roof cable" : [1]
Step 2 : Unmount the rear cable
Unscrew the hollow nut, take off the cable and keep the cable for further steps.
Step 3 : Remove one of the old fastening plate
You have to keep the fastening plate with a threaded part and take off the other.
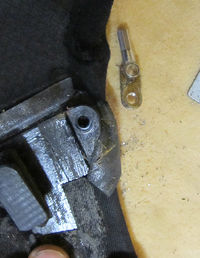
- Remove a few material to see the fastening plate
- Drill carefully to split the plastique support and the fasting plate without touching the material.
Step 4 : Prepare the pop rivet for setting
To set the «new» fastening plate we’ll use the 4mm pop rivet. But as it’s a bite too long we have to work on it a little.

Step 5 : Setting the plate
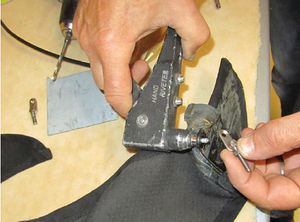
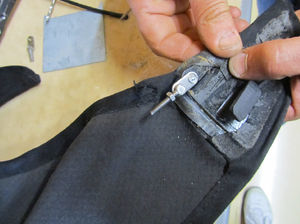
Here we start recycling : take the fasting plate with a threaded part from the old front cable and set it on the plastic part with the 4mm «shorted» pop rivet.
In order to finish it cleanly you can use a Dremel to get a smooth area on pop rivet and then paste back the pieces of material that you remove at the step 3.
Step 6 : Still recycling
We have threaded parts on both side so we need 2 hollow nuts now. We can find them on the old front cable and the old rear cable.
For each cable :
Step 7 : Let’s decapitate !
Here again we’ll modify some pop rivets : just decapitate at least two 2mm pop rivets.
Step 8 : Making the new rear cable
Just follow keep it in the right order :
- Cut the bicycle braking inner cable to get a piece of about 1 meter long
- Cut the bicycle braking housing cable to get a piece of about 0.95 meter long
- With one of the 2 unheaded body rivet, set the left side of the inner cable in a vice
- Put on from the right a hollow nut (from step 6) and take time to check if the setting take place inside
the hollow nut. If not, file down a little the setting.
- Put on the housing cable from the right
- Put on the second hollow nut from the right
- Set the right end like you did for the left. And check again if the setting take place correctly inside the
hollow nut.
Step 9 : Final assembly
Just put your new cable at the correct place.
What you get in the end
Both cables changed and an rear cable easy to fix in the futur.
