File list
Jump to navigation
Jump to search
This special page shows all uploaded files.
| Date | Name | Thumbnail | Size | User | Description | Versions |
|---|---|---|---|---|---|---|
| 20:54, 9 February 2006 | Throttlelinkage1.jpg (file) |  |
43 KB | Webmaster | 2 | |
| 20:54, 9 February 2006 | Throttlelinkage1a.jpg (file) |  |
39 KB | Webmaster | 1 | |
| 20:54, 9 February 2006 | Throttlelinkage3.jpg (file) |  |
47 KB | Webmaster | 2 | |
| 20:54, 9 February 2006 | Throttlelinkage4.jpg (file) |  |
47 KB | Webmaster | 2 | |
| 20:54, 9 February 2006 | Throttlelinkage5.jpg (file) | 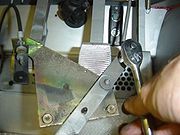 |
48 KB | Webmaster | 2 | |
| 20:55, 9 February 2006 | Throttlelinkage6.jpg (file) | 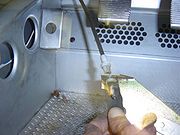 |
47 KB | Webmaster | 2 | |
| 20:55, 9 February 2006 | Throttlelinkage6a.jpg (file) | 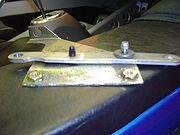 |
40 KB | Webmaster | 1 | |
| 20:55, 9 February 2006 | Throttlelinkage6b.jpg (file) | 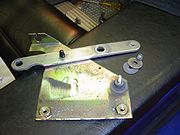 |
48 KB | Webmaster | 1 | |
| 20:55, 9 February 2006 | Throttlelinkage7a.jpg (file) |  |
40 KB | Webmaster | 1 | |
| 20:57, 9 February 2006 | Throttlelinkage8.jpg (file) |  |
48 KB | Webmaster | 1 | |
| 21:00, 9 February 2006 | Throttlelinkage10a.jpg (file) |  |
25 KB | Webmaster | 1 | |
| 21:00, 9 February 2006 | Throttlelinkage10b.jpg (file) |  |
34 KB | Webmaster | 1 | |
| 21:00, 9 February 2006 | Throttlelinkage11.jpg (file) | 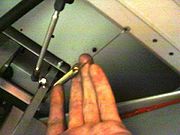 |
49 KB | Webmaster | 1 | |
| 21:09, 9 February 2006 | Throttlelinkage4a.jpg (file) | 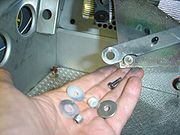 |
46 KB | Webmaster | 1 | |
| 23:18, 9 February 2006 | ThrottlelinkageLatestStack.jpg (file) | 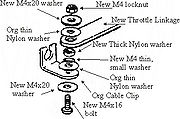 |
87 KB | Webmaster | 1 | |
| 20:54, 10 February 2006 | Chassis development toe.png (file) |  |
7 KB | Webmaster | 1 | |
| 21:14, 10 February 2006 | Chassis development camber.png (file) |  |
5 KB | Webmaster | 1 | |
| 21:39, 10 February 2006 | Chassis development castor.png (file) |  |
916 bytes | Webmaster | 1 | |
| 23:49, 11 February 2006 | Throttlelinkage7b.jpg (file) | 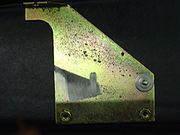 |
40 KB | Webmaster | 2 | |
| 23:49, 11 February 2006 | Throttlelinkage7c.jpg (file) | 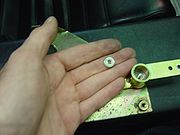 |
34 KB | Webmaster | 2 | |
| 23:53, 11 February 2006 | Throttlelinkage7d.jpg (file) | 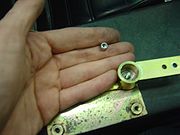 |
35 KB | Webmaster | 3 | |
| 23:55, 11 February 2006 | Throttlelinkage7f.jpg (file) | 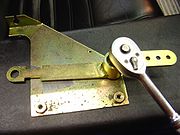 |
48 KB | Webmaster | 3 | |
| 00:07, 12 February 2006 | Throttlelinkage9a.jpg (file) | 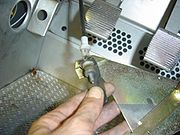 |
49 KB | Webmaster | 1 | |
| 00:08, 12 February 2006 | Throttlelinkage9b.jpg (file) | 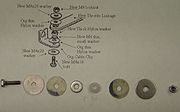 |
26 KB | Webmaster | 2 | |
| 00:10, 12 February 2006 | Throttlelinkage9d.jpg (file) |  |
35 KB | Webmaster | 2 | |
| 00:13, 12 February 2006 | Throttlelinkage9e.jpg (file) |  |
37 KB | Webmaster | 2 | |
| 00:17, 12 February 2006 | Throttlelinkage9c.jpg (file) |  |
31 KB | Webmaster | 2 | |
| 00:18, 12 February 2006 | Throttlelinkage9f.jpg (file) | 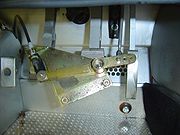 |
50 KB | Webmaster | 2 | |
| 00:21, 12 February 2006 | Throttlelinkage12.jpg (file) |  |
41 KB | Webmaster | 2 | |
| 00:22, 12 February 2006 | Throttlelinkage13.jpg (file) | 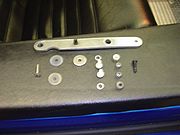 |
40 KB | Webmaster | 2 | |
| 19:10, 28 February 2006 | IACV.jpg (file) | 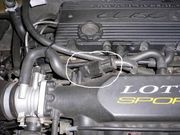 |
34 KB | Tom B | An Elise IAVC. Pic from Bob VanM (http://forums.seloc.org/viewthread.php?tid=63326#pid1895346) | 1 |
| 09:09, 26 April 2006 | A048 MED.jpg (file) |  |
3 KB | Chris | 1 | |
| 09:49, 26 April 2006 | A039 MED.jpg (file) |  |
4 KB | Chris | 1 | |
| 10:57, 26 April 2006 | Toyo Proxes R888.jpg (file) | 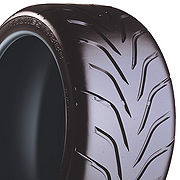 |
77 KB | Chris | 1 | |
| 11:07, 26 April 2006 | Toyo T1-R.jpg (file) | 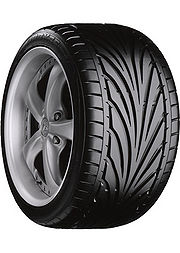 |
38 KB | Chris | 1 | |
| 11:16, 26 April 2006 | Conti-sport-contact-2-m.jpg (file) |  |
20 KB | Chris | 1 | |
| 11:23, 26 April 2006 | Toyo Proxes T1-S.jpg (file) | 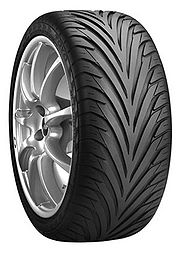 |
22 KB | Chris | 1 | |
| 07:21, 27 April 2006 | Yokohama a539.jpg (file) |  |
12 KB | Chris | 1 | |
| 11:28, 27 April 2006 | Bfg-g-force-profiler-m.jpg (file) |  |
15 KB | Chris | 1 | |
| 11:55, 27 April 2006 | Yokohama c drive.jpg (file) |  |
29 KB | Chris | 1 | |
| 17:33, 31 May 2006 | NitronsStdSmall.jpg (file) | 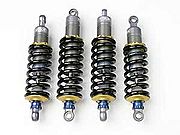 |
9 KB | cocjh1 | Picture of four NTR gas monotube dampers | 1 |
| 08:40, 18 June 2006 | 2. Measuring Lower Wishbone Height.JPG (file) | 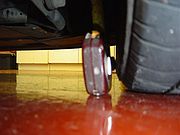 |
32 KB | Andrew S | How to change a Ball Joint and a Damper This procedure details how to change the offside lower front ball joint and damper assembly. The nearside front is an identical procedure and the upper front ball joints follow a similar procedure. The rear ball j | 1 |
| 08:42, 18 June 2006 | 3. Loosening Road Wheel Bolts.JPG (file) | 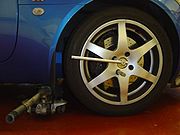 |
36 KB | Andrew S | Step 2. Loosen the bolts on the road wheel | 1 |
| 08:48, 18 June 2006 | 4. Road Wheel Removed.JPG (file) | 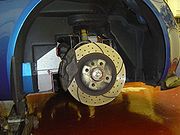 |
44 KB | Andrew S | Step 3. Jack up the car on the front jacking point using a trolley jack and remove the front road wheel. | 1 |
| 08:48, 18 June 2006 | 5. Removing Brake Pipe Clamp.JPG (file) | 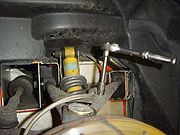 |
44 KB | Andrew S | Step 4. Remove the brake pipe clamp. | 1 |
| 08:49, 18 June 2006 | 6. Removing Front Brake Caliper.JPG (file) | 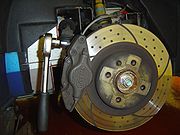 |
45 KB | Andrew S | Step 5. Remove the brake caliper using an 8mm hex driver or allen key. | 1 |
| 08:50, 18 June 2006 | 7. Securing Front Brake Caliper.JPG (file) | 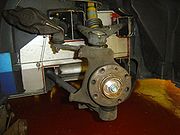 |
42 KB | Andrew S | Step 6. Secure the brake caliper so that it does not get in the way of removing the ball joint. Ensure that the brake line is not under strain and taking the weight of the caliper. You may wish to use a cable tie to secure the caliper out of the way. | 1 |
| 08:50, 18 June 2006 | 8. Removing Lower Ball Joint Nut.JPG (file) | 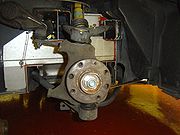 |
44 KB | Andrew S | Step 7. Remove the ball joint nut . Use a 19mm ring/open ended spanner for the lower ball joint. You need to start with the ring end and transfer to the open end after winding the nut half the way up, otherwise the ring spanner will get stuck between the | 1 |
| 08:51, 18 June 2006 | 9. Splitting Lower Ball Joint.JPG (file) | 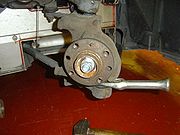 |
43 KB | Andrew S | Step 8. Split the ball joint from the hub carrier. You may wish to use a fork splitter with a few hard hits with a club hammer. Alternatively you could use a scissor splitter. | 1 |
| 08:52, 18 June 2006 | 10. Lower Ball Joint Split From Hub Carrier.JPG (file) | 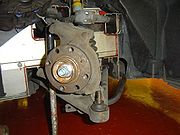 |
46 KB | Andrew S | Step 9. When the ball joint is split from the hub carrier move carrier out of the way. You could use a trolley jack handle as a prop for the hub carrier under the track rod end bolt. Remove the ball joint rubber dust cover. | 1 |