Difference between revisions of "Camshaft Seal (K Series)"
(Created page with "There are two different camshaft seals used on the K Series head. Those on the front (timing belt end) are black Pt No (Rover) LUC100290 Those on the rear are red Pt No (...") |
|||
| Line 9: | Line 9: | ||
Pt No (Rover) LUC100220 | Pt No (Rover) LUC100220 | ||
| − | As with any engine parts, try and buy OEM seals rather than generic bits from a | + | As with any engine parts, try and buy OEM seals rather than generic bits from a motor factor/ebay. The chances of chinese tat are high |
[[File:P1010037.JPG|thumb|none|New Seals]] | [[File:P1010037.JPG|thumb|none|New Seals]] | ||
| Line 41: | Line 41: | ||
[[File:P1010046.JPG|thumb|none|New seal fitting]] | [[File:P1010046.JPG|thumb|none|New seal fitting]] | ||
[[File:P1010047.JPG|thumb|none|New seal seating]] | [[File:P1010047.JPG|thumb|none|New seal seating]] | ||
| + | |||
| + | --[[User:Chopper|Chopper]] ([[User talk:Chopper|talk]]) 12:13, 12 March 2016 (GMT) | ||
Revision as of 12:13, 12 March 2016
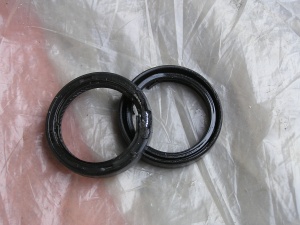
There are two different camshaft seals used on the K Series head.
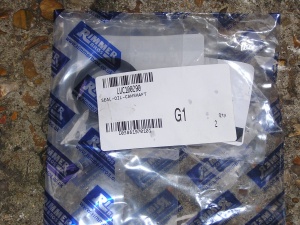
Those on the front (timing belt end) are black
Pt No (Rover) LUC100290
Those on the rear are red
Pt No (Rover) LUC100220
As with any engine parts, try and buy OEM seals rather than generic bits from a motor factor/ebay. The chances of chinese tat are high
Removal
1. The seals are a press fit into a recess on the head and can be replaced with the head in situ (requires removal of the distributor/VVC timing pulleys at the rear and /or timing belt pulleys at the front)
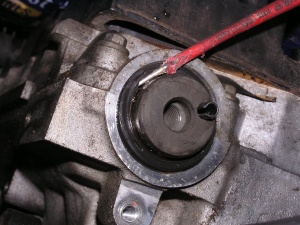
The seals will pull out from the head. An ideal tool for this is a plastic coated crotchet needle (has a hook at the end), but a small screwdriver (the blunter, the better) can be used with care.
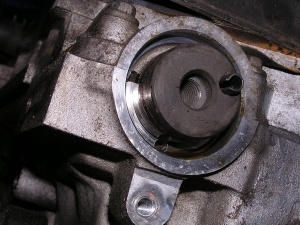
2. Before removing the old seals, take note how far the seals sit in the head recess, so you can replicate this when inserting the new seals (the seals can be pushed in too far)
3. Insert the removal tool against the inner edge of the camshaft seal and lever outwards. (The camshafts being made of iron are less likely to be scratched than forcing the tool into the outer edge of the seal against the soft alloy of the head)
Be careful you do not scratch the soft alloy head or the camshaft. Any marks will allow the seals to leak or be worn quickly.
The seals are about 6-7mm deep and consist of a spring wire embedded in rubber so expect a bit of resistance. Its is less forceful to attempt to ease the seal out at 2-3 different points rather than trying to haul it out at a single point due to the depth of the seal and the tight fit in the recess
4. Once the old seal is out, check for surface corrosion on the exposed end of the camshafts. If there is any present it should be removed with some very fine wet and dry paper. (If not removed, the corrosion will tear/fray at the inner edge as the new seal is fitted reducing its effectivness). Ensure the seal recess in the head and the camshaft ends are thouroughly cleaned afterwards
Replacement
5. There is always debate whether seals should be fitted dry or lubricated. Personally, I ensure the outer edge of the seal and the head recess are oil free (brake cleaner is a very effective degreaser) but run a finger with a small amount over the camshaft to aid the inner seal slip over it.
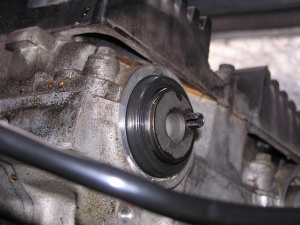
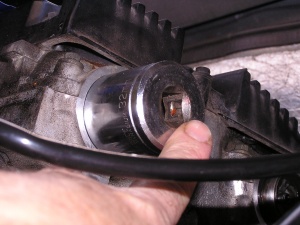
Once mounted over the camshaft, push the new seals into the recess squarely, using a socket slightly smaller than the head recess. Hand pressure is all that is required. As per line 2. Do not push fully home, but fit to the same depth as the old seals
