Difference between revisions of "Replacing the Window Seals"
m (Updated price on seals for 2024 and line break.) |
|||
| (One intermediate revision by the same user not shown) | |||
| Line 10: | Line 10: | ||
(L)B117U0009F Waist Seal | (L)B117U0009F Waist Seal | ||
| − | As of April 2011, these are priced at £31.11 + vat each | + | As of April 2011, these are priced at £31.11 + vat each<br> |
| + | As of June 2024, these are priced at £342.12 + vat each | ||
The first job will be to remove the small plastic plug that is in the door end. If you can't find it then it may no longer be in place, and even if it is it might have slipped through the rubber end seal anyway. | The first job will be to remove the small plastic plug that is in the door end. If you can't find it then it may no longer be in place, and even if it is it might have slipped through the rubber end seal anyway. | ||
Latest revision as of 10:08, 30 June 2024
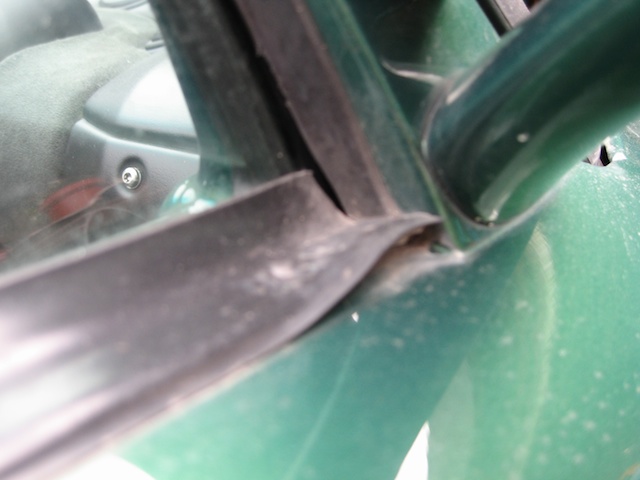
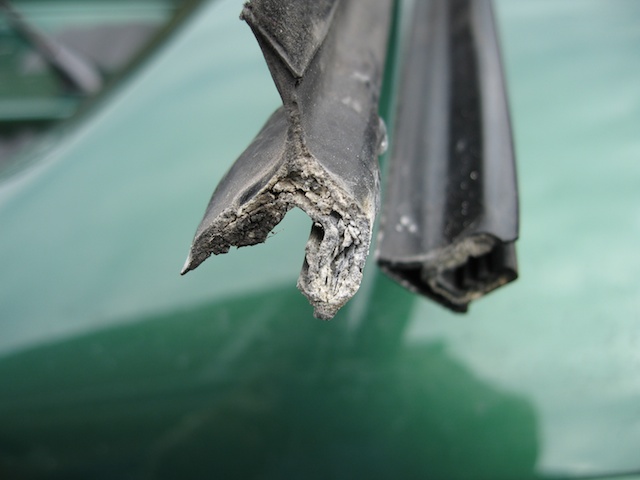
Unlike the S1 Elise, the S2 has easily replaceable window seals which are not bonded onto the door panel, which eases their replacement. They are still however prone to bubbling and distort out of shape - normally just under the wing mirror at the leading edge.
The good news is that most dealers will always have at least one pair in stock, as they tend to have to replace them before any car can be sold second hand - and they are more sensibly priced.
(L)B117U0010F Waist Seal
(L)B117U0009F Waist Seal
As of April 2011, these are priced at £31.11 + vat each
As of June 2024, these are priced at £342.12 + vat each
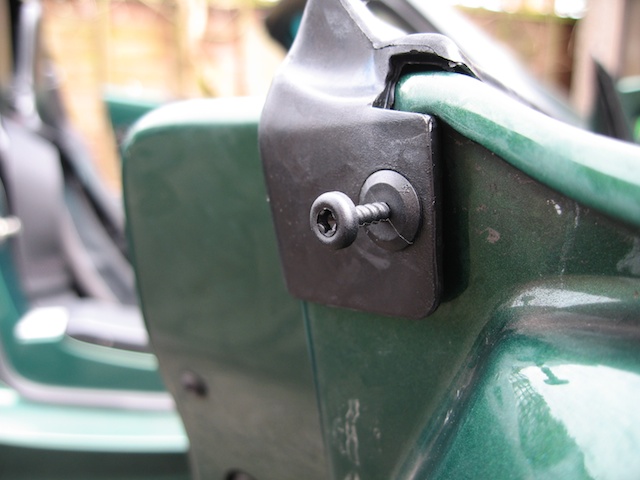
The first job will be to remove the small plastic plug that is in the door end. If you can't find it then it may no longer be in place, and even if it is it might have slipped through the rubber end seal anyway.
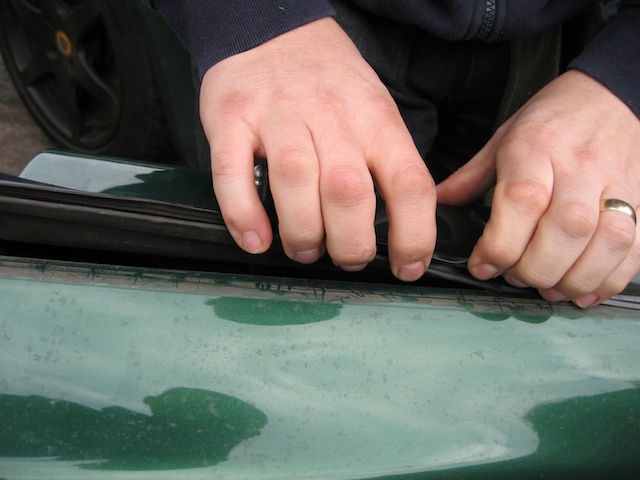
Next, starting at the door edge on the outside side of the door, gently pull back the rubber strip. Work slowly about an inch at a time being careful not to damage the fibreglass and it should come off easily.
Once you've done the outside edge you should find that the inner side of door seal comes off easily due to the extra working space. Take advantage of having easy access to both window edge mechanisms and rub some silicone lubricant down both front and rear window guides. It will help prevent the windows from sticking at a later date.
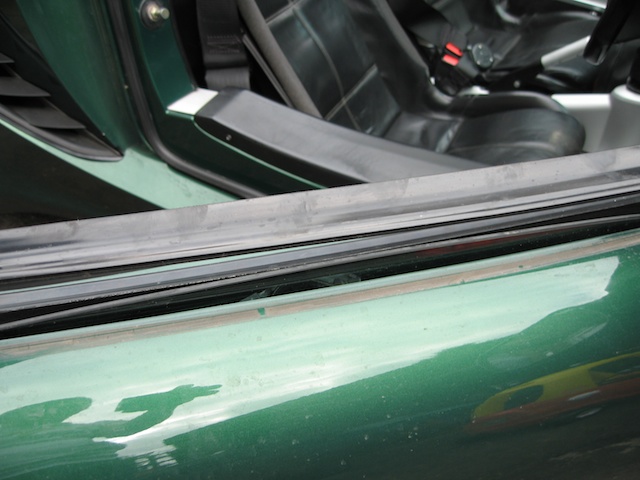
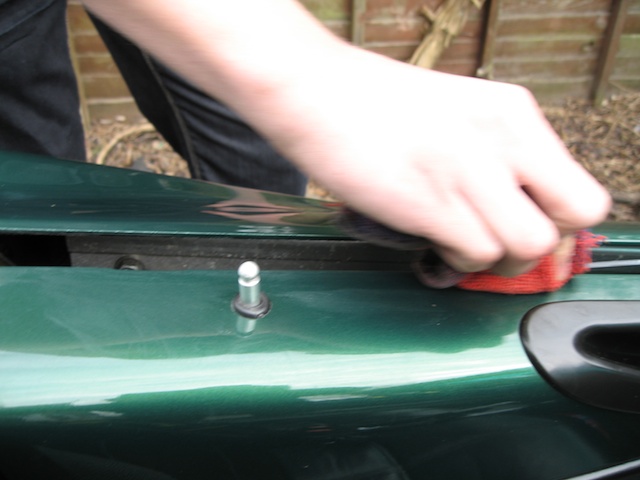
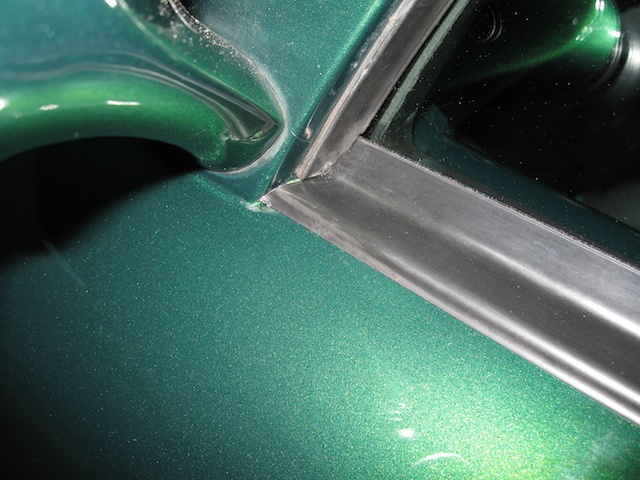
Where the seals used to be will be full of muck, crud and general road grime. Use T-Cut or a similar cleaner to remove as much grime and clean up the paint work up as much as you can. The cleaner and smoother it is the easier it will be to get the new seals on.
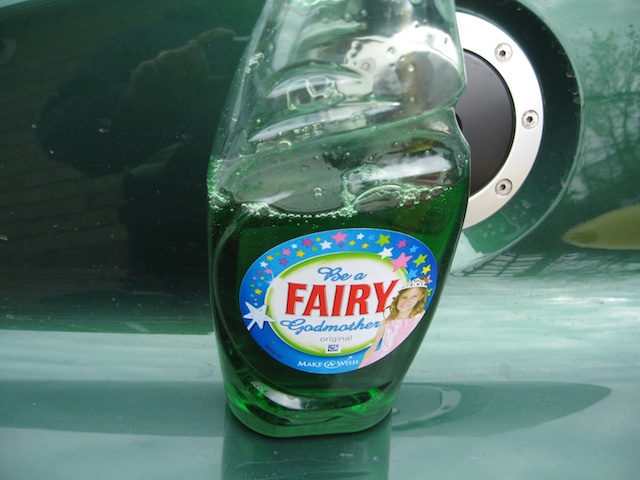
Despite this being an S2, it is possible that you don't own a tub of vaseline, so the next best thing to help something rubber coated to slide into a tight hole is Fairy Liquid.
Try not to use anything that has a high salt content such as supermarkets own brand washing up liquids as this can damage the rubber.
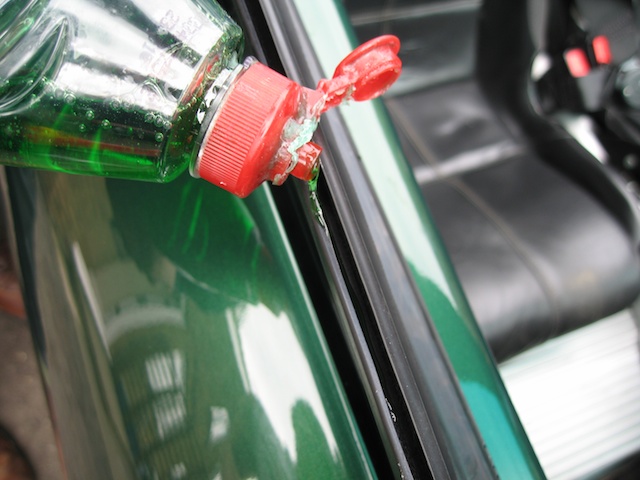
Rub a thin bead of your washing up liquid inside the middle of the recess of the rubber seal.
Fitting isn't the reverse of removal. Instead you'll find it easier to do the outside door window seal first.
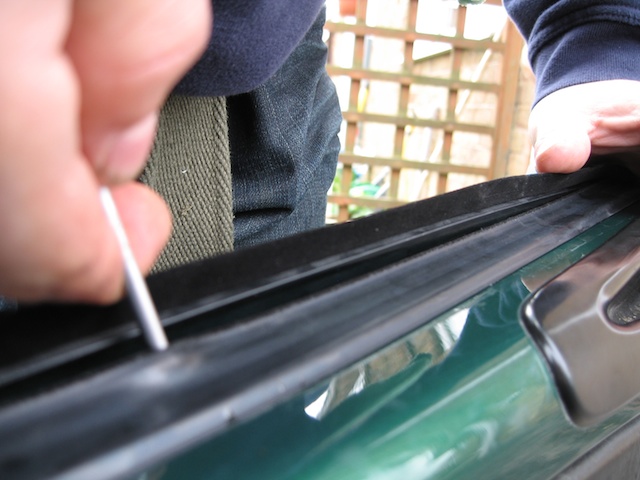
Start at the front end under the wing mirror get the the window seal all the way home. Work backwards ensuring that the channel slides onto the end of the door panel. When you get all the way at the back, use a screwdriver between the glass and the seal to slide it all the way in to place. Don't worry about the end cap just yet - but once it's all on repeat for the inner seal, once again starting at the end nearest the front of the car. Once both seals are on - use the screwdriver to ensure everything is all home.
With both the outer and inner seal fully mounted sort out the end cap by pulling the inner gasket over the metal mounting inside. The supplied plastic plugs are pretty much useless - but your local autofactors have plenty of better sizes available.
Once complete, wash away and get rid of all the excess washing up liquid. Result - a better fresh seal that will probably clean your window as it slides up and down.
