Difference between revisions of "How to remove badges"
m |
m |
||
| (One intermediate revision by the same user not shown) | |||
| Line 1: | Line 1: | ||
| − | == | + | ==Screw in type== |
| − | + | The standard badge on the S1 Elise, as with older Lotus', is bolted to the front bodywork. | |
| − | + | If bolted down access to the rear is obstructed by the crash structure and so to remove the badge either the front clamshell must be removed from the car or the badge can be drilled through. | |
| + | |||
| + | When refitting it may be advisable to stuck the badge down as opposed to bolting it, to allow for future removal. | ||
| + | |||
| + | ==Stuck on type== | ||
[[image:badge1.jpg|thumb|left]] | [[image:badge1.jpg|thumb|left]] | ||
| Line 35: | Line 39: | ||
[[Category:Body]] | [[Category:Body]] | ||
| + | [[Category:Lotus Elise]] | ||
| + | [[Category:S1]] | ||
| + | [[Category:S2]] | ||
| + | [[Category:Lotus 2-Eleven]] | ||
| + | [[Category:S2 Exige]] | ||
| + | [[Category:Lotus Europa]] | ||
| + | [[Category:Lotus Esprit]] | ||
| + | [[Category:Lotus Evora]] | ||
| + | [[Category:Exige V6]] | ||
Latest revision as of 23:23, 13 January 2013
Screw in type
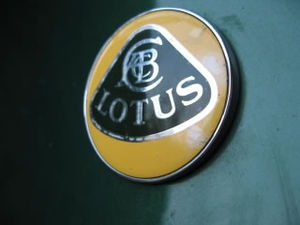
The standard badge on the S1 Elise, as with older Lotus', is bolted to the front bodywork.
If bolted down access to the rear is obstructed by the crash structure and so to remove the badge either the front clamshell must be removed from the car or the badge can be drilled through.
When refitting it may be advisable to stuck the badge down as opposed to bolting it, to allow for future removal.
Stuck on type
Options to loosen the badge include heat (hairdryers, hot water, heat guns)and simply prying the badge off, but these do run the risk of damage to your paintwork in some cases.
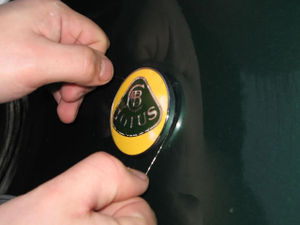
However, one thing that does work without any chance of damage (assuming your car is clean and there's no grit/dirt to grind into the paint) is the fishing line/dental floss technique.
Lotus have kindly considered this technique when they were designing the build quality of their cars. They left a small gap all the way around the badge through which you can pull taught a length of nylon fishing line or dental floss.
With a sawing action back and forth, the line/floss will easily cut through the adhesive pad holding the badge to the clam. The line (and particularly floss) may snap a few times but it's cheap so just grab another bit! Work slowly though and without any bling rings on your hand and there'll be no risk to your paint work.
Eventually, you'll be through and the plastic faded badge will fall to the ground.
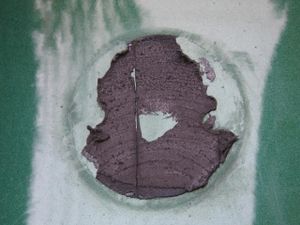
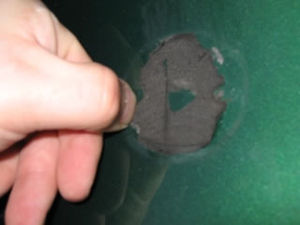
Next you have to remove the adhesive pad. The best method for this is pulling at it gently, as it stretches and comes away in clumps. Failing this, you'll need to rub away at it with a finger or thumb nail. Tar Remover etc can be used if needs be but physical persuasion will be required.
Once the adhesive pad is all gone, all you are left with is a bit of sticky glue on your car. This is best removed with a bit of Meths or tar remover etc.
