Difference between revisions of "Evora DIY Sill Wrapping"
(Created page with "As it was sunny this weekend, I decided to wrap the sills. The garage isn't quite wide enough to do it comfortably, so the fact there's almost no wind outside really helps. I...") |
|||
| Line 62: | Line 62: | ||
[[image:Evora-DIY-Sill-Wrapping-12.jpg|400px]] | [[image:Evora-DIY-Sill-Wrapping-12.jpg|400px]] | ||
| − | + | Then tuck / smooth the remaining vinyl towards the rear wheel | |
[[image:Evora-DIY-Sill-Wrapping-14.jpg|400px]] | [[image:Evora-DIY-Sill-Wrapping-14.jpg|400px]] | ||
Latest revision as of 18:44, 7 May 2021
As it was sunny this weekend, I decided to wrap the sills. The garage isn't quite wide enough to do it comfortably, so the fact there's almost no wind outside really helps.
I did get a quote to have the sills professionally wrapped @£80 /side, which is reasonable, but I wanted to try myself first - and see how hard it was.
Drivers side took 3 attempts, first attempt I cooked the film with the heat gun (newbie mistake I'm sure), the second went on OK, but the rear looked cropped, so went for a longer stretch towards the rear wheel on the third attempt... and frankly I'm well chuffed with the results.
If you're interested - here's how I did it. (NB, I’m not saying that this is how it should be done, but this is what I found worked for me.) Note that if using a heat gun, keep your exposure to less than 3 seconds - that's plenty to work the vinyl if needed.
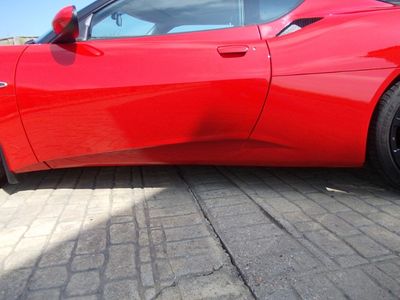
Take one Evora.
Clean and apply cutting tape
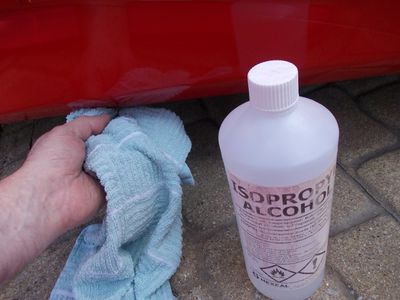
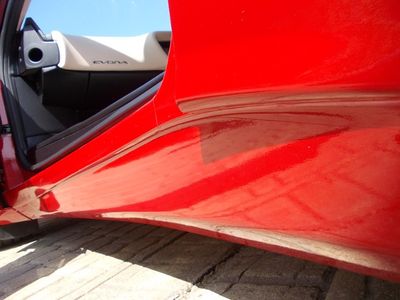
Clean the sill using isopropyl alchohol.
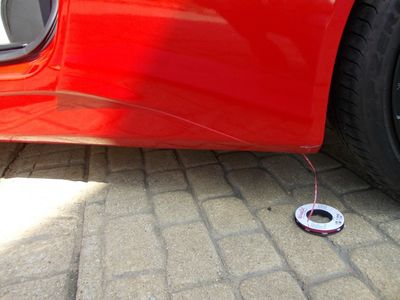
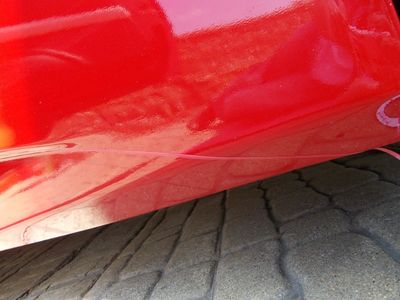
Apply cutting tape to the body contours.
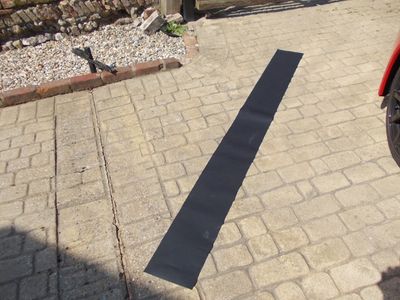
Cut out a length of vinyl approx' 175cm by 22cm.
Applying Vinyl
This is KPMF 190 Micron Textured FF stone chip vinyl and is charcoal black.
Obtained from MDP supplies for about £9/m (you need 2 meters but this will allow 5 strips to be cut- so you have some to play with)
Note also that this has no air release, so any bubbles will need to be pricked out with a pin using a bit of heat.
The reason I chose it was it's stone chip resistant and looks similar in colour and texture to what is fitted to the 400.
It also covers existing stone chip film rather well - the odd line shows through, I didn't want to risk paint peeling if removing the clear film and there's nothing wrong with it so it's still there...
Peel the backing paper and hang loosely from the top of the sill, then gently straighten the top edge leaving no creases.
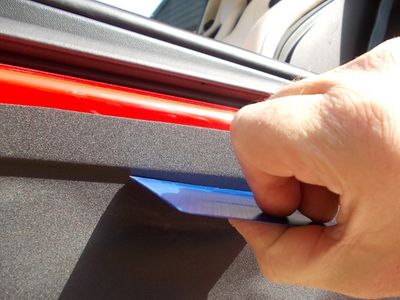
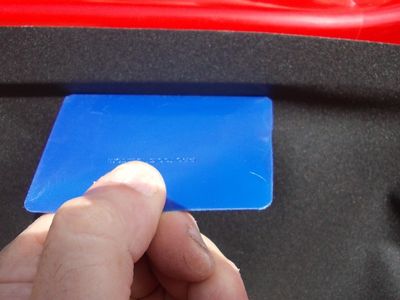
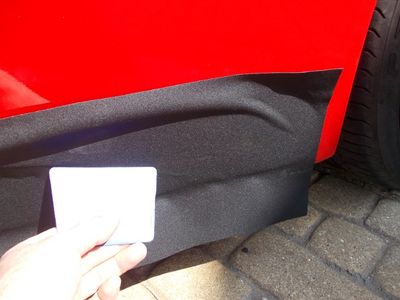
Using a plastic card, start to work the vinyl down in a horizontal line (don't concentrate on one bit - it'll crease / bubble)
Make a relief cut on the corner edge here.
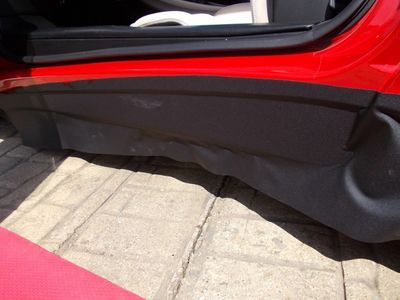
Then tuck / smooth the remaining vinyl towards the rear wheel
Working the vinyl around the bottom curve - again try to do the whole thing and keep the crease straight as this will help with air release and prevent bubbles.
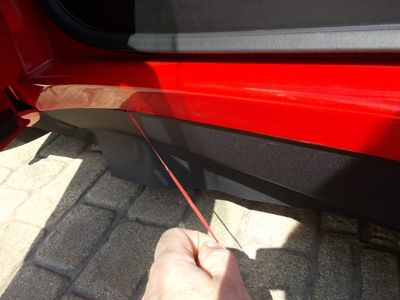
Cutting the vinyl
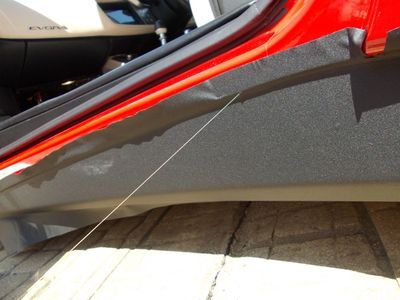
My favourite bit - pulling the wire through the vinyl to cut it to shape - very satisfying..
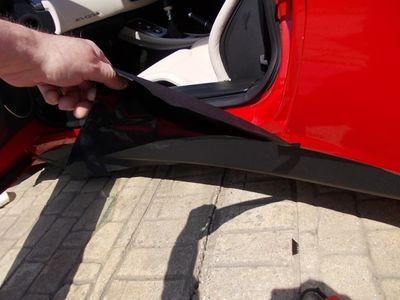
Peel away the surplus vinyl
Remove / peel out traces of the cutting tape - then apply a little heat to seal the top edge - press down firmly.
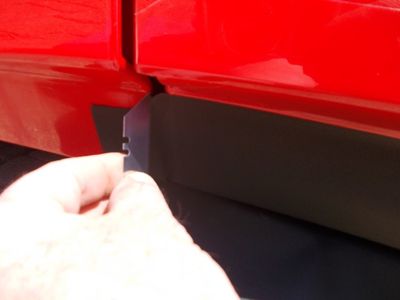
Cut the vinyl away from the leading edge of the sill - giving you a little to wrap around the front edge of the sill gap
Apply a bit of heat and tuck in
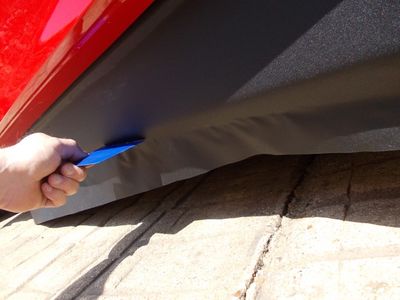
Underneath - simply run a knife gently along the sill between the under tray and the sill - to trim off excess overlapping film.
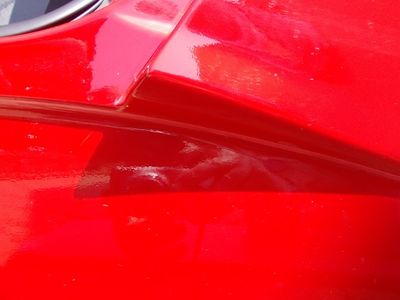
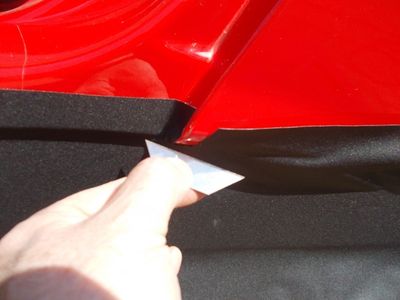
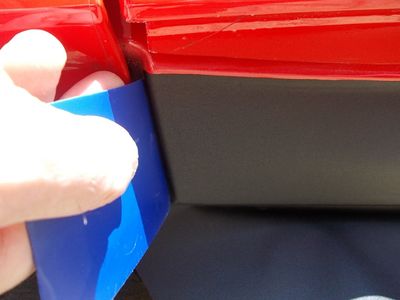
Apply cutting tape to the A-Post - keeping the tape in line with the previous vinyl edge - then simply take your off cut from the end of the strip and apply - tucking / folding the front edge behind the mudflap.
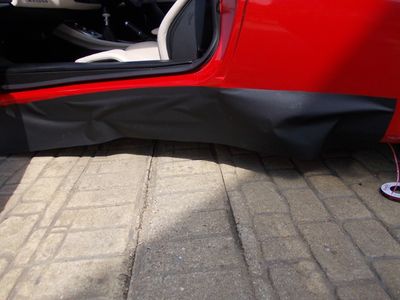
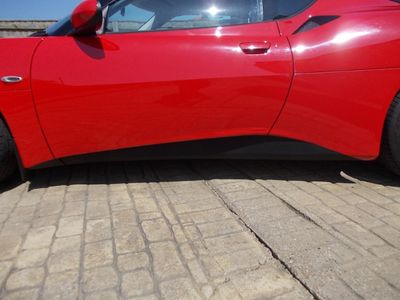
Result
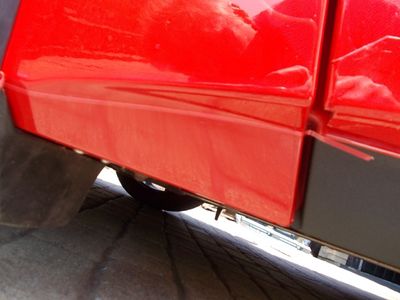
A quick clean and the end result..
Not bad for £35 eh? (including cutting tape) - and it's a lot tougher than gloss vinyl, so should last a few years.
One happy bunny.

