Difference between revisions of "Alternator"
Jump to navigation
Jump to search
| Line 20: | Line 20: | ||
'C' on the diagram is the tensioner of the belt, loosen this to remove the belt. | 'C' on the diagram is the tensioner of the belt, loosen this to remove the belt. | ||
| + | Tension belt to the following: | ||
| + | For heater cars - one way deflection of 6-8mm with moderate finger pressure | ||
| + | For AC cars - as above but 9-10mm | ||
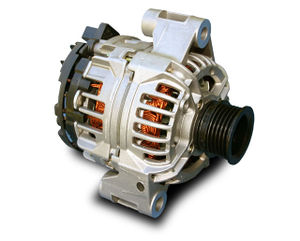
[[Image:alternator1.jpg|thumb|left|Alternator as shown on elise S2]] | [[Image:alternator1.jpg|thumb|left|Alternator as shown on elise S2]] | ||
| Line 25: | Line 28: | ||
{{clr}} | {{clr}} | ||
| − | + | ||
| − | |||
| − | |||
Please add your Info, Just click EDIT | Please add your Info, Just click EDIT | ||
Revision as of 17:24, 14 April 2007
Alternator
Please add your Info, Just click EDIT
Alternator replacement
Please add your Info, Just click EDIT
Alternator belt
You can change the alternator belt buy taking off the rear drivers side alloy and mud guard, removing the undertray will give no advantage, you will just need a good socket set.
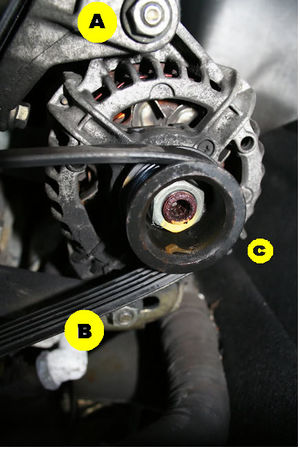
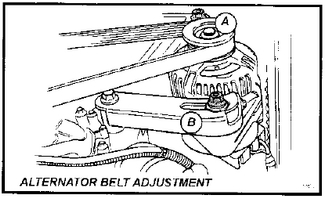
Loosen 'A' pivot bolt and 'B' tensioner bolt, to allow the alternator to 'swing'
'C' on the diagram is the tensioner of the belt, loosen this to remove the belt.
Tension belt to the following: For heater cars - one way deflection of 6-8mm with moderate finger pressure For AC cars - as above but 9-10mm
Please add your Info, Just click EDIT
Alternator Heat Protection
Please add your Info, Just click EDIT


