Difference between revisions of "Oil tempt/pressure gauge – Fitting Guide"
m |
|||
| Line 19: | Line 19: | ||
1. I got rid of the stereo and installed a blank DIN plate purchased from motor factors for Cost: £3. | 1. I got rid of the stereo and installed a blank DIN plate purchased from motor factors for Cost: £3. | ||
For aesthetics I purchased an aluminium weave sheet (with adhesive backing) and fixed it onto the DIN plate. Cost: £10 | For aesthetics I purchased an aluminium weave sheet (with adhesive backing) and fixed it onto the DIN plate. Cost: £10 | ||
| − | Drill a hole and | + | Drill a hole and f |
| + | it the gauge into this plate. | ||
[[Image:Oil_Gauge.JPG]] | [[Image:Oil_Gauge.JPG]] | ||
| Line 37: | Line 38: | ||
[[Image:DSC01146.JPG]] | [[Image:DSC01146.JPG]] | ||
| + | |||
| + | |||
| + | [[Category:Engine Cooling]] | ||
| + | [[Category:DIY]] | ||
| + | [[Category:Electrical]] | ||
Latest revision as of 12:17, 17 April 2007
Oil tempt/pressure gauge – Fitting Guide
Please note this is my experience with the above and is intended as a guide only so please install at your own risk. Saying that, this is working great for me.
Parts needed:
1. SPA dual tempt/pressure gauge (includes senders and wiring loom) Cost: £160 (make sure you get the longer wiring loom for the elise)
2. One M12 to 1/8 NPT adaptor for fitting the oil pressure sender in the oil filter housing in place of the low oil pressure switch. You will need the adaptor if the thread of the current low oil pressure switch is not 1/8 NPT. Adaptor will come with a dowty seal if ordered from eliseparts. Cost: £5
3. Sump plug adaptor for the oil tempt sender. Cost: £6
Fitting:
Fitting time: 5-6 hrs (at a leisurely pace!).
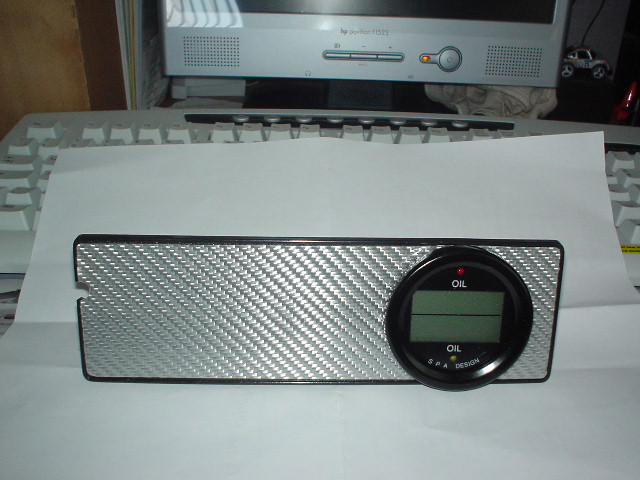
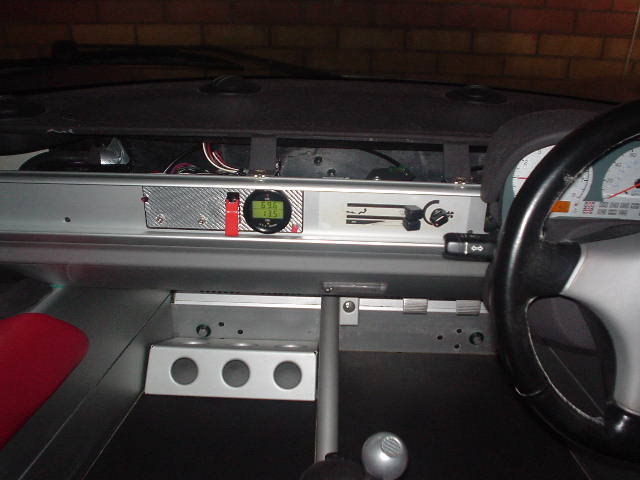
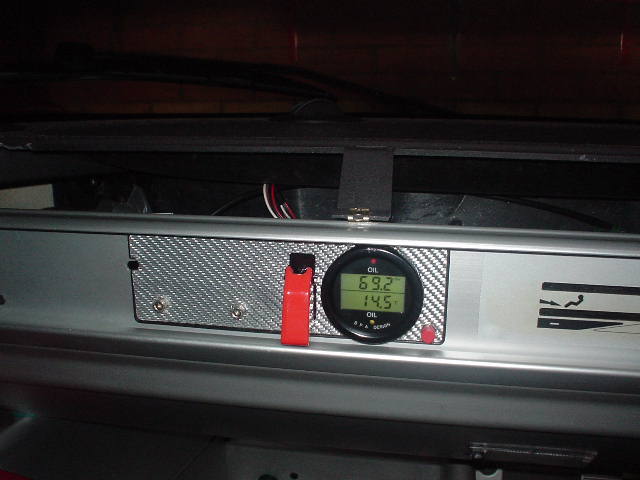
1. I got rid of the stereo and installed a blank DIN plate purchased from motor factors for Cost: £3.
For aesthetics I purchased an aluminium weave sheet (with adhesive backing) and fixed it onto the DIN plate. Cost: £10
Drill a hole and f
it the gauge into this plate.

2. Run the sender unit wires through the back of the dash (you should find a couple of holes here but make sure you put a grommet in the holes to prevent the wires from being cut) ---> through the central aluminium foot divider ---> through the central plastic handbrake surround ---> through the hole in the bulkhead for the handbrake cable/gear linkage cables ---> you will be now through to the engine compartment. Hint: the oil pressure sender connector is too big to go through the bulkhead hole ---> just disassemble it , pass the wire through and reassemble on the other side. Make a note of the way the wires are connected beforehand as this is crucial.
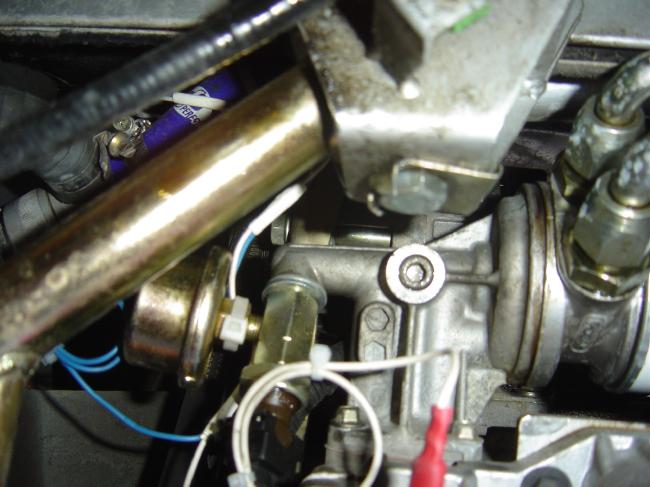
3. The oil temperature sensor (1/8 NPT) fits into the sump plug adaptor and the oil pressure sensor replaces the low oil pressure switch in the oil filter housing (using the M12 to 1/8 NPT adaptor if needed). Alternatively you can also retain the original low oil pressure switch by using a T-piece adaptor available from Demontweeks etc. In my case this was a M12 X 1.5 to 1/8 NPT T-piece adaptor (part 052, cost : £5)
Note: Oil pressure sensor in the pic below is not the same as the SPA one, but the principle is the same. The pic is originally from a seloc member (sorry, can't remember who it was) who posted it on the one of the forums. The red connector is to to the oil temperature sensor in the sump plug adaptor.

4. Get power for the gauge either from the stereo wiring loom or the cigarette lighter socket.
5. If needed calibrate the gauges according to the instructions supplied by SPA.


