Petrol Cap
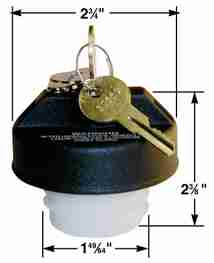
The internals of the Elise S1 petrol cap are manufactured by Stant. It's also used by Jeep, from whom you're more likely to be able to readily obtain it.
On-line sources include Rock Auto in America. The part number that you need to order is 10501, delivery should be expected in about 1 week. You may also be able to get it from a UK Jeep dealer - please add your sources here if successful.
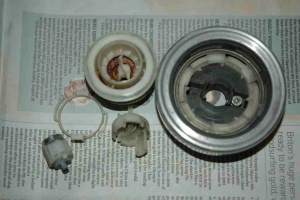
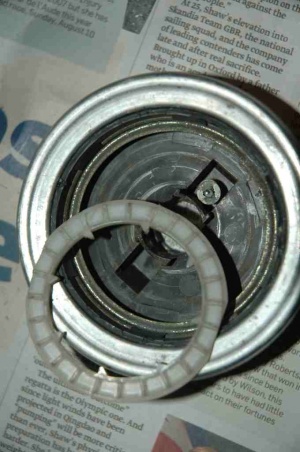
I started from the point of having had the filler cap disintegrate on me, so almost all the parts had come out of the cap.
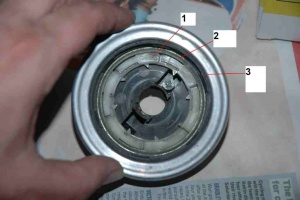
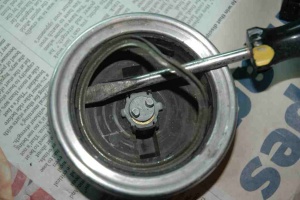
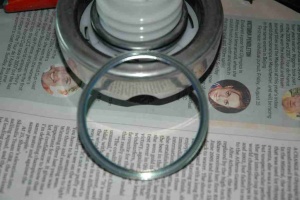
All that was left inside were the plastic ratchet (1), metal collar (2) and black plastic retainer (3)
.
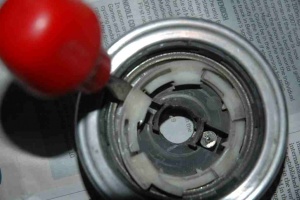
Using a screw driver, prize the bottom part of the plastic ratchet out from behind the metal collar
The top part of the ratchet will now come out freely from behind the metal collar.
Be very careful not to damage the black plastic retainer. You need this to fit the new components.
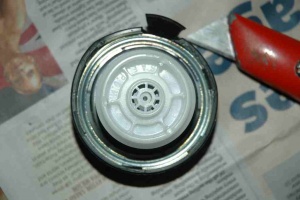
Take the new filler cap and use a Stanley knife to cut tabs into the side of the filler cap.
Be careful not to cut into the white plastic components covered by the cap. Gradually cut away the cap, until most of the white plastic components (but not the barrel lock) and the metal collar are free from the cap. Once you’re able, remove the white plastic components and the metal collar from what’s left of the filler cap.
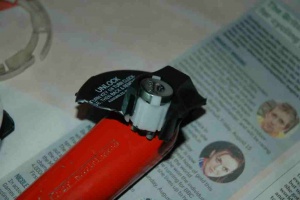
Carefully cut around the lock barrel, again making sure that you don’t damage the white plastic
.
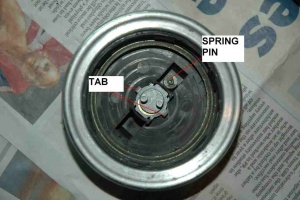
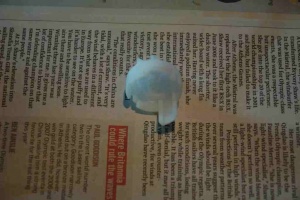
Remove the barrel and push it into the hole in the old filler cap. The barrel has a key-way and locking tabs which keep it in place
– make sure you’re putting it in the right way. Note the location of the spring pin
Push a screwdriver down the side of the old metal collar, lever it out of shape and remove it from the old cap. Again, take care not to damage the black plastic retainer.
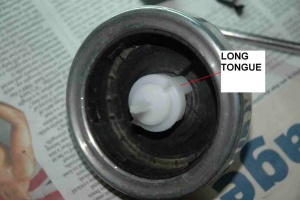
Take the lock mechanism from the new cap and place it on top of the lock barrel
. Note that the long tongue goes into the deeper recess in the cap. This is on the opposite side of the lock barrel from the spring pin.
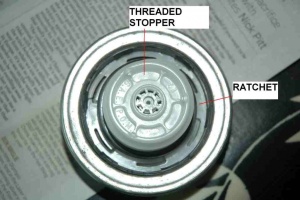
Put the two parts of the ratchet mechanism into the old cap, making sure the one with the row of teeth is nearest the top of the cap and the other part of the ratchet is towards the “fuel tank”. Put the threaded stopper onto the top of the lock mechanism.
Take the metal collar from the new cap.
With the channel in the collar facing you, put it into the cap and using a flat screwdriver, gently push it past the lugs on the black plastic retainer.
Grip the threaded stopper in your hand and check that the lock and ratchet operate normally. Use a silicone lubricant (not WD40) on the ratchet and in the key hole. Job done.
As a final safety measure, I'd recommend not fitting the cap until you've filled the car up at a petrol station near home and have time to come back and remove the cap if it fails. Don't forget to change the fuel filler keys on your key ring as well.
All pictures exept Stant cap+keys copyright (C) John Fletcher 2008
If you don't want/can't obtain a stant cap..
My basic research (clicking around the stant and rock auto websites until boredom made me stop) listed these cars as having the same filler cap as the S1...
2001 Jeep Wrangler 2002 Dodge Viper 2002 Kia Rio 1998 Volvo S90 1998 Volvo C70 1994-1998 Jeep Grand Cherokee 1995-1997 Land rover discovery
A plastic replacement from UK ebay based on this list was not close enough to follow the procedure above, but did fit the neck properly on the car - after unclipping the tip of the cap which exended to far down the neck. This is an easy way to obtain a lightweight cap for about £10.
