Remove MY2008 Dash
These are the steps I took to remove my 2008 Exige S dashboard so I could disable the passenger side airbag.
Optional: Disconnect battery
I chose not to disconnect the battery at first, it isn't essential for removing the dash.
Remove airbag cover
Simply pull the airbag cover at the top edge, it will make a snapping noise and you will break the 4 plastic lugs that hold the cover in place. You will need to order replacements before refitting this panel.
Remove steering column cover
There are 6 screws on the lower cover that must be undone before removing. There are 2 on either side and 2 underneath.
The lower cover can then be pulled down and away from the steering column.
On cars with traction control (like mine) you will have 2 lots of wires connected to the cover. These can be left but to give yourself more room it is best to disconnect them. Make sure you note which plug is for the trip reset button and which is for the traction control dial.
In this picture the left-hand plug is for traction control, the right is the trip-reset button.
[[[File:My2008-dash12.jpg|thumb|left|]]]
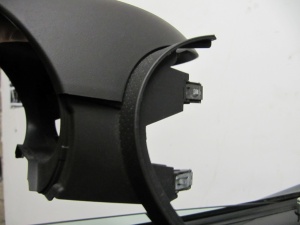
The small plastic upper cover simply lifts up and out.
The upper cover is held on with velcro and metal clips. To remove it, lift the back of the cover up towards the windscreen to detach the velcro. The cover then needs to be pulled towards the back of the car. You will likely lose at least one of the metal clips but these can be retrieved once the dash is off.
Remove side vents
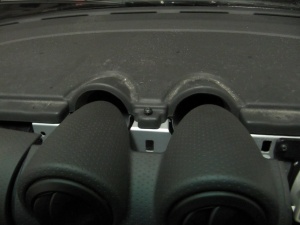
In the little cubby holes on each side there are 2 screws, undo these then unclip the loose section from the top. On the drivers side this holds all the light/start button wiring, these don't need to be disconnected.
Behind the removed covers are 2 further screws to undo on each side. Once these are undone the vents can be loosened off at the top but pulling rearwards, you don't need to completely remove them just enough to access the dash panel.
Remove radio
Next the radio can be removed. I chose to remove the radio while it was still mounted in the bracket rather than remove the radio then remove the bracket.
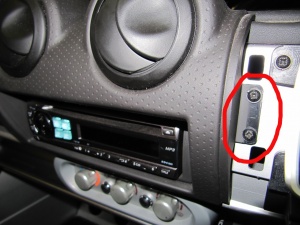
Remove the 3 screws holding the radio in, there are 2 on the driver side, 1 on the airbag side.
The radio can then be pulled out, again it doesn't need disconnected or even completely removed if you're happy with it hanging half out of the slot.
Unscrew the dashboard
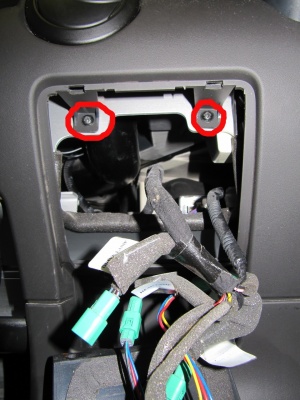
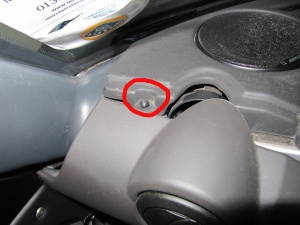
There are 4 screws on the top of the dash that will now be exposed. 1 at each end under where the side vents were, 1 right in the middle where the vents were and one hidden behind the speedo unit. Unscrew all of these.
Remove the dashboard
The dashboard is now almost free to remove. Lift the panel up to expose the speaker wires and disconnect these on both sides.
The dash can then be lifted out. I found it best to lift the passenger side a little first but take it out driver side first to allow it to be lifted over the speedo. You can loosen the speedo unit off to make this easier.
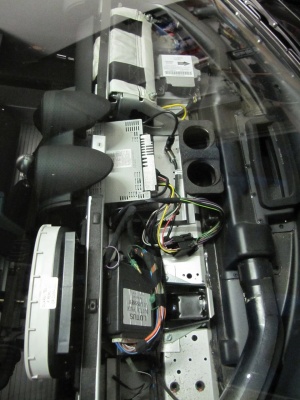
You should now see something similar to the following picture.
