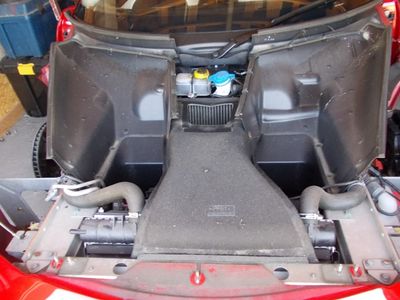
Evora front bumper removal
Guide to removing the front bumper on the Lotus Evora. By Hyperviper: https://forums.seloc.org/p/7804860
Jack up car
Jack up the car and remove the front wheels, place car on axle stands.
Remove arch liners
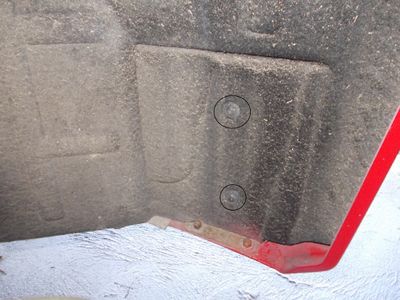
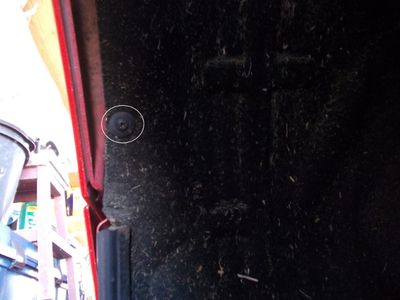
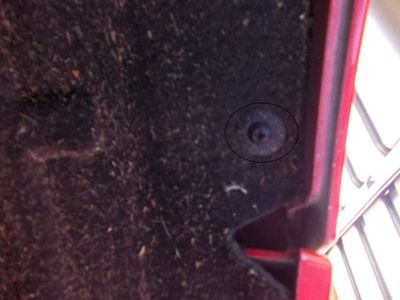
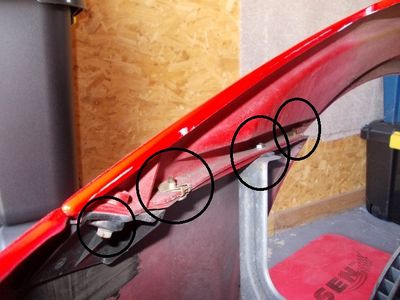
Remove the 8 fasteners from each wheel arch liner.
These 2 at the front (circled black)
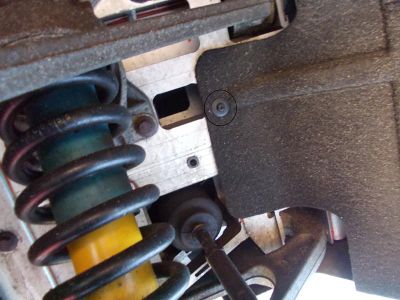
This one in front of the spring
This one behind the spring.
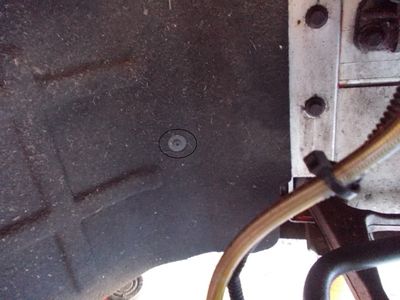
This one under the body behind the mudflap (it was dark - sorry)
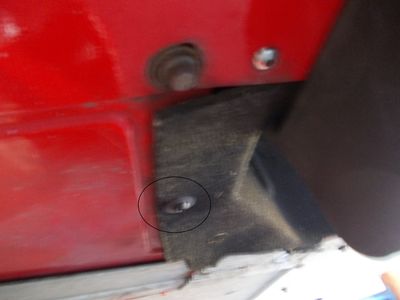
There are 3 more along the inside edge of the wheel arch, a plastic one just above the mudflap.
...a metal one at the top
...and finally another plastic one at the front of the arch, just above where the bumper and clam meet.
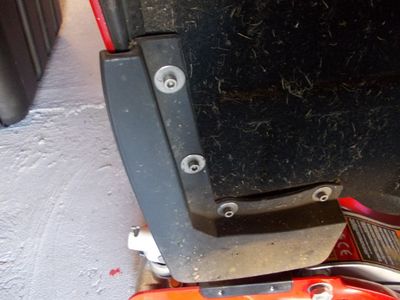
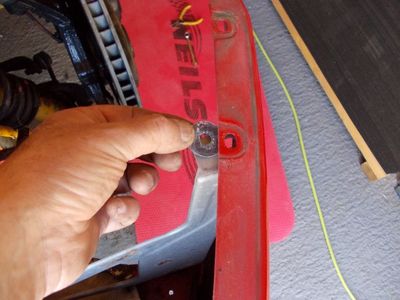
Remove Mudflap (4 screws - mine are stainless as i replaced the brackets and fasteners recently)
Now, gently pull away at the wheel arch liner and it will detach. Rest it on the front wheel to help keep it's shape. (well, that's what i did).
Repeat for other side.
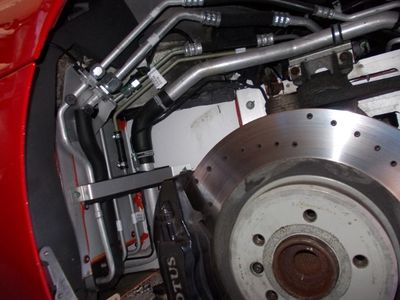
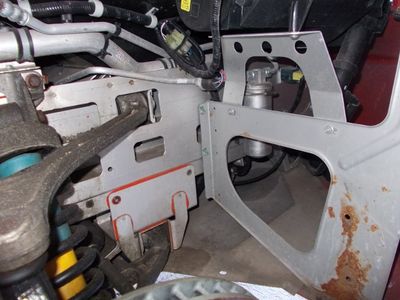
Now we can examine the chassis and pipework, brackets, fasteners etc.
Access hatch components
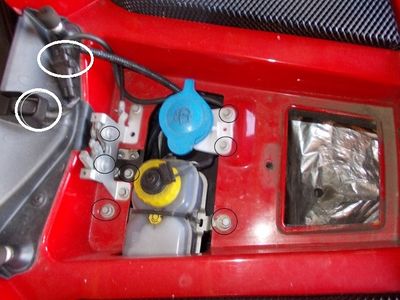
Open the front T-Panel and remove the 7 circled fasteners in black - and un-clip the washer hose and electric connector (circled in white).
The two screws holding the cable release need to be removed otherwise you'll be unable to remove the cable nipple through the latch hole.
Push the washer hose down into the hole and push back the release cable into the grommet hole.
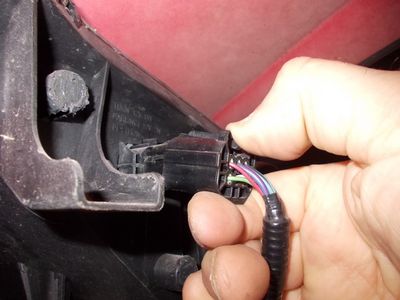
Unplug the headlight by squeezing the back of the plug in order to raise the latch hook at the front.
Headlight Removal
Undo the two button head screws holding the headlight to the bracket
Right down at the front (this is a bit of a stretch) loosen the 3rd headlight fixing screw - it does not need to be removed, just loose.
There is a slot in the mounting bracket that will allow the screw to slide out. - note any shims that might be present.
Here you can see what the bracket will look like (top left) just to give you an idea.
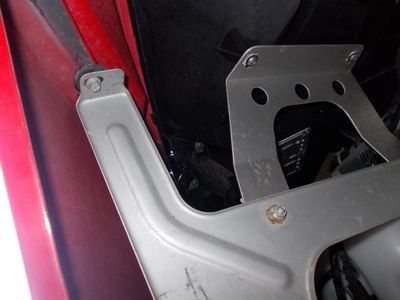
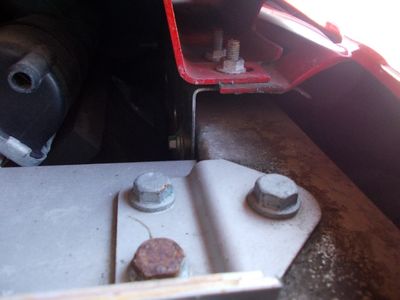
Remove the headlight support bracket (That rusty nut and it's mate to the right)
Unclip the washer hose from the headlight by pressing this square button and then sliding off.
The headlight can now be withdrawn through the wheel arch. Repeat for other side.
Remove these 4 screws noting how many shims are on the bracket stalk.
At the front of the clam, remove these two screws inside the front clam edge - there are 2 each end - use an offset ring spanner - works a treat.
An alternative is a tiny 1/4 ratchet with a shallow socket.
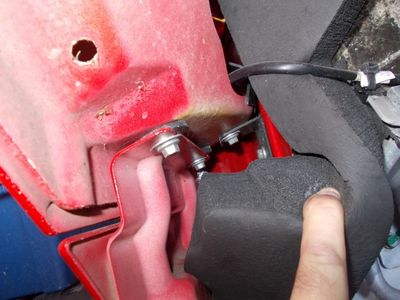
Pull out the packing foam between the wheel arch and the chassis, then remove the 3 screws holding the clam to the A-post / chassis (note the shim qty and location on each of the 2 A-Post fasteners)
Unclip and disconnect the side repeater connector.
Repeat for other side.
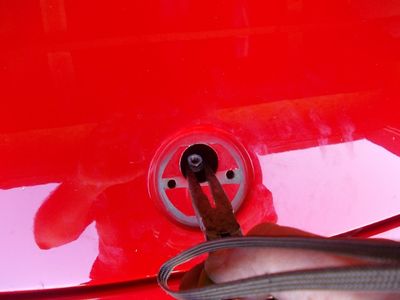
Bolt under badge
Now - remove the Lotus emblem badge from the clam nose, you can try dental floss, but i found a small plastic lever pivoting on a chunky pencil eraser provided sufficient leverage and protected the paint.
Don't try to force the badge - just apply gentle pressure and you'll slowly start to hear the foam tape tearing, don't panic and just keep a steady stance - eventually, the foam tape will yield without any further effort needed - just be patient - mine took about 3 minutes to "let go".
Remove the nut inside.
Clamshell Removal
Now, using a metric wife, lift off the clam - it'll be stuck to a couple of foam seals here and there, just gently work around these and it'll lift up and away.
Bumper Removal
At this point, the bumper removal is a doddle.
Just look under the car and remove all the fasteners holding the bumper to the under tray and to the two support brackets.
Then simply slide out.
Reassembly
The classic Haynes bit = refit is reversal of the above taking note of the various shims and their locations...
To refit the headlight, loosen the front screw (a lot) and then you can "slide" the screw back onto the bracket while levering the shim on top of the bracket as you go, I tried getting my fingers to hold it but it's a two-hand process - trouble is you can only get one hand in!
So slowly move the headlight towards the bracket - slightly tilted to help you see the shim as much as you can, then use a hooking motion - a bit like casting a fishing rod (I think - can't stand fishing - but you get the idea) to try to get the shim(s) to latch onto the top surface.
It's very satisfying when you get it right - then nip off the screw with your finger before fitting the headlight bracket - otherwise it'll fall out again (..ahem)
Aligning the headlight to the bodywork is relatively painless - using the 4 screws (the two button head fixing screws and the two slotted bracket mounting screws) will enable a range of movement that will provide sufficient gaps all round (well it did before it was taken apart). I found that pushing the front headlight screw to the front innermost corner of the mounting bracket (it's a square hole) gave a good initial start.
