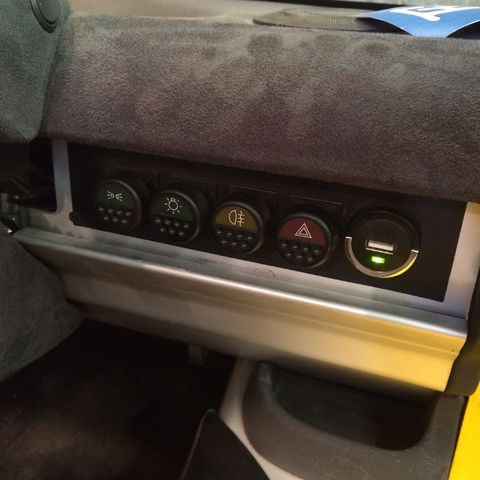
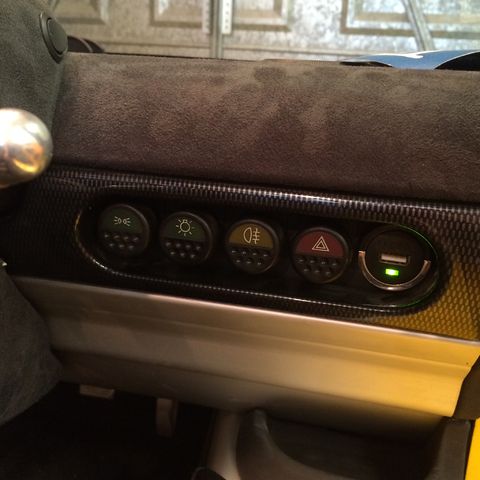
Additional power outlet for S1 dash
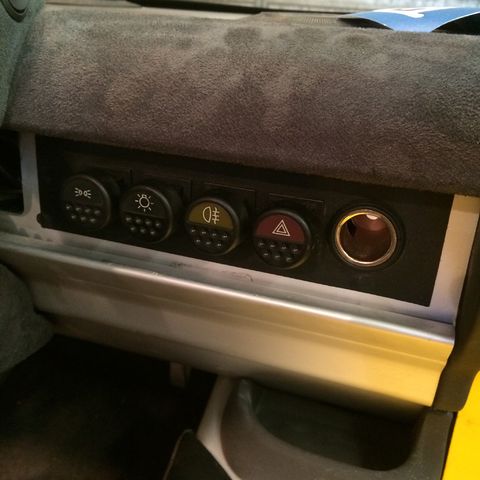
For those of you with satnav or other electronic device stuck to the windscreen, the S1 standard location for the 12v power outlet is not particularly convenient. Luckily, there's a quick and easy way to install an additional outlet in the dash, where the S1 light panel has a dummy switch installed.
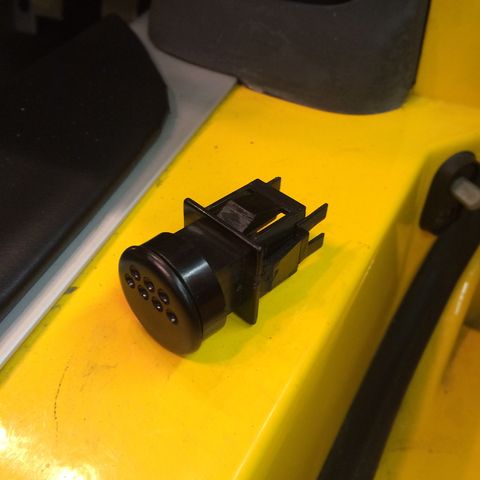
1. Check that the right-hand most "switch" in your light panel is a dummy. It's black and doesn't do anything. If it does something (Air-con in some non-uk cars, aftermarket start button), stop reading and go and have a chocolate hobnob and a cup of tea to contain your disappointment.
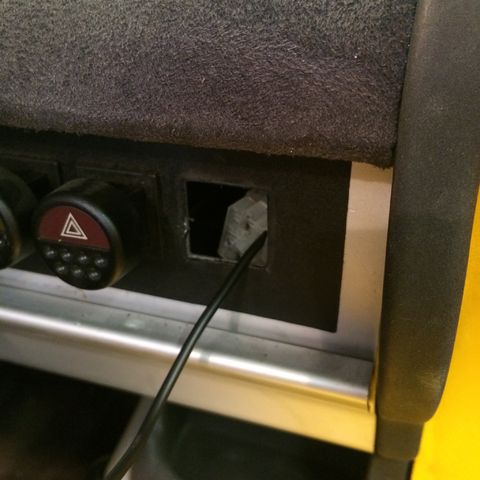
2. First job is to prise the dummy switch out. Remove the switch surround by sliding a non-metallic spatula into the gap between the plastic and the lower dash panel and lever down. The bottom of the plastic surround should pop out of it's slot and allow you to withdraw it by pulling out and down. You may need to finagle it around the steering column shroud to completely remove. The dummy switch has two retaining tangs that at normally oriented top and bottom. It's possible to get a very small flat-bladed screwdriver behind the switch flange and release one of the tangs, then holding it in position (to stop it snapping back in) do the same at the bottom.
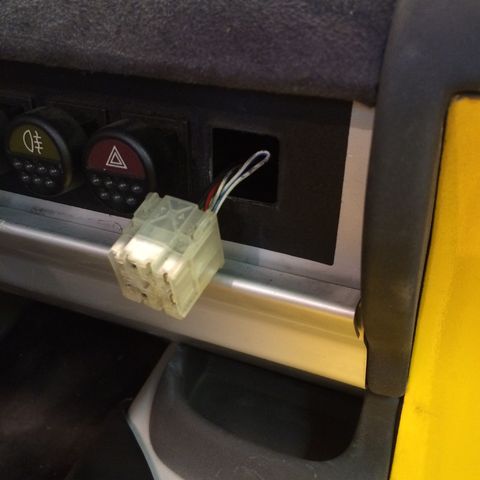
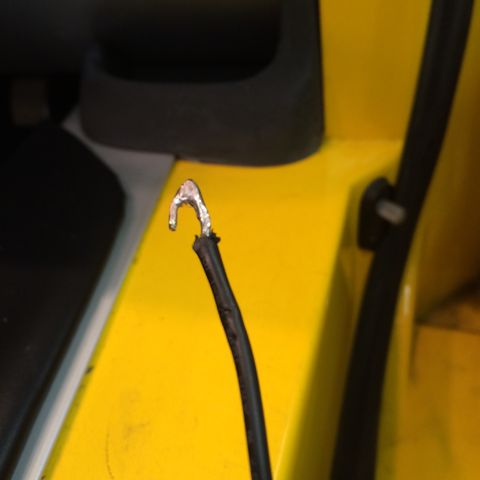
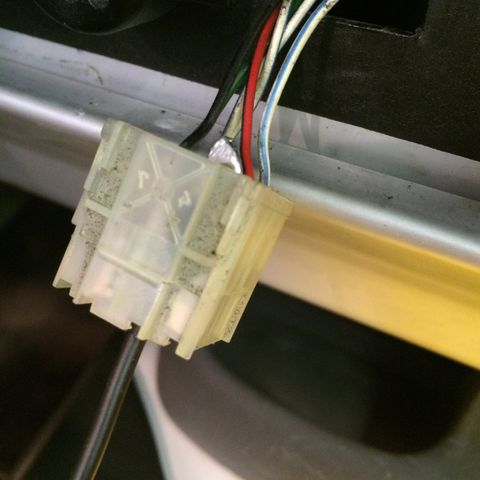
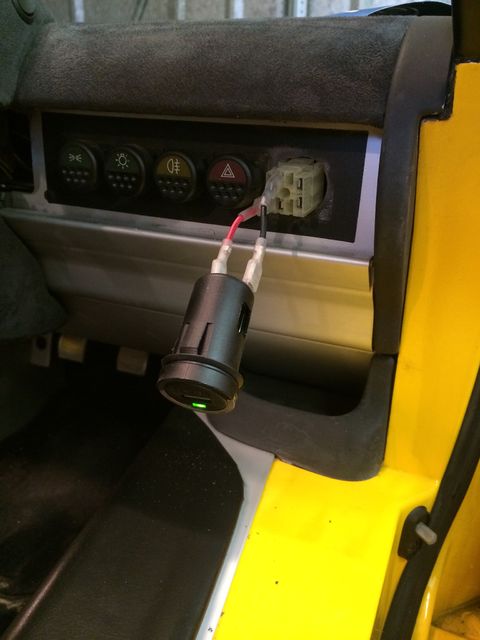
3. The dummy switch is connected to an electrical connector in the dash. This connector already has a switched live and an earth connection so no advanced vehicle electrical modification is needed. You will need some method of fishing the connector out of the dash innards later - I used a bit of old wire with the end soldered into a hook shape which was then inserted through a spare "way" in the connector block.
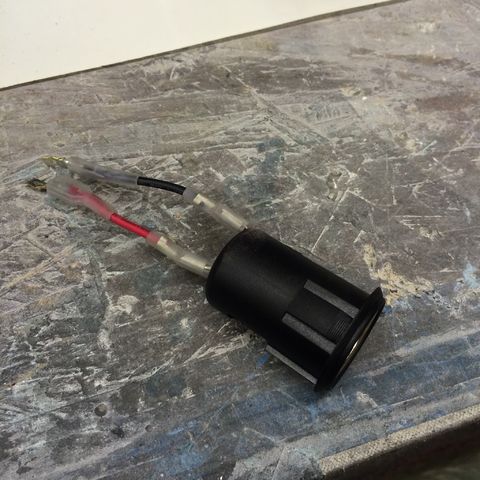
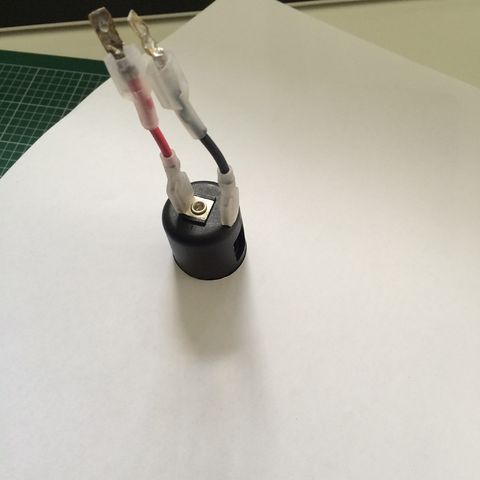
4. Obtain a panel mount 12v power outlet - I got mine for about a fiver from amazon. Measure the outside diameter of the barrel of the power outlet. Mine was 28mm. It came with wires attached. I just soldered blade connectors that would fit into the dummy switch connector block onto the existing wires.
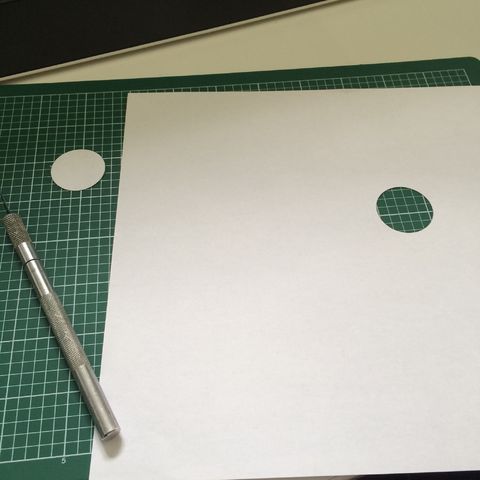
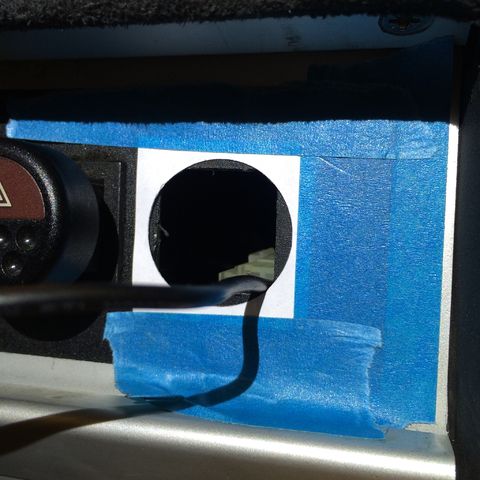
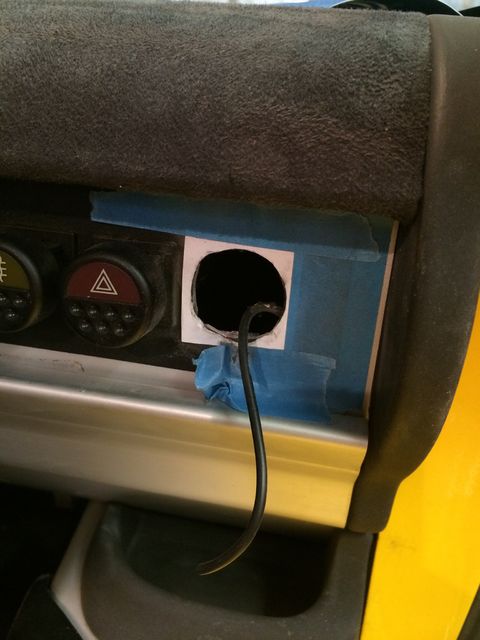
5. Draw a 28mm diameter circle (or however big your power outlet diameter is) on a piece of paper and cut it out. Then cut the "hole" in the paper out so you can tape it to the dash panel, over the square hole where the dummy switch was. It will work best if you offset the template to the right by about 1-2mm. Don't go too far though otherwise the switch surround won't go back on. Once it's taped into place, get your dremel (fast) or file (slow) out.
6. Grind/file the dash plate out so that you have no metal showing through your paper template. When you have done this and removed the template, you'll have a weird shaped hole that is round with square corners. This is normal. Hoover/wipe off all the aluminium filings/grindings before continuing.
7. Fish out the electrical connector and hook your power outlet up to it. The live wire from the power outlet (normally red) goes to the green and black wire in the connector. The earth wire (normally black) goes to black. Connect some accessory (I used a USB adaptor with an LED indicator) and turn on the ignition. Your accessory should burst into life.
8. Unplug your accessory from the power outlet and push it fully home into the hole you've made. RECONNECT YOUR ACCESSORY AND RETEST.
9. Refit the light switch surround and you're done. Have a cup of tea and a celebratory chocolate hobnob.....
