Difference between revisions of "Indicators"
Jump to navigation
Jump to search
m (work under progress) |
m |
||
| Line 1: | Line 1: | ||
===Indicators=== | ===Indicators=== | ||
| − | + | '''PLEASE ADD INFO''' | |
| − | |||
| − | |||
| − | |||
| − | |||
| − | |||
S2 Indicators | S2 Indicators | ||
| Line 13: | Line 8: | ||
'''Lotus Part Number: PLEASE ADD INFO''' | '''Lotus Part Number: PLEASE ADD INFO''' | ||
| − | Clips Can brake on the S2 Indicators making them 'pop' out, and your indicator unit will need replacing, or if you a [http://en.wikipedia.org/wiki/Skinflint skinflint] like SELOC member [http://forums.seloc.org/member.php?action=viewpro&member=dobbin Dobbin] you can use this handy trick: | + | The Clips Can brake on the S2 Indicators making them 'pop' out, and your indicator unit will need replacing, or if you a [http://en.wikipedia.org/wiki/Skinflint skinflint] like SELOC member [http://forums.seloc.org/member.php?action=viewpro&member=dobbin Dobbin] you can use this handy trick: |
*Drill a hole in what's left of bottom indicator tab and then feed a length of nylon shock cord through it. | *Drill a hole in what's left of bottom indicator tab and then feed a length of nylon shock cord through it. | ||
| Line 29: | Line 24: | ||
{{clr}} | {{clr}} | ||
| − | * | + | *Once the indicator is poped back in you can then pull the cord as tight as you like. |
| + | |||
| + | [[Image:cord3.jpg|thumb|left|Pulling The Cord Tight Around The Driving Light.]] | ||
| + | {{clr}} | ||
| + | |||
| + | *You can just see the nylon cord, You can usually tuck it well out of the way. | ||
| + | |||
| + | [[Image:cord4.jpg|thumb|left|Jobs A Carrot.]] | ||
| + | {{clr}} | ||
Revision as of 10:30, 2 February 2007
Indicators
PLEASE ADD INFO
S2 Indicators
Lotus Part Number: PLEASE ADD INFO
The Clips Can brake on the S2 Indicators making them 'pop' out, and your indicator unit will need replacing, or if you a skinflint like SELOC member Dobbin you can use this handy trick:
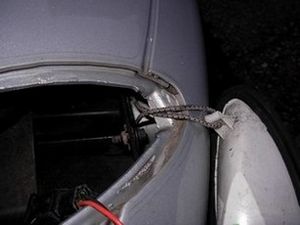
- Drill a hole in what's left of bottom indicator tab and then feed a length of nylon shock cord through it.
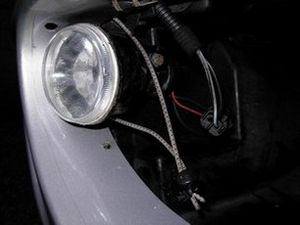
- Both ends fed around the driving light and apssed through one of those springy toggles you get on jackets.
Then tied together with a cable tie around the driving light.
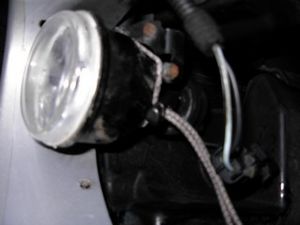
- Once the indicator is poped back in you can then pull the cord as tight as you like.
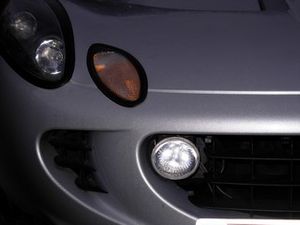
- You can just see the nylon cord, You can usually tuck it well out of the way.


