Jacking points
Side
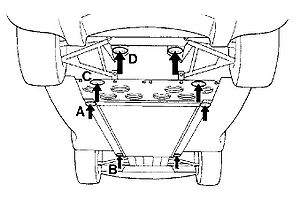
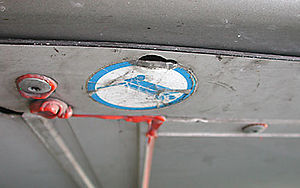
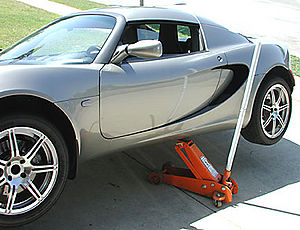
A in the above image. Marks the single point per side jacking point, marked with a blue jacking point sticker on the underside of the car. This jacking point will allow you to raise both wheels on one side of the car at the same time.
Front
B in the above image. Marks a jacking point that should be used when the car is raised on a 4 point lift, in conjunction with the C point (below)
Both B points can be used together to support the front of the car when work requires both front wheels to be removed. This can be with conventional axle stands or more stably, two boxes (5 reams) of paper.
C
Marks a jacking point, in the fuel tank bay shear panel, whcih should be used in conjunction with point B (above) when raising the car on a 4 point lift. This jacking point cannot be used without removing the undertray.
D
Marks a jacking point that may be user to raise the rear of the car. This jacking point cannot be used without removing the undertray.


