Uploads by Andrew S
Jump to navigation
Jump to search
This special page shows all uploaded files.
| Date | Name | Thumbnail | Size | Description | Versions |
|---|---|---|---|---|---|
| 22:44, 8 August 2006 | Elises2111ssupersportroundtails.jpg (file) |  |
22 KB | 1 | |
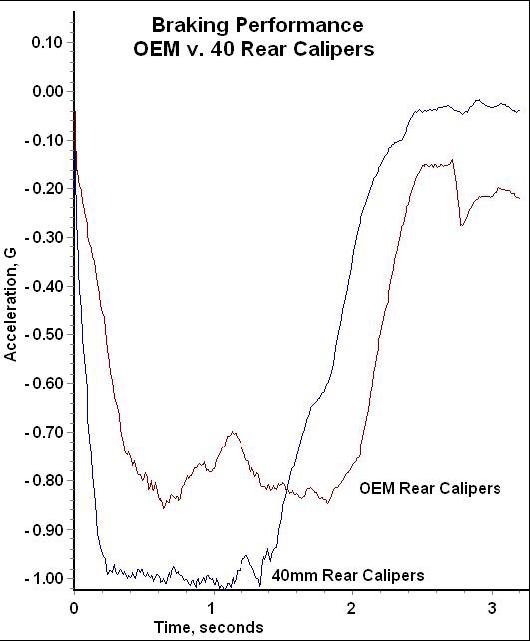
| 00:40, 27 February 2007 | Brembo Caliper 15.JPG (file) |  |
23 KB | 1 | |
| 14:35, 13 August 2006 | S2 Roadsport Round.jpg (file) |  |
25 KB | 1 | |
| 00:37, 27 February 2007 | Brembo Caliper 13.JPG (file) |  |
25 KB | 1 | |
| 11:12, 6 August 2006 | Polybush 5.JPG (file) |  |
25 KB | 1 | |
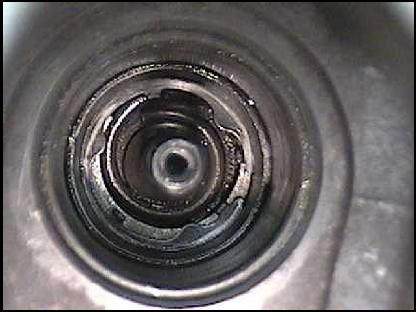
| 16:54, 11 October 2008 | Scored Polyurethene Bush Sleeve.JPG (file) |  |
25 KB | 1 | |
| 11:32, 6 August 2006 | Polybush 4.JPG (file) |  |
25 KB | 1 | |
| 13:49, 2 September 2006 | EBC Green Stuff.jpg (file) |  |
26 KB | 1 | |
| 23:13, 8 August 2006 | Qselises1supersport.jpg (file) |  |
27 KB | 1 | |
| 14:25, 13 August 2006 | S2 Supersport Oval.jpg (file) |  |
27 KB | 1 | |
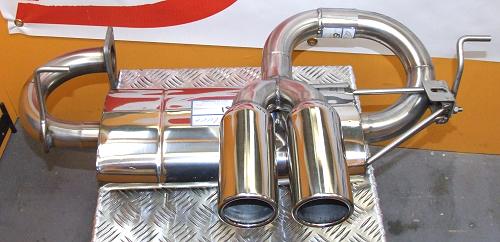
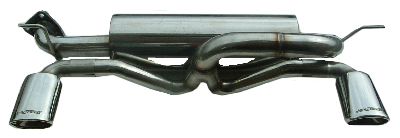
| 00:08, 9 August 2006 | Dualmuffler2 medium.jpg (file) |  |
28 KB | 1 | |
| 17:34, 12 August 2006 | 19h Snubber Washer.JPG (file) |  |
28 KB | 1 | |
| 14:30, 7 November 2006 | Bastuck S2.jpg (file) |  |
28 KB | 1 | |
| 14:18, 7 November 2006 | Bastuck S1.jpg (file) |  |
30 KB | 1 | |
| 23:21, 26 February 2007 | Brembo Caliper 2.JPG (file) |  |
30 KB | 1 | |
| 22:56, 8 August 2006 | QSEliseS2SuperSport.jpg (file) |  |
30 KB | 1 | |
| 01:10, 27 February 2007 | Brembo Caliper 28.JPG (file) |  |
31 KB | 1 | |
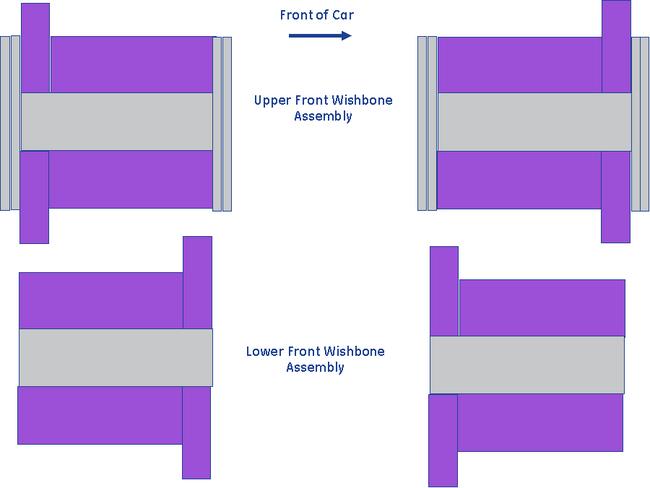
| 14:11, 12 August 2006 | 19e Upper Rear Wishbone Bush Showing Embedded Shims Removed.JPG (file) | 32 KB | 1 | ||
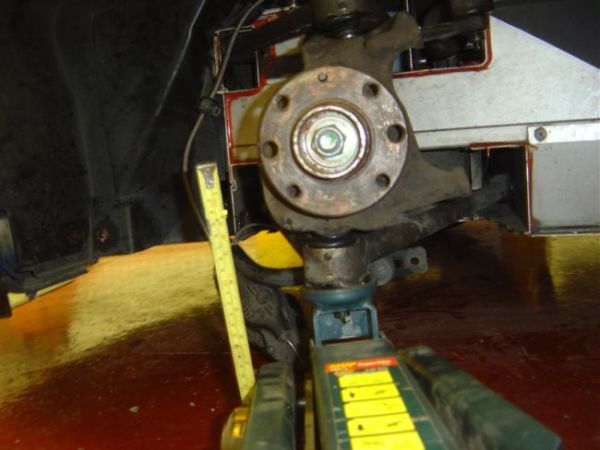
| 09:40, 18 June 2006 | 2. Measuring Lower Wishbone Height.JPG (file) |  |
32 KB | How to change a Ball Joint and a Damper This procedure details how to change the offside lower front ball joint and damper assembly. The nearside front is an identical procedure and the upper front ball joints follow a similar procedure. The rear ball j | 1 |
| 14:11, 12 August 2006 | 19c Upper Rear Wishbone Bush Fitted.JPG (file) |  |
32 KB | 1 | |
| 14:11, 12 August 2006 | 19b Upper Front Wishbone Bush Fitted.JPG (file) |  |
35 KB | 1 | |
| 14:12, 12 August 2006 | 19f Upper Rear Wishbone Bush Fitted With Large Diameter Shims.JPG (file) | 35 KB | 1 | ||
| 14:11, 12 August 2006 | 19d Upper Rear Wishbone Bush showing Both Shims Embedded.JPG (file) | 36 KB | 1 | ||
| 09:42, 18 June 2006 | 3. Loosening Road Wheel Bolts.JPG (file) |  |
36 KB | Step 2. Loosen the bolts on the road wheel | 1 |
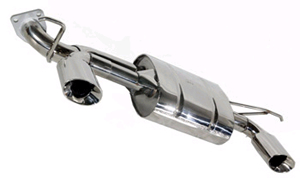
| 23:55, 8 August 2006 | Twintip medium.jpg (file) |  |
36 KB | 1 | |
| 00:02, 9 August 2006 | Singletip medium.jpg (file) |  |
36 KB | 1 | |
| 23:27, 26 February 2007 | Brembo Caliper 4.JPG (file) |  |
37 KB | 1 | |
| 10:09, 18 June 2006 | 37. Leaking Damper.JPG (file) |  |
38 KB | This is an example of a badly leaking damper. | 1 |
| 10:08, 18 June 2006 | 35. Tightening Wheel Bolts.JPG (file) |  |
38 KB | Step 33. Refit the road wheel and nip up the wheel bolts. Check that there is no side to side play by trying to rock the wheel at a quarter to three. | 1 |
| 23:03, 31 July 2006 | 16c Lower Wishbone.JPG (file) |  |
39 KB | 1 | |
| 23:03, 31 July 2006 | 16a Remove Lower Wishbone 1.JPG (file) |  |
39 KB | 1 | |
| 23:03, 31 July 2006 | 17 Both Wishbones Removed.JPG (file) |  |
40 KB | 1 | |
| 15:37, 8 August 2006 | Polybush4.JPG (file) |  |
40 KB | 1 | |
| 00:41, 27 February 2007 | Brembo Caliper 18.JPG (file) |  |
40 KB | 1 | |
| 23:01, 31 July 2006 | 15a Upper Wishbone Removed 1.JPG (file) |  |
40 KB | 1 | |
| 14:37, 13 August 2006 | S2 Roadsport Oval.jpg (file) |  |
41 KB | 1 | |
| 15:37, 8 August 2006 | Polybush5.JPG (file) |  |
42 KB | 1 | |
| 22:59, 31 July 2006 | 13 The spring Clips Usually Come Off the Balljoint Rubber.JPG (file) |  |
42 KB | 1 | |
| 10:05, 18 June 2006 | 31. Damper And Lower Ball Joint Fitted.JPG (file) |  |
42 KB | Step 29. The damper and lower ball joint are now fitted. Note that the caliper is now repositioned to alleviate the straining on the brake pipe back in step 19. | 1 |
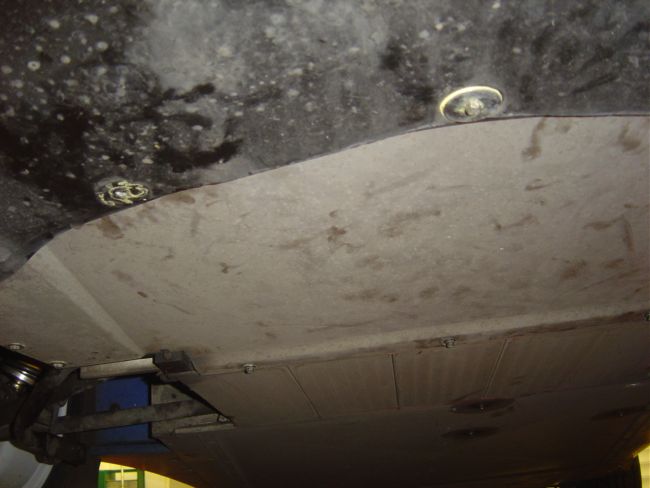
| 23:09, 31 July 2006 | 30 Refit Front Undertray.JPG (file) |  |
42 KB | 1 | |
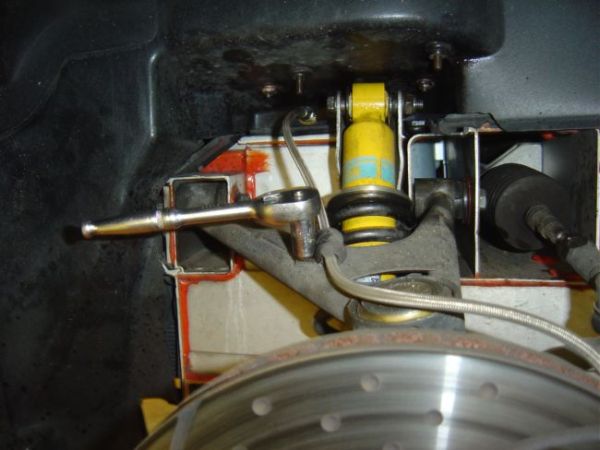
| 09:50, 18 June 2006 | 7. Securing Front Brake Caliper.JPG (file) |  |
42 KB | Step 6. Secure the brake caliper so that it does not get in the way of removing the ball joint. Ensure that the brake line is not under strain and taking the weight of the caliper. You may wish to use a cable tie to secure the caliper out of the way. | 1 |
| 09:51, 18 June 2006 | 9. Splitting Lower Ball Joint.JPG (file) |  |
43 KB | Step 8. Split the ball joint from the hub carrier. You may wish to use a fork splitter with a few hard hits with a club hammer. Alternatively you could use a scissor splitter. | 1 |
| 23:02, 31 July 2006 | 15b Upper Wishbone Removed 2.JPG (file) |  |
43 KB | 1 | |
| 23:08, 31 July 2006 | 26 Slacken Off Brake Pad.JPG (file) |  |
43 KB | 1 | |
| 22:57, 31 July 2006 | 3 Lift Car Using Rear Jacking Point.JPG (file) |  |
43 KB | 1 | |
| 09:59, 18 June 2006 | 21. Shock Assembly Removed.JPG (file) |  |
43 KB | Step 20. The assembly is now off the car and is waiting for the spring to be removed. | 1 |
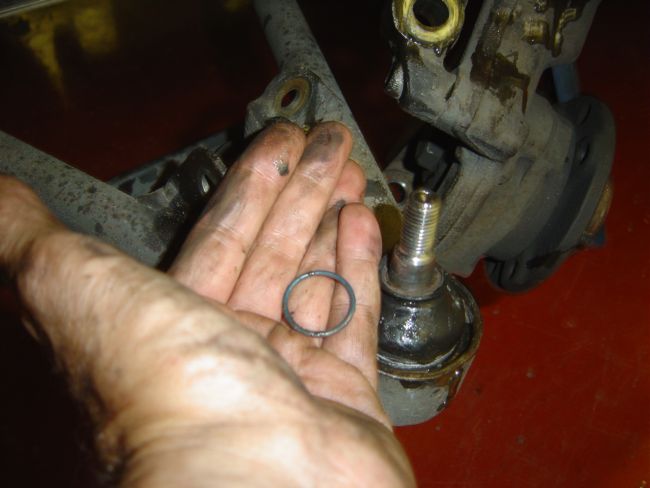
| 09:50, 18 June 2006 | 8. Removing Lower Ball Joint Nut.JPG (file) |  |
44 KB | Step 7. Remove the ball joint nut . Use a 19mm ring/open ended spanner for the lower ball joint. You need to start with the ring end and transfer to the open end after winding the nut half the way up, otherwise the ring spanner will get stuck between the | 1 |
| 23:07, 31 July 2006 | 24 Fit Hub Assembly.JPG (file) |  |
44 KB | 1 | |
| 22:57, 31 July 2006 | 5 Remove Brake Pipe Clamp.JPG (file) |  |
44 KB | 1 | |
| 00:15, 27 February 2007 | Brembo Caliper 7.JPG (file) |  |
44 KB | 1 |