Uploads by Andrew S
Jump to navigation
Jump to search
This special page shows all uploaded files.
| Date | Name | Thumbnail | Size | Description | Versions |
|---|---|---|---|---|---|
| 17:46, 9 August 2006 | 000004.jpg (file) |  |
5 KB | 1 | |
| 17:53, 9 August 2006 | 001369.jpg (file) |  |
4 KB | 1 | |
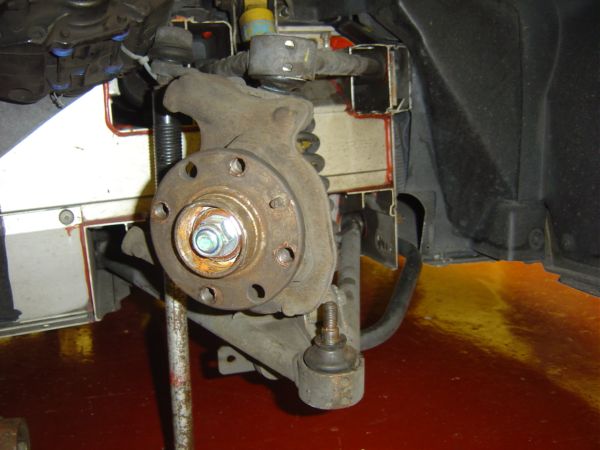
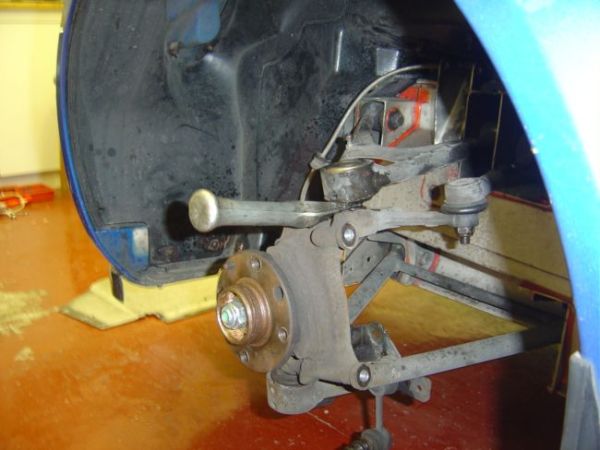
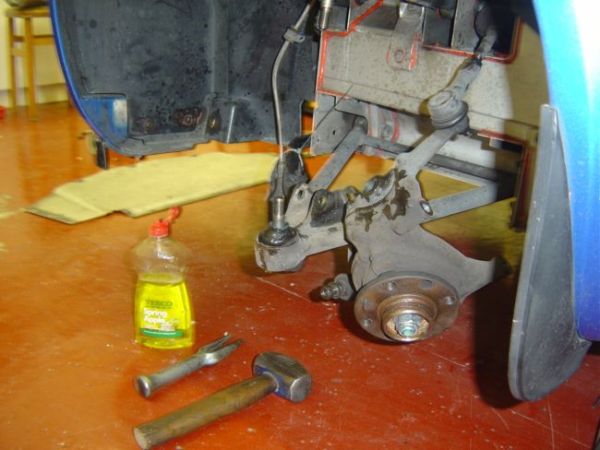
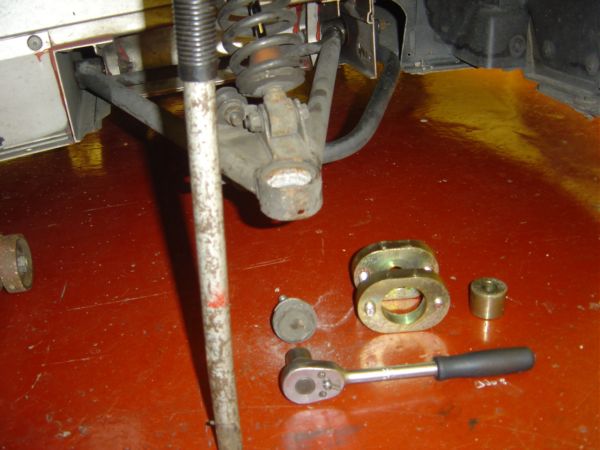
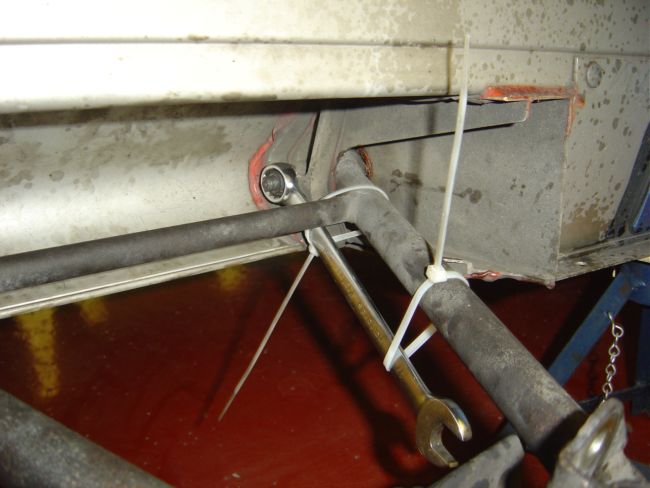
| 09:52, 18 June 2006 | 10. Lower Ball Joint Split From Hub Carrier.JPG (file) |  |
46 KB | Step 9. When the ball joint is split from the hub carrier move carrier out of the way. You could use a trolley jack handle as a prop for the hub carrier under the track rod end bolt. Remove the ball joint rubber dust cover. | 1 |
| 22:59, 31 July 2006 | 10 Remove Upper & Lower Ball Joint Nuts.JPG (file) |  |
45 KB | 1 | |
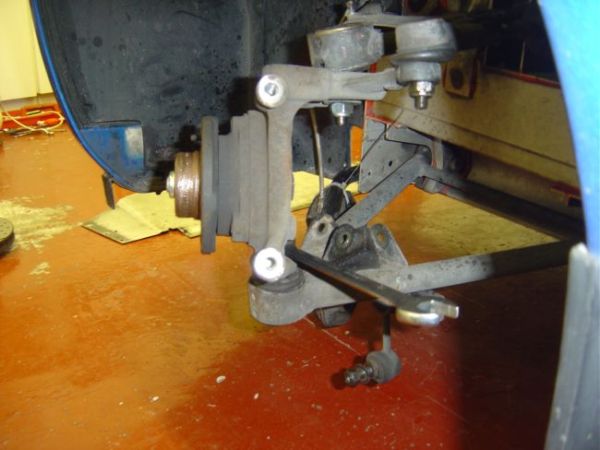
| 09:52, 18 June 2006 | 11. Steering Wheel Set To Full Lock.JPG (file) |  |
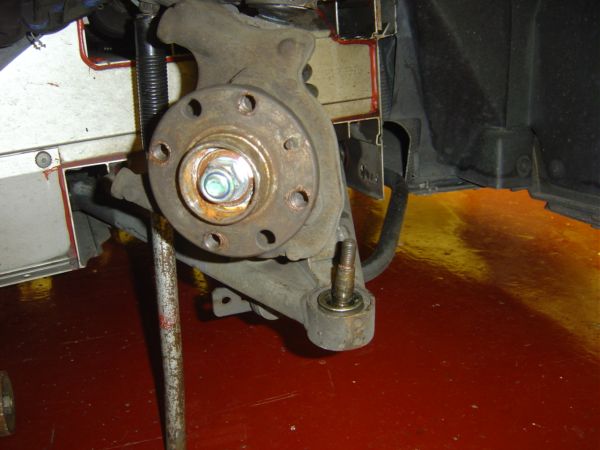
45 KB | Step 10. Turn the steering wheel to full lock to move the hub carrier out of the way, so you can fit a ball joint removal tool. | 1 |
| 17:04, 9 August 2006 | 111F1-t.jpg (file) |  |
5 KB | 1 | |
| 17:07, 9 August 2006 | 111RSE2-t.jpg (file) |  |
5 KB | 1 | |
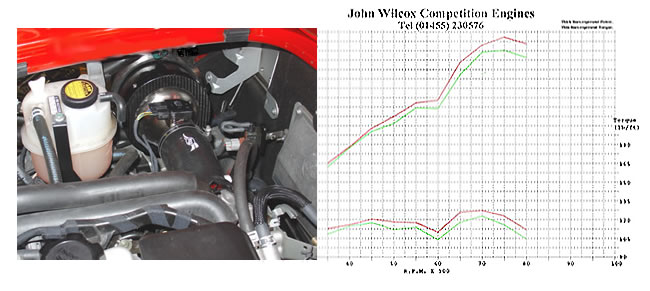
| 14:46, 6 February 2007 | 111R and S2 Exige ITG Maxogen.jpg (file) |  |
51 KB | 1 | |
| 14:43, 6 February 2007 | 111R and S2 Exige ITG Panel Filter.gif (file) |  |
52 KB | 1 | |
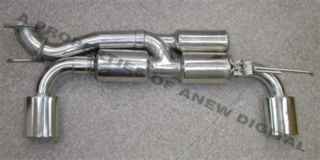
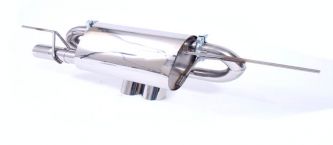
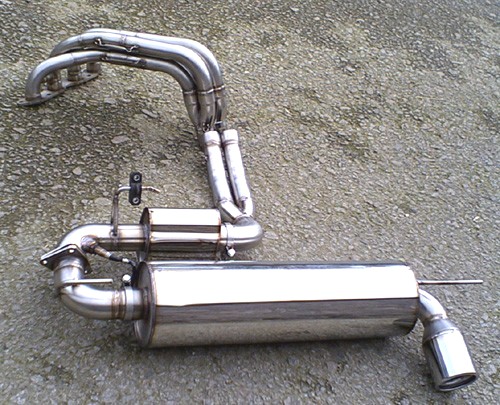
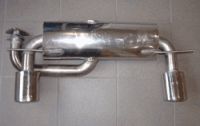
| 20:28, 9 August 2006 | 111S2bularfullperformancesystem.jpg (file) |  |
91 KB | 1 | |
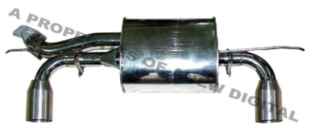
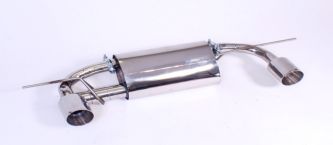
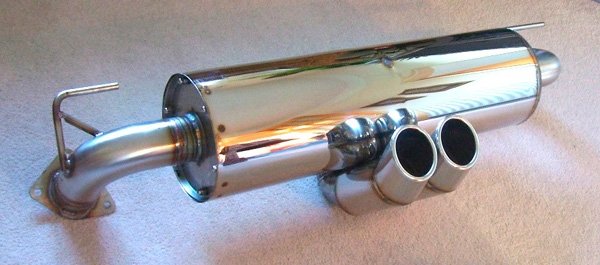
| 20:31, 9 August 2006 | 111Sprotypelargesilencertwin3inchdtm.jpg (file) |  |
136 KB | 1 | |
| 22:59, 31 July 2006 | 11 Remove Both Ball Joints.JPG (file) |  |
46 KB | 1 | |
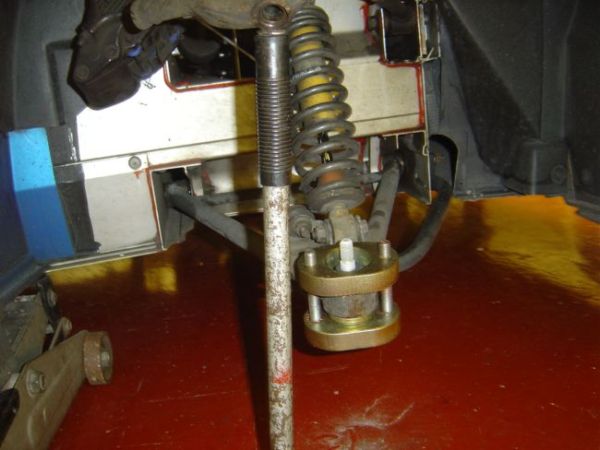
| 09:53, 18 June 2006 | 12. Ball Joint Removal Tool Assembled.JPG (file) |  |
48 KB | Step 11. Assemble the ball joint removal tool and make sure that you coat the bolt threads with plenty of copper grease. This is an Elise Parts ball joint removal tool. | 1 |
| 22:59, 31 July 2006 | 12 Hub Carrier Removed.JPG (file) |  |
50 KB | 1 | |
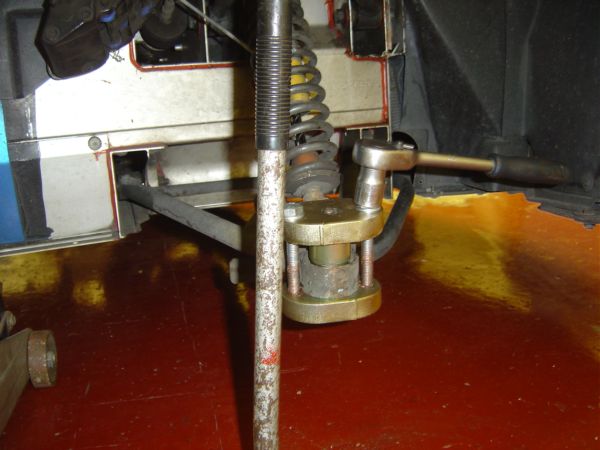
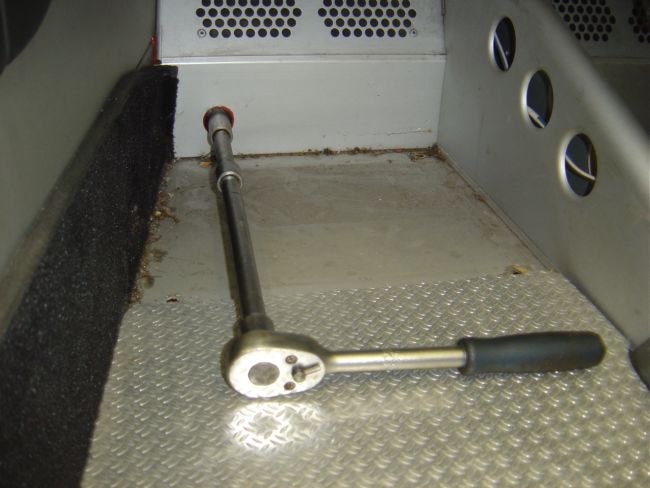
| 09:54, 18 June 2006 | 13. Removing Ball Joint.JPG (file) |  |
46 KB | Step 12. Using a 19mm socket/ratchet , tighten the bolts 2 turns each keeping them even. | 1 |
| 22:59, 31 July 2006 | 13 The spring Clips Usually Come Off the Balljoint Rubber.JPG (file) |  |
42 KB | 1 | |
| 09:54, 18 June 2006 | 14. Ball Joint Removed.JPG (file) |  |
48 KB | Step 13. The ball joint pops out very easily. | 1 |
| 23:00, 31 July 2006 | 14a Remove the Upper Wishbone 1.JPG (file) |  |
46 KB | 2 | |
| 23:01, 31 July 2006 | 14b Remove The Upper Wishbone 2.JPG (file) |  |
49 KB | 1 | |
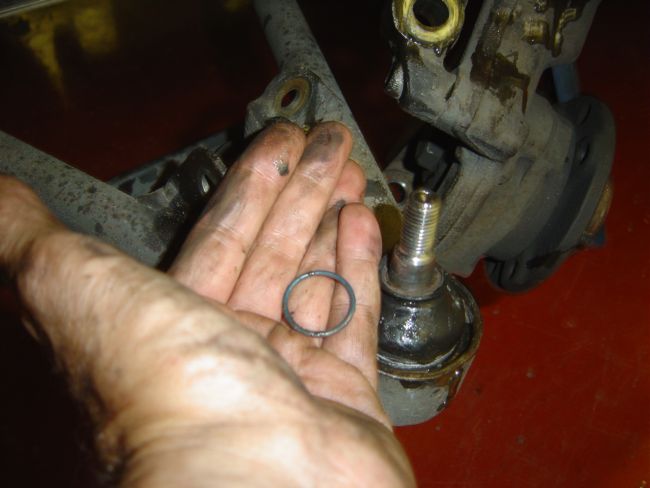
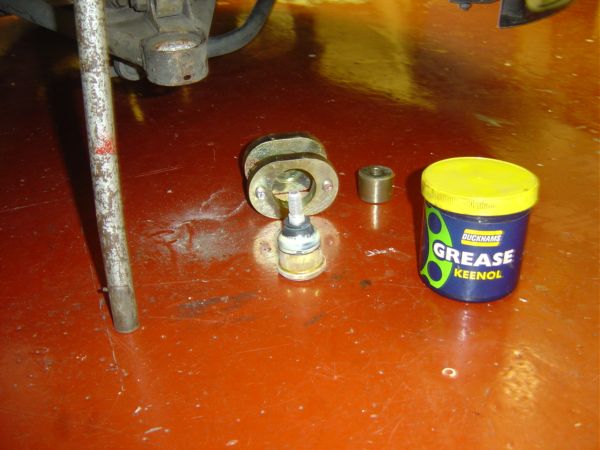
| 09:55, 18 June 2006 | 15. Greasing New Ball Joint Rubber.JPG (file) |  |
47 KB | Step 14. You may wish to put new ball joints in the freezer for a day or two. This ensures an easy fit into the wishbone. Grease the rubber dust cover so that it does not snag. | 1 |
| 18:57, 11 August 2006 | 154 0.jpg (file) |  |
4 KB | 1 | |
| 19:02, 11 August 2006 | 155 0.jpg (file) |  |
4 KB | 1 | |
| 23:01, 31 July 2006 | 15a Upper Wishbone Removed 1.JPG (file) |  |
40 KB | 1 | |
| 23:02, 31 July 2006 | 15b Upper Wishbone Removed 2.JPG (file) |  |
43 KB | 1 | |
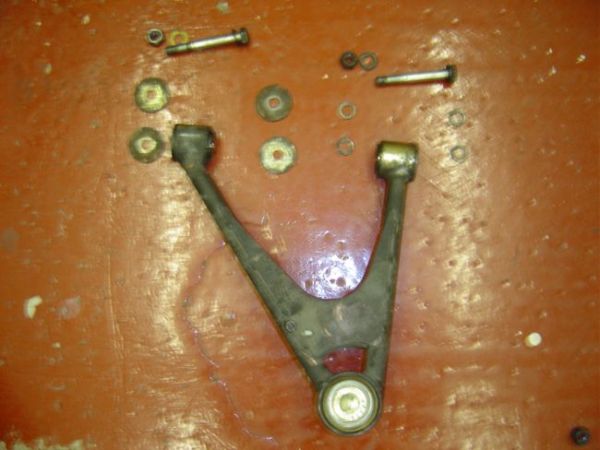
| 23:02, 31 July 2006 | 15c Upper Wishbone.JPG (file) |  |
44 KB | 1 | |
| 09:56, 18 June 2006 | 16. Fitting New Ball Joint.JPG (file) |  |
47 KB | Step 15. Hand fit the new ball joint into the wishbone. It should go in easily if it is frozen as it will be slightly contracted. | 1 |
| 23:03, 31 July 2006 | 16a Remove Lower Wishbone 1.JPG (file) |  |
39 KB | 1 | |
| 23:03, 31 July 2006 | 16b Remove Lower Wishbone 2.JPG (file) |  |
50 KB | 1 | |
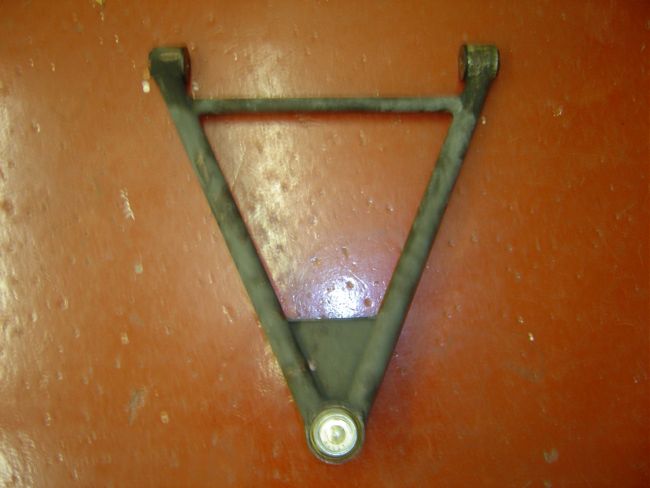
| 23:03, 31 July 2006 | 16c Lower Wishbone.JPG (file) |  |
39 KB | 1 | |
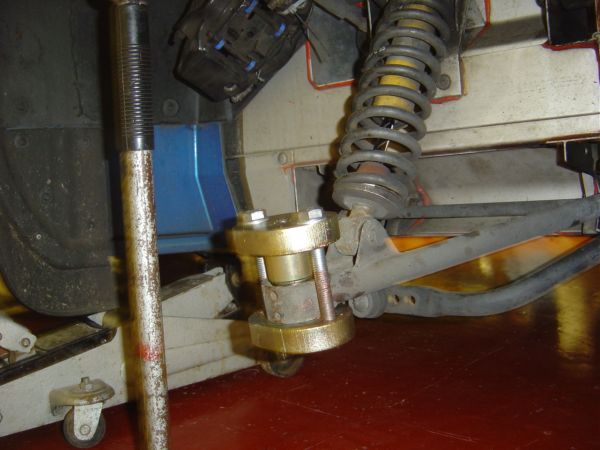
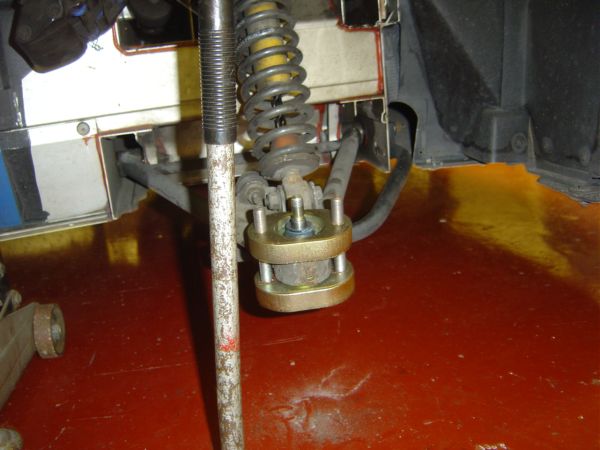
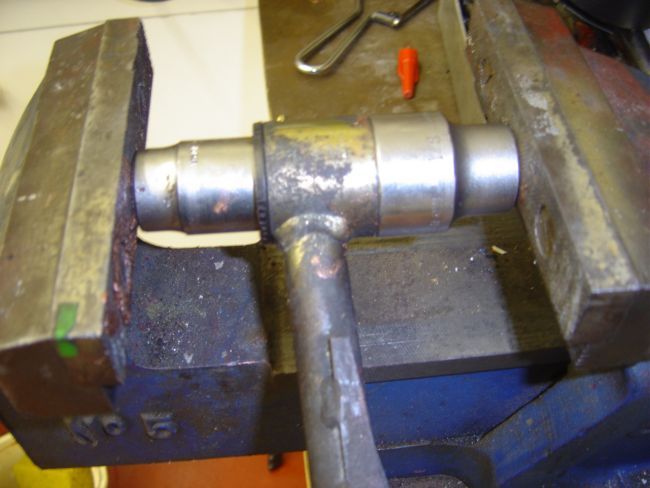
| 09:56, 18 June 2006 | 17. Ball Joint Assembly Tool.JPG (file) |  |
44 KB | Step 16. Fit the ball joint assembly tool and hand tighten the bolts making sure everything is evenly spaced. | 1 |
| 23:03, 31 July 2006 | 17 Both Wishbones Removed.JPG (file) |  |
40 KB | 1 | |
| 09:57, 18 June 2006 | 18. Ball Joint Fitted.JPG (file) |  |
46 KB | Step 17. Tighten the bolts two turns at a time until the ball joint is seated. The heat created during fitting will defrost the ball joint. | 1 |
| 23:04, 31 July 2006 | 18a Remove Sleeve from Polybush.JPG (file) |  |
46 KB | 1 | |
| 23:04, 31 July 2006 | 18b Remove Polybush From Wishbone.JPG (file) |  |
45 KB | 1 | |
| 23:04, 31 July 2006 | 18c Remove Standard Bush From Wishbone.JPG (file) |  |
49 KB | 1 | |
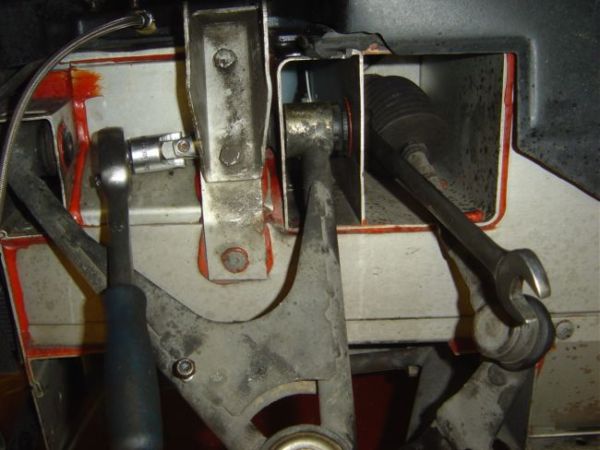
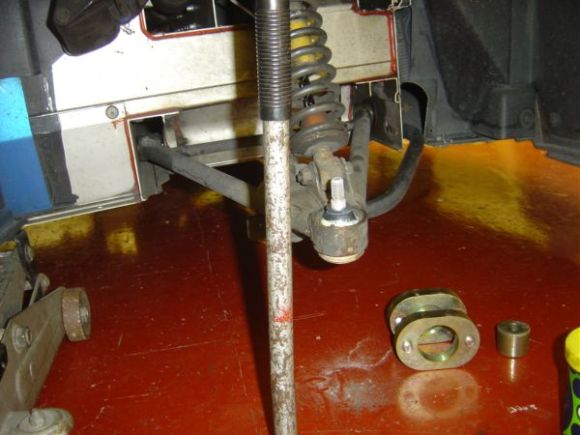
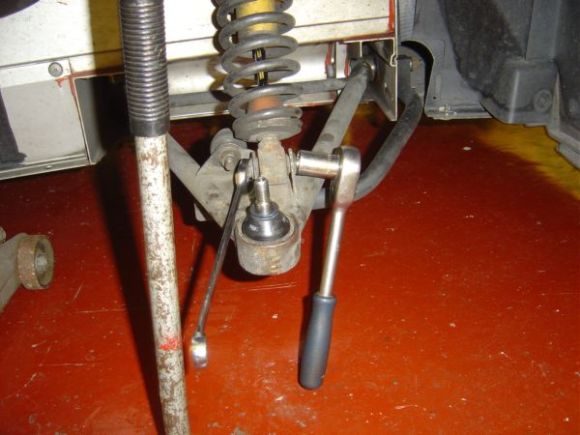
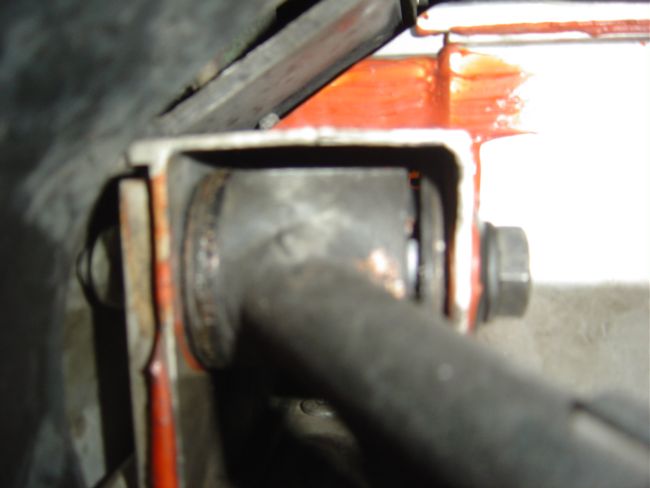
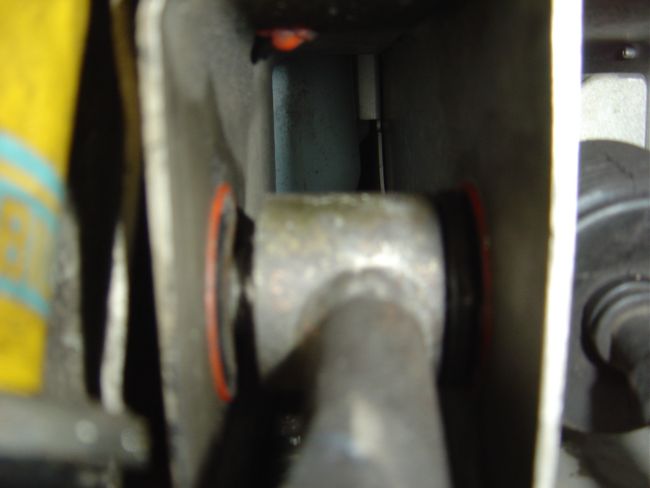
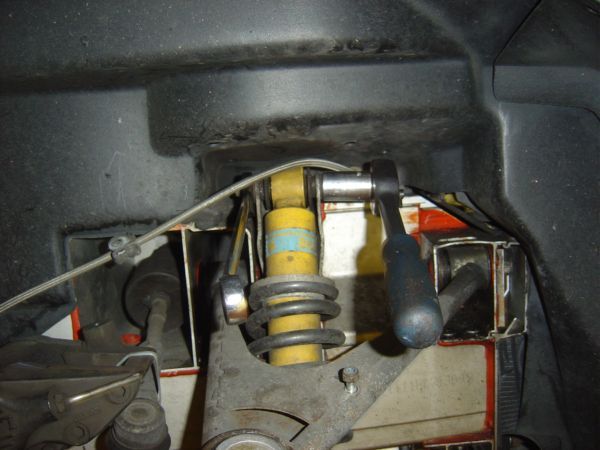
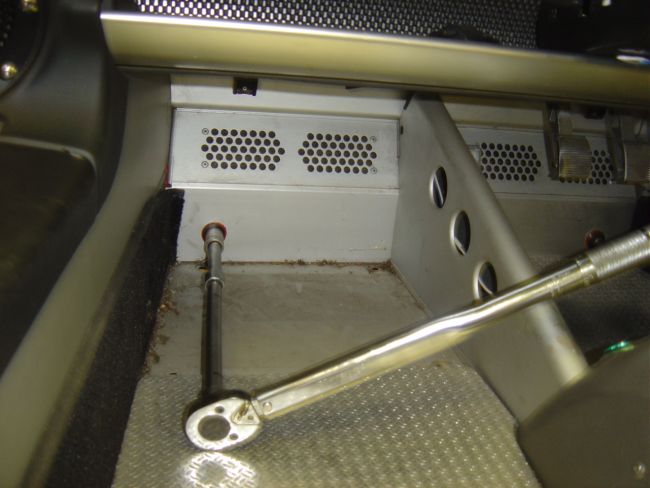
| 09:58, 18 June 2006 | 19. Removing Lower Shock Mount.JPG (file) |  |
47 KB | Step 18. Now it is time to remove the lower damper bolt using a 17mm socket and open/ring spanner. | 1 |
| 23:05, 31 July 2006 | 19 Torque Upper Wishbone.JPG (file) |  |
48 KB | 1 | |
| 14:11, 12 August 2006 | 19b Upper Front Wishbone Bush Fitted.JPG (file) |  |
35 KB | 1 | |
| 14:11, 12 August 2006 | 19c Upper Rear Wishbone Bush Fitted.JPG (file) |  |
32 KB | 1 | |
| 14:11, 12 August 2006 | 19d Upper Rear Wishbone Bush showing Both Shims Embedded.JPG (file) | 36 KB | 1 | ||
| 14:11, 12 August 2006 | 19e Upper Rear Wishbone Bush Showing Embedded Shims Removed.JPG (file) | 32 KB | 1 | ||
| 14:12, 12 August 2006 | 19f Upper Rear Wishbone Bush Fitted With Large Diameter Shims.JPG (file) | 35 KB | 1 | ||
| 14:12, 12 August 2006 | 19g Upper Wishbone Removed Without Removing Ball Joint.JPG (file) |  |
44 KB | 1 | |
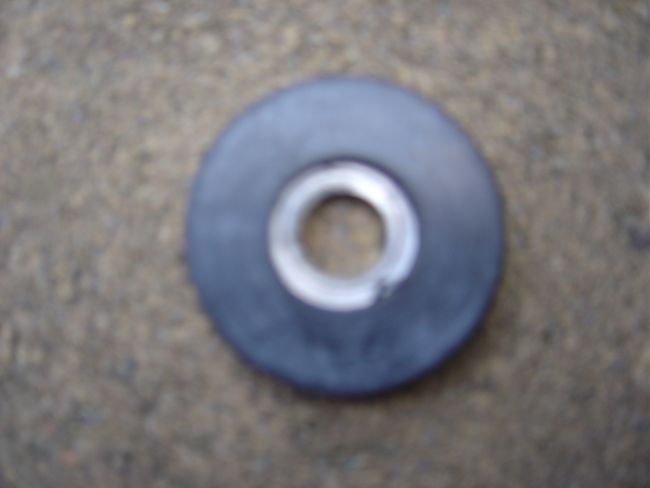
| 17:34, 12 August 2006 | 19h Snubber Washer.JPG (file) |  |
28 KB | 1 | |
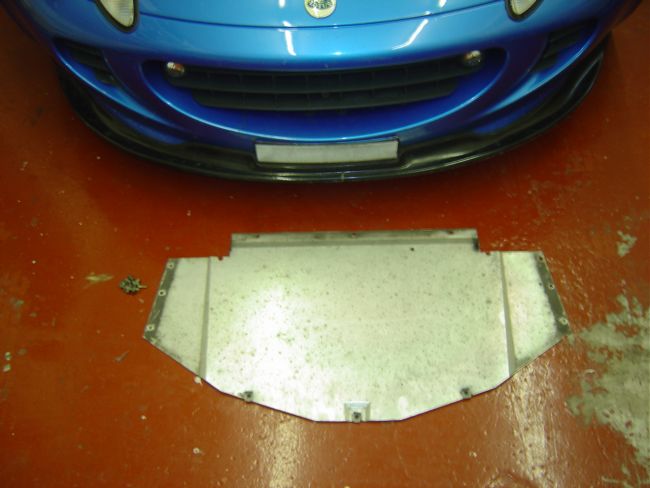
| 22:51, 31 July 2006 | 1 Remove Front Under Tray.JPG (file) |  |
46 KB | 1 | |
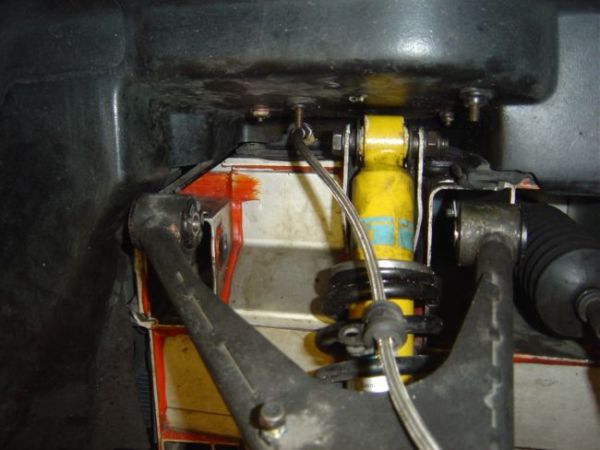
| 09:40, 18 June 2006 | 2. Measuring Lower Wishbone Height.JPG (file) |  |
32 KB | How to change a Ball Joint and a Damper This procedure details how to change the offside lower front ball joint and damper assembly. The nearside front is an identical procedure and the upper front ball joints follow a similar procedure. The rear ball j | 1 |
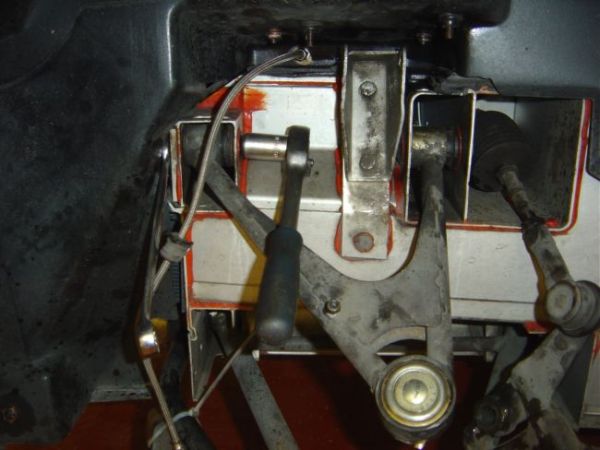
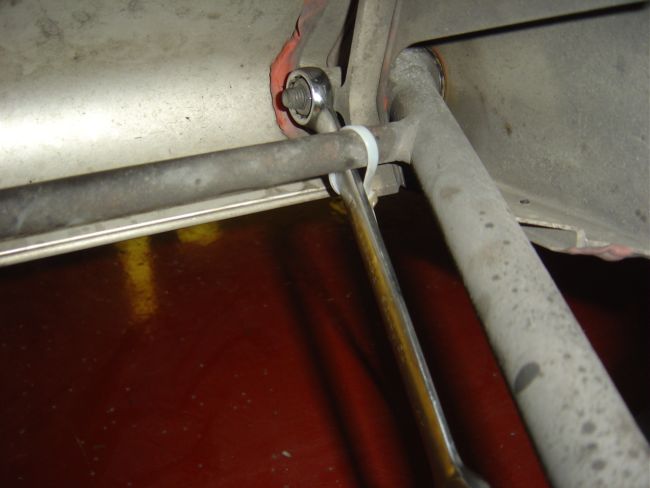
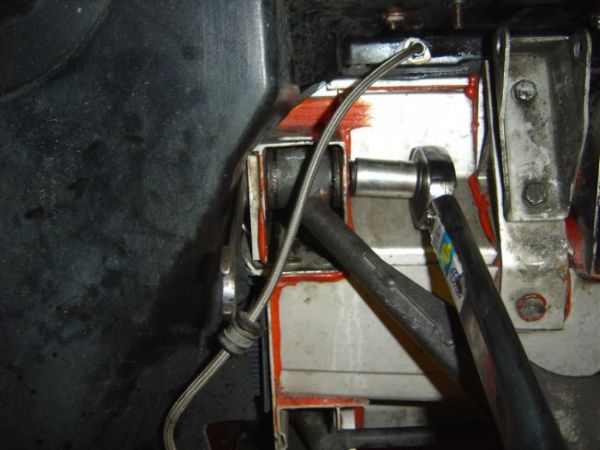
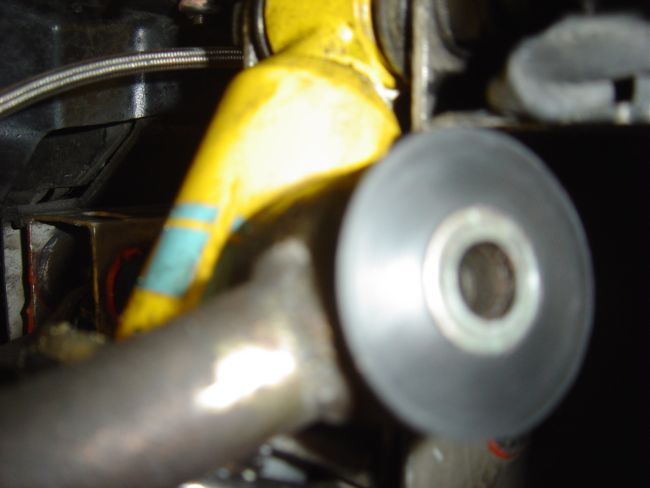
| 09:58, 18 June 2006 | 20. Removing Upper Shock Mount.JPG (file) |  |
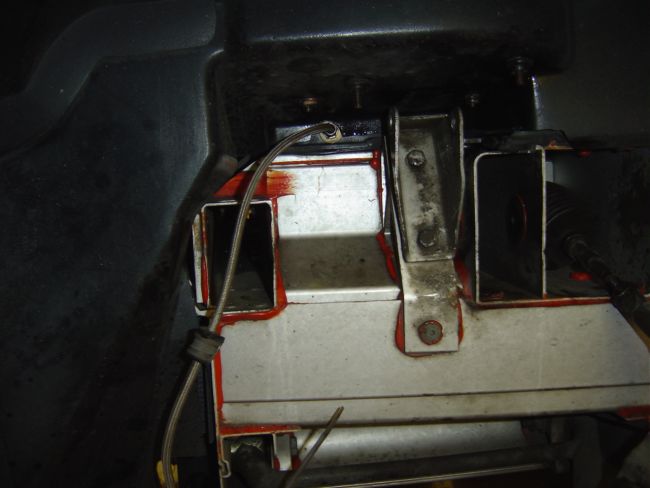
48 KB | Step 19. Followed by the upper damper bolt. You will notice that the brake hose is straining in this photograph and I had to reposition the caliper so that the strain was removed from the hose. | 1 |
| 23:05, 31 July 2006 | 20a Torque Lower Wishbone 1.JPG (file) |  |
50 KB | 1 | |
| 23:06, 31 July 2006 | 20b Torque Lower Wishbone 2.JPG (file) |  |
48 KB | 1 | |
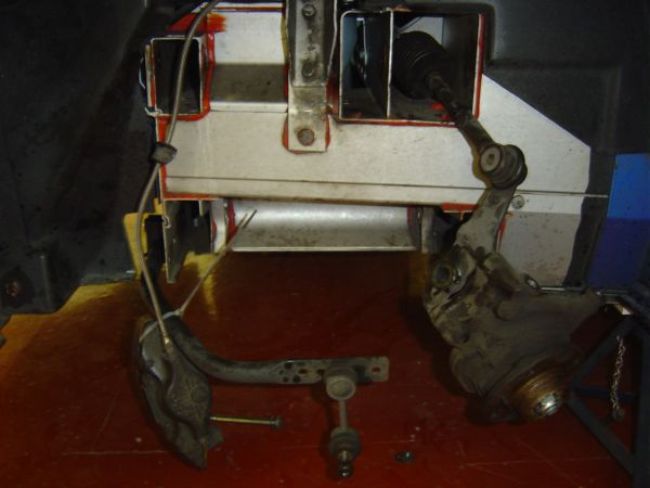
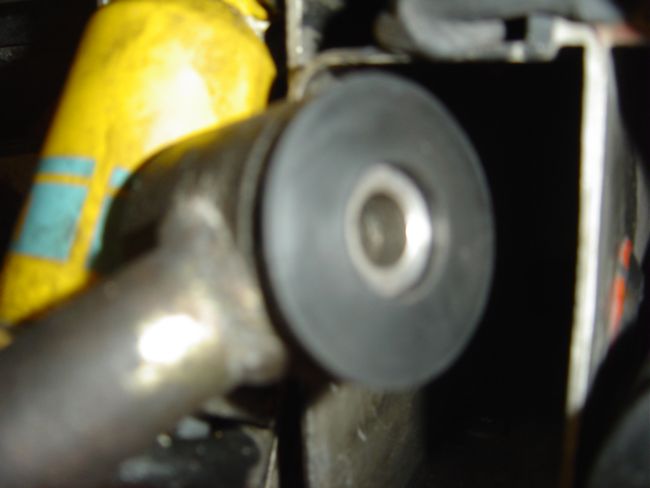
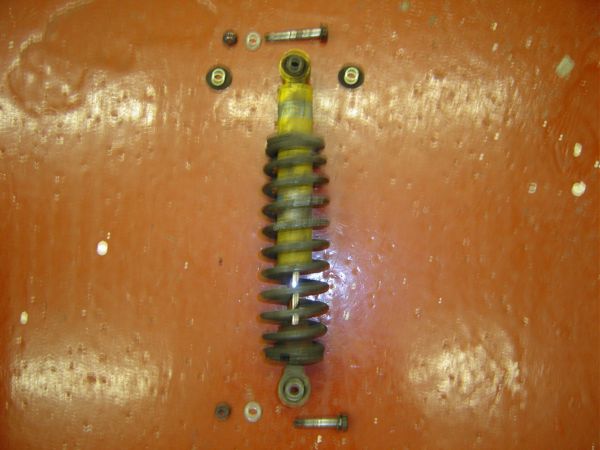
| 09:59, 18 June 2006 | 21. Shock Assembly Removed.JPG (file) |  |
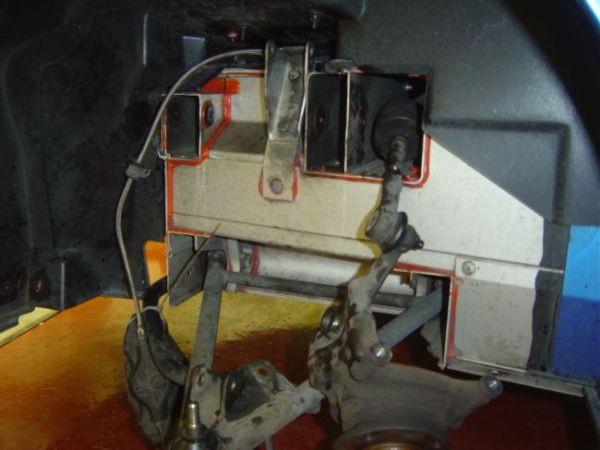
43 KB | Step 20. The assembly is now off the car and is waiting for the spring to be removed. | 1 |