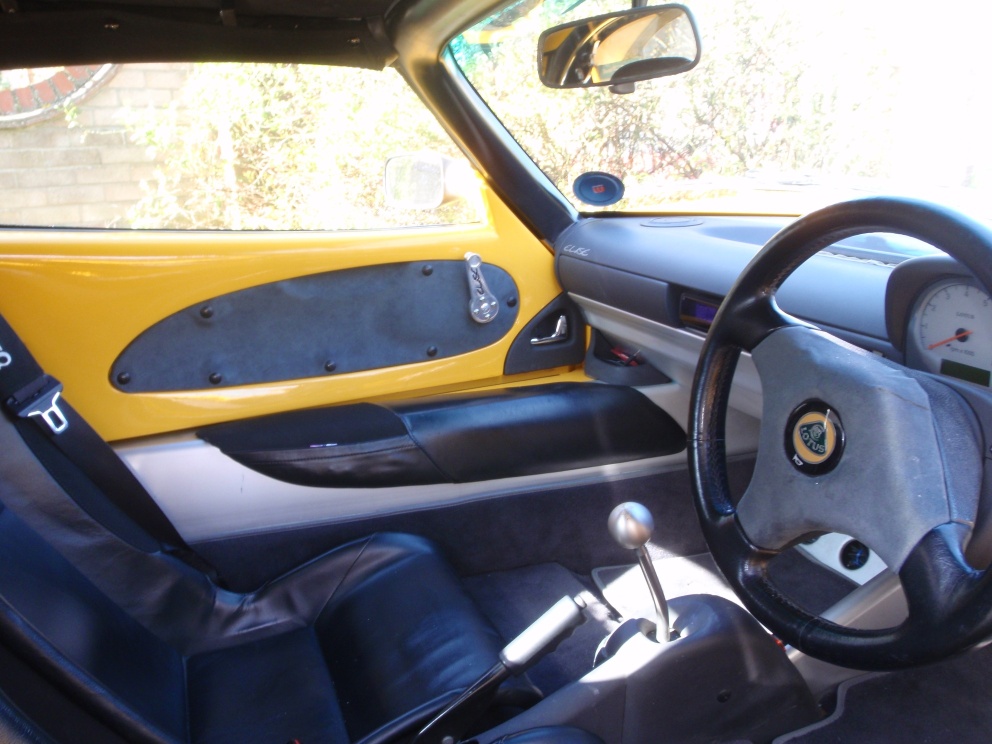
Trimming door cards
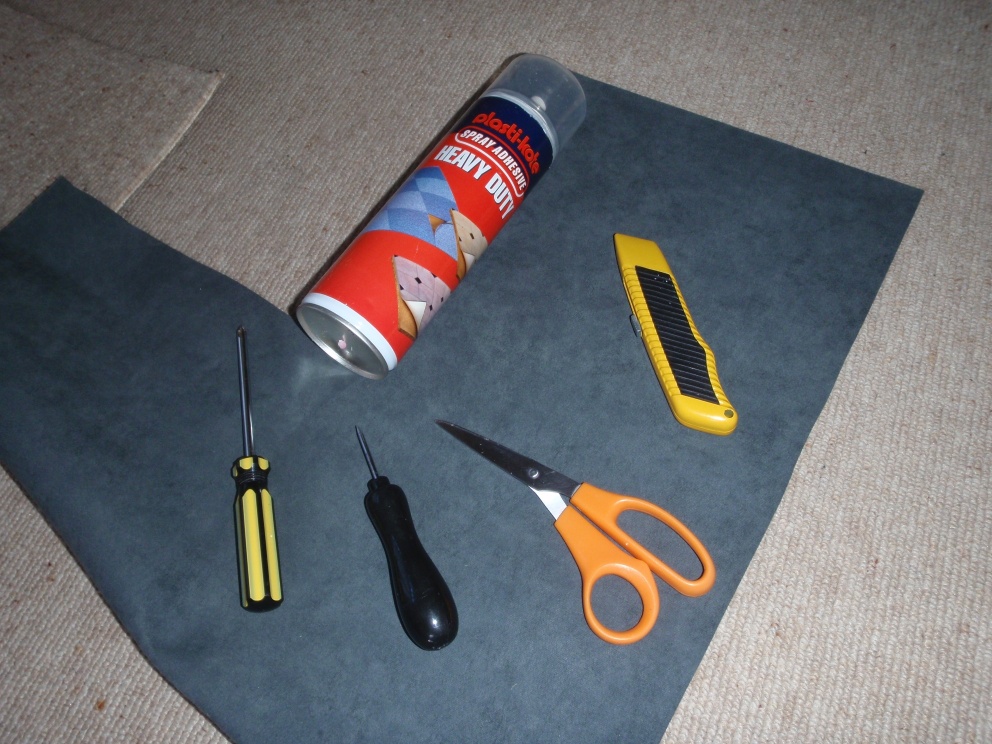
To trim your door cards you will need:
- Some Spray Glue, such as Plasti-cote heavy duty (Available from halfords for about £7.50)
- Some trim fabric, such as Alcantara. I bought a 50*133cm piece off ebay for £10, which is easily enough for both door cards and the steering wheel centre
- Tools - Phillips Screwdriver, Bradawl, Stanley knife, sharp scissors
- Working area - Spray glue can be messy, so set aside an area that doesn't have any of your wife's things nearby. You may also want to take off your watch and/or wedding ring, and if possible use disposable latex gloves. Also set aside a 'clean' area for trimming that won't be near any excess glue.
- Time - About an hour per side, plus another hour to wash all the glue off your hands.
Steps
1. Remove the window winder handle and door card. This is straightforward enough.
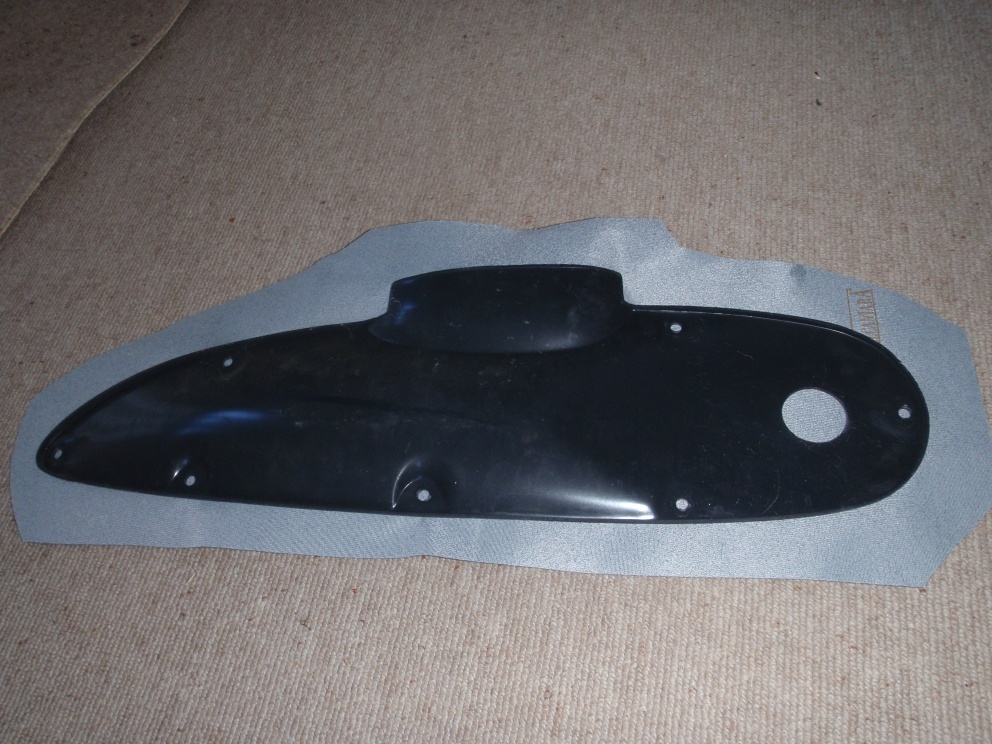
2. Cut a piece of fabric roughly to shape. Leave at least 2 inches all the way round
3. Go to your gluing area and spray the front of the card with a good coat of glue.
4. Return to the trimming area and stick the fabric to the card. Work out any wrinkles.
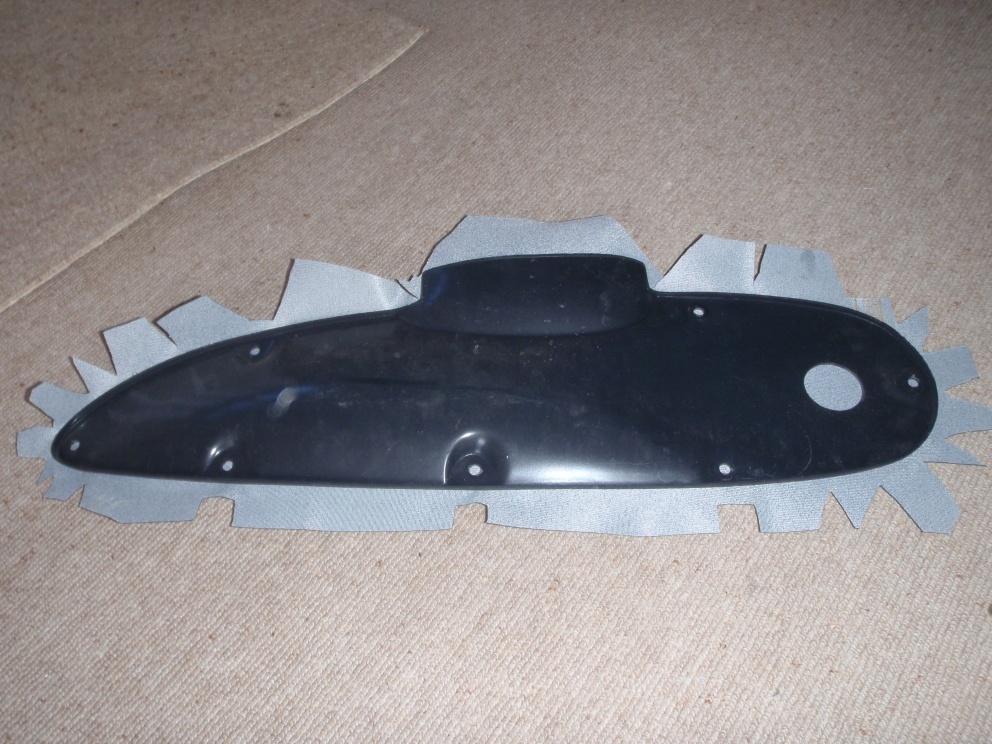
5. This is the time-consuming bit. Carefully cut out the excess fabric to leave 'tabs' that you can stick to the back.
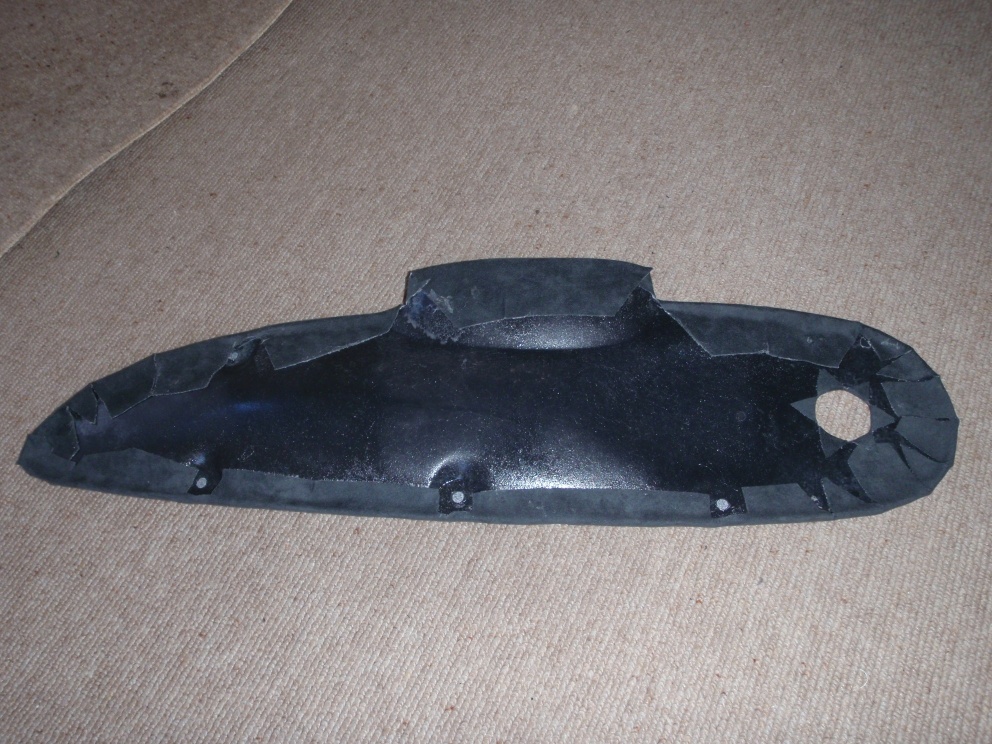
6. Go to the gluing area and spray the edges of the back of the card, and the fabric tabs
7. Return to the trimming area and secure the tabs. Make a couple of laps of the card to ensure everything is stuck down well.
8. While the glue is still tacky, use the stanley knife to cut the fabric over the window winder hole into six wedges, then fold the wedges through the hole. Cut from the outside of the card in, so that you don't pull the fabric away from the card.
9. Use the bradawl to punch holes in the fabric where the fixing screws go, and trim away from the back of the card if necessary.
10. Allow to dry for a few minutes, then put the card back on the car.
The procedure is similar for the steering wheel centre, although due to its more complex shape you may need a couple of attempts.
