S2 interior plastics refurb
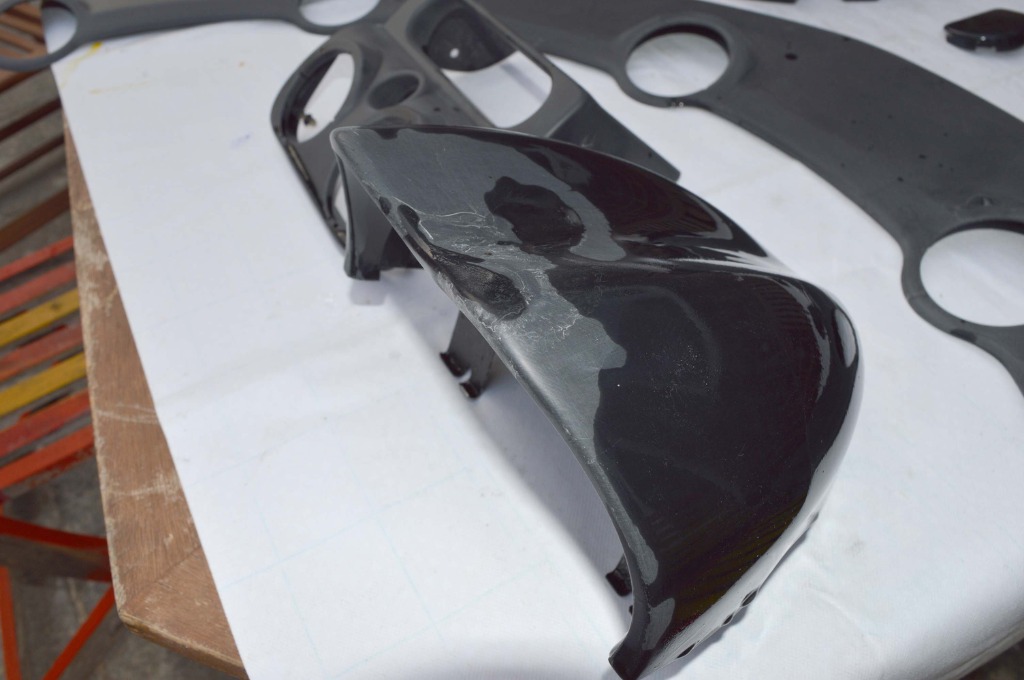
The S2 plastic interior trim panels had seen better days on my car. The soft rubbery coating on the dash, binnacle, HVAC, speakers and steering shrouds were scratched and generally looking a bit worse for wear.
I wanted to refinish these panels in a coating that will not scratch off and looks better than the original finish.
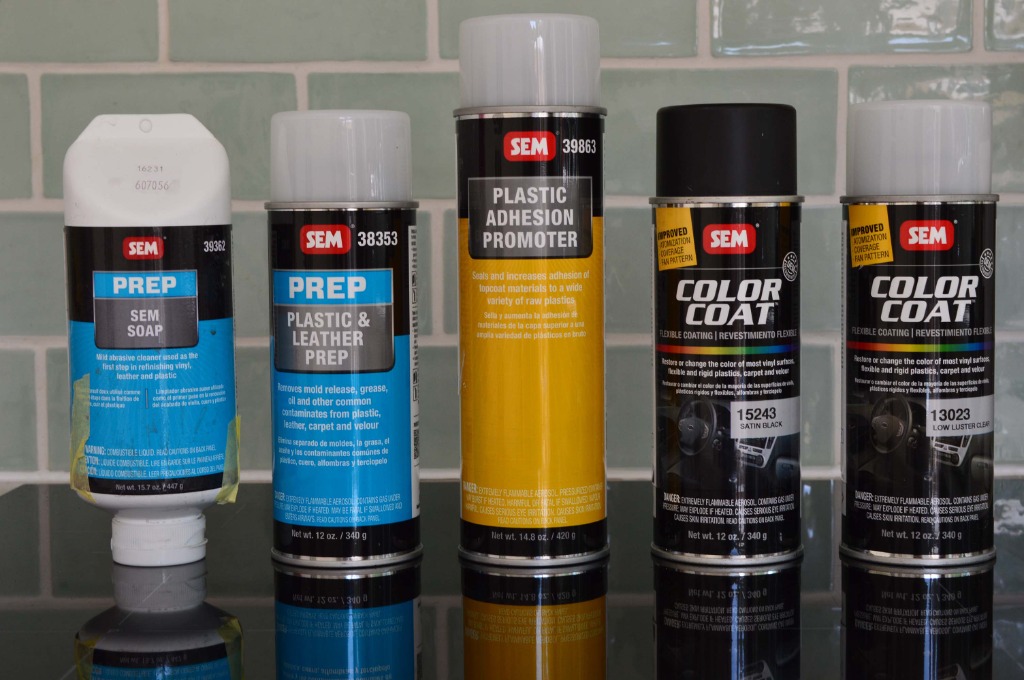
After much research via various car forums, many people recommended using an American product called ‘Color Coat’ by SEM. This product is described as being the OEM recommended interior refinishing paint on the market.
The pictures looked good and the stories checked out, so I ordered a few cans of Satin Black and the recommended prep / priming products from the sole UK supplier.
Step 1
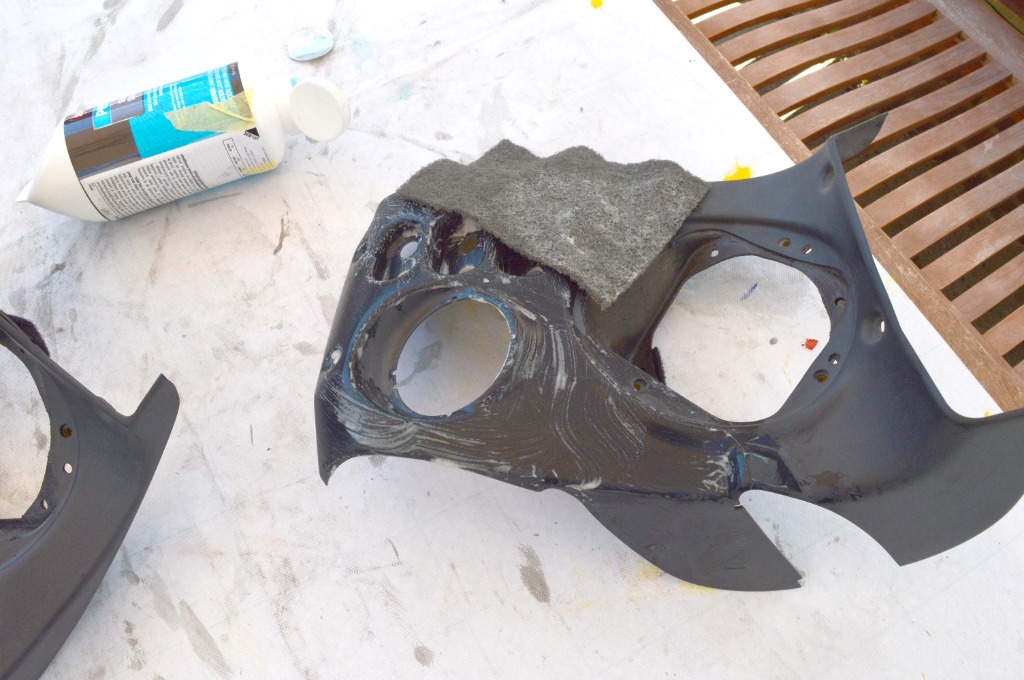
After getting all the trim out of the car, I got started on what was the hardest and most time consuming part of the job – removing the rubber coating.
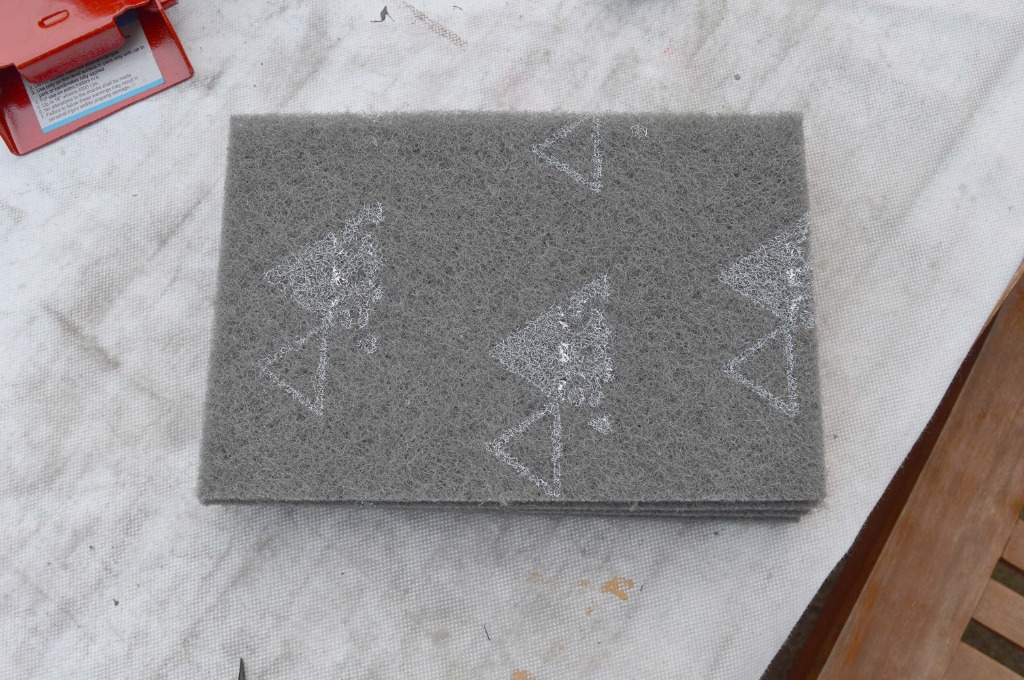
I tried using isopropyl alcohol, lighter fluid, magic erasers, 800 grit sandpaper and grey Scotchbrite pads.
In the end, the Scotchbrite pads were the clear winner. Scrubbing the rubber off in layers after a liberal soaking of lighter fluid worked well. It did take a very long time, with elbow grease and patience required in equal measures.
Step 2
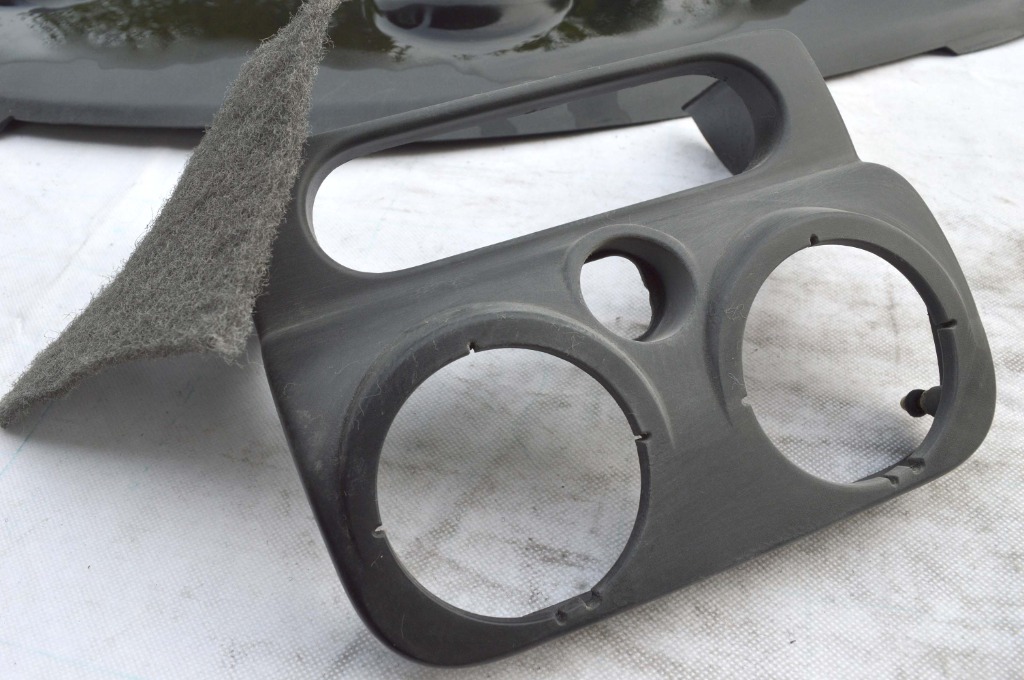
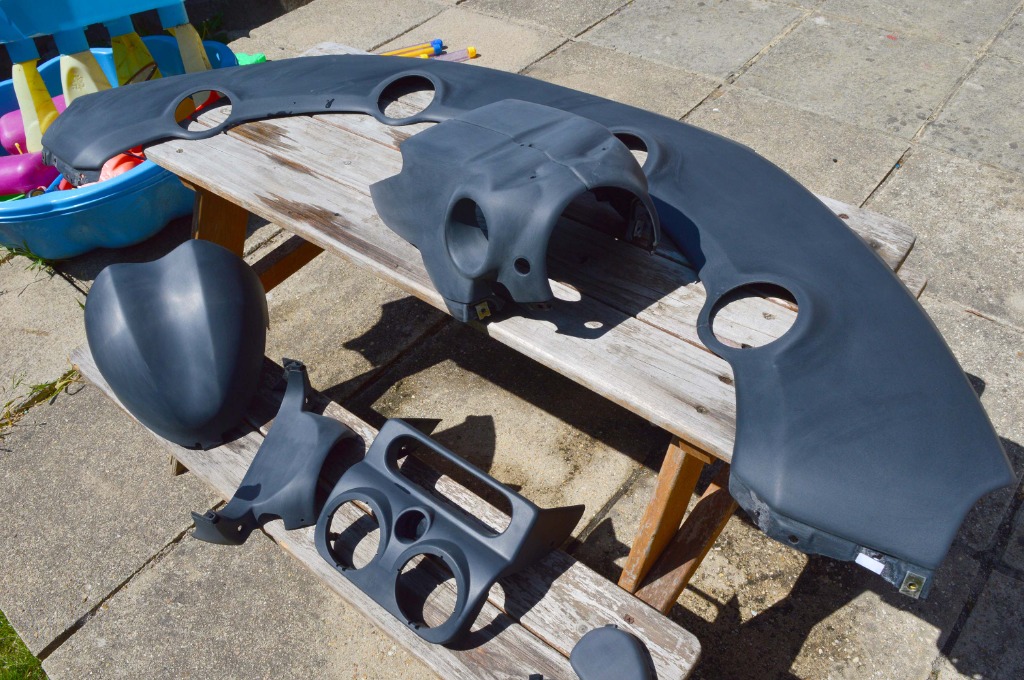
Once all the rubber stuff is completely off, all the parts needed to be keyed and cleaned. I did this with the SEM soap stuff and a clean set of Scotchbrite pads. The trim parts should now be a dull grey colour, with all shine removed.
All parts were now covered in very fine scratches for the paint to grab onto. I gave them a final wipe down with the SEM plastic prep stuff and let them flash in the sun. Isopropyl alcohol would also work well for this final cleaning process.
Step 3
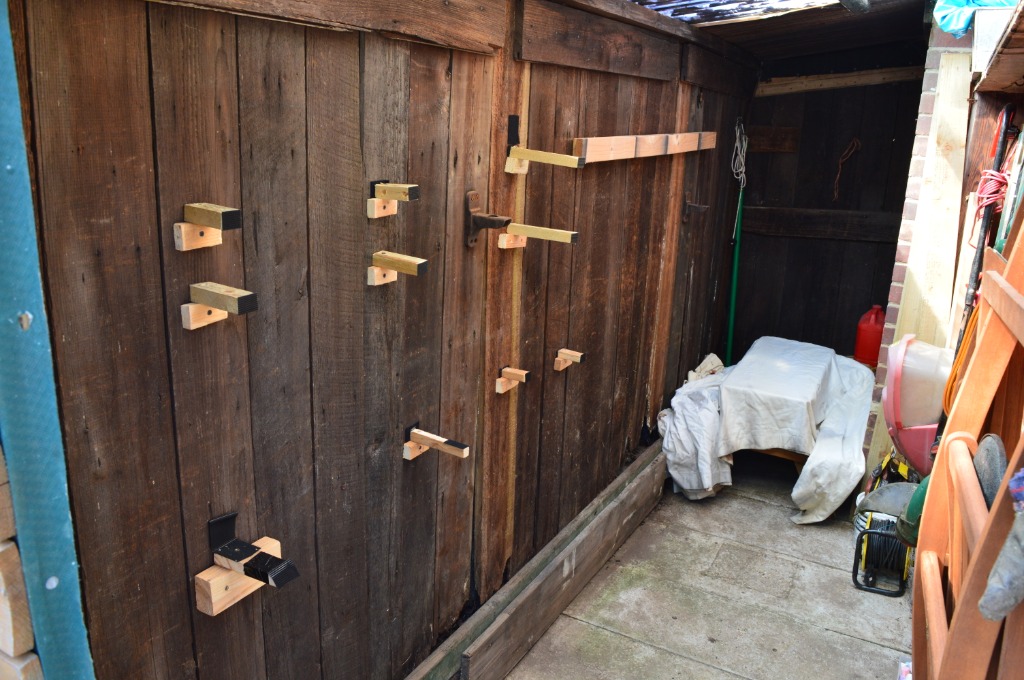
Through a combo of velcro and old bits of wood attached the wall, I built a makeshift spray booth in the bike shed. I sprayed down the shed with water to try and keep dust to a minimum. Wiping each part with a tack rag was helpful way to make sure they were completely clean.
Some of the trim bits are quite intricate, so having them away from the walls made it easier to move around each part to get paint into the smaller crevices.
Step 4
I followed the paint can instructions carefully and applied:
3 coats of adhesion promoter / 3 coats of Satin Black / 2 coats of matt clear coat
The adhesion promoter and paints were applied in very light coats to avoid any runs. The flash time between coats is only 5-10 minutes, so the actual painting process only takes about an hour. I don’t know if a clear coat is required, but it does help give an extra layer of protection.
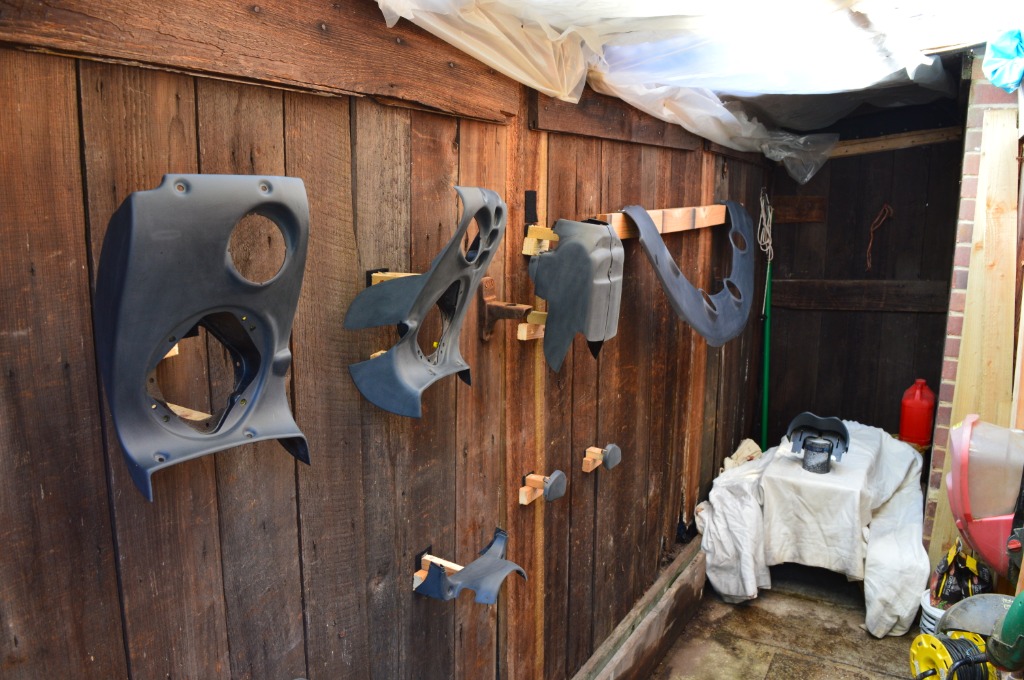
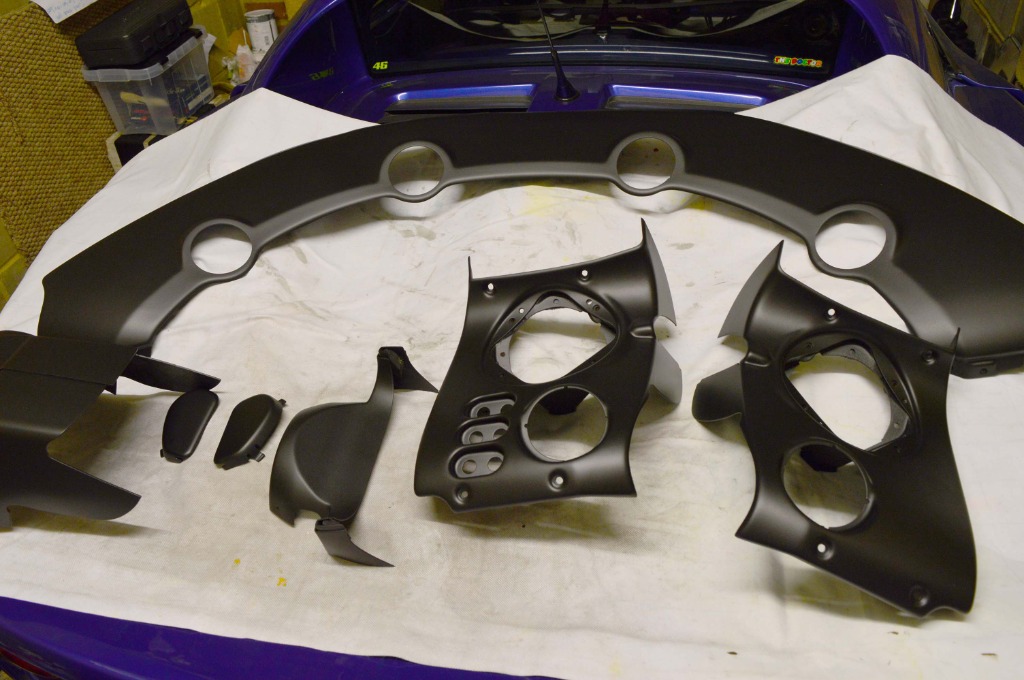
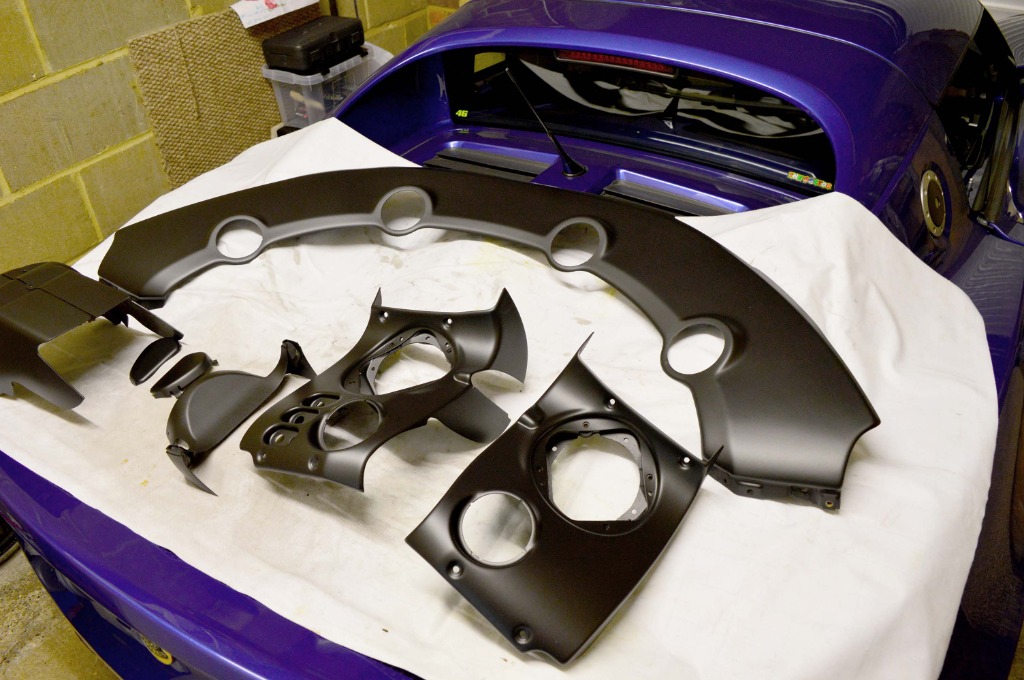
After leaving them to dry overnight, they were moved out of the spray booth (shed) and looked like this:
I left them for a further week to fully harden (probably overkill), before reinstalling into the car. They’re holding up brilliantly so far.
They‘re now a much deeper black and feel more substantial. They look fairly glossy in picture, but are a matt finish in reality. The finish is not soft to the touch or rubbery like the OEM coating, so not strictly original.
