Difference between revisions of "Replace the exhaust silencer"
(→S2) |
m (→S1) |
||
| (34 intermediate revisions by 5 users not shown) | |||
| Line 1: | Line 1: | ||
Replacing the exhaust silencer on the Elise is relatevely simple. The hardest part is removing the three bolts securing the silencer to the [[CAT]]. | Replacing the exhaust silencer on the Elise is relatevely simple. The hardest part is removing the three bolts securing the silencer to the [[CAT]]. | ||
| − | ==S1== | + | ===S1=== |
Tools | Tools | ||
| Line 34: | Line 34: | ||
Put a jack or axel stand under the exhaust so it doesn't fall on your face. | Put a jack or axel stand under the exhaust so it doesn't fall on your face. | ||
| − | Remove the three exhaust hanger rubbers - two 13mm AF nuts on each | + | Remove the three exhaust hanger rubbers - two 13mm AF nuts on each - on early S1 you might have to build out the boot bag and the foam underneath as you need also a 10mm ring spanner to hold the bolts as they are not fixed - this will make it very easy to remove the bolt and nuts of the mounts of the silencer |
The exhaust and cat should now be free. | The exhaust and cat should now be free. | ||
| Line 44: | Line 44: | ||
copper grease everything liberally before putting it back together. | copper grease everything liberally before putting it back together. | ||
| − | ==S2== | + | ===S2=== |
| − | |||
| − | |||
| − | |||
| − | [[Image: | + | ===TOOLS=== |
| + | |||
| + | [[Image:oil.JPG|thumb|left|Penitration Oil or WD40]] | ||
{{clr}} | {{clr}} | ||
| + | This will help remove those very rusted bolts | ||
| − | [[Image: | + | [[Image:coppergrease.JPG|thumb|left|Copper Grease, useful but not necessary ]] |
{{clr}} | {{clr}} | ||
| + | This should be used to coat all new bolts and nuts to prevent seizure in the future. | ||
| − | [[Image: | + | [[Image:RatchetSet.jpg|thumb|left|ratchet set ]] |
{{clr}} | {{clr}} | ||
| − | [[Image: | + | |
| + | This is a must have item. | ||
| + | |||
| + | I also recommend a stainless steal bolt/gasket set from eliseparts that contains | ||
| + | |||
| + | 6x Stainless Steel M10 bolts | ||
| + | |||
| + | 12x Stainless steel M10 washers | ||
| + | |||
| + | 6x M10 Stainless Steel full nuts | ||
| + | |||
| + | 2 x new Exhaust Gaskets. | ||
| + | |||
| + | |||
| + | ===FITTING=== | ||
| + | |||
| + | New rubber exhaust mounts are a wise replacement as well | ||
| + | ( 3 rubber mounts are used, 2 on the 'back box' and 1 one the CAT). | ||
| + | |||
| + | You may have to 'cut' off some of the old rusted bots, this is quite common. | ||
| + | |||
| + | |||
| + | Another recommendation of mine is to undo the top bolt in the left hand side of the wheel arch so you can disconnect the [http://wiki.seloc.org/index.php/Lambda_sensor Lambda sensor] wire and 'drop' it through the flap. (this is because the 22mm [http://wiki.seloc.org/index.php/Lambda_sensor Lambda] bolt on my exhaust would not come undone.) so you may not have to do this. | ||
| + | |||
| + | |||
| + | |||
| + | Step 1: | ||
| + | [[Remove the rear undertray]] | ||
| + | |||
| + | |||
| + | [[Image:TRAY7.JPG|thumb|left|Exhaust System]] | ||
{{clr}} | {{clr}} | ||
| − | [[Image: | + | Standard Elise S2 exhaust system. |
| + | |||
| + | [[Image:rusty.JPG|thumb|left|Rusty Exhaust Gasket ]] | ||
{{clr}} | {{clr}} | ||
| + | These are only 5 years old, yet very rusty! | ||
| − | [[Image: | + | [[Image:TRAY8.JPG|thumb|left|Soake the bolts ]] |
{{clr}} | {{clr}} | ||
| + | Soake the exhaust bolts over night, this should help the free-up some of the rusted bolts. | ||
| − | [[Image: | + | [[Image:TRAY9.JPG|thumb|left|Soked bolts]] |
{{clr}} | {{clr}} | ||
| + | I used a good half a can on the bolts by soaking them and leaving for half an hour or so then and re-soaking them. | ||
| − | [[Image: | + | It can help to remove the nearside rear wheel, inorder to gain access to the back of the cat bolts. You will also be able to get better leaverage from here. |
| + | |||
| + | |||
| + | I forgot to take pictures / get my camera out when i was using a friends hydraulic ramp as it was a bit hectic, but i did take some with my camera phone, sorry | ||
| + | |||
| + | [[Image:helpinghand.jpg|thumb|left|Always good to have a friend, who is a 'grease monkey' near buy]] | ||
| + | [[Image:lamba.JPG|thumb|left|Lambda Sensor]] | ||
| + | [[Image:lamba2.JPG|thumb|left|Lambda Sensor]] | ||
| + | [[Image:Flexi.JPG|thumb|left|Flexi Section of the Sports Cat]] | ||
| + | [[Image:sportscat.JPG|thumb|left|Sports Cat Fitted]] | ||
| + | [[Image:sportscat2.JPG|thumb|left|Sports Cat Fitted]] | ||
| + | [[Image:exhausthanger.JPG|thumb|left|Elise Exhaust Mounts]] | ||
| + | |||
| + | [[Image:exhaustoff.JPG|thumb|left|Exhaust finnaly out]] | ||
{{clr}} | {{clr}} | ||
| − | |||
| − | |||
| − | + | I would also like to say that on a scale of 1 to 10 ( 10 being a qualified mechanic). I am about a 2 (knowing little) and i think that changing the exhaust on the elise is easy, if you exclude the rusted/seized nuts that are more of a pain than a problem. | |
| − | + | ||
| + | Also See http://www.elisenet.com/Exhaust.htm | ||
[[Category:Exhaust]] | [[Category:Exhaust]] | ||
[[Category:DIY]] | [[Category:DIY]] | ||
| + | [[Category:Lotus Elise]] | ||
| + | [[Category:S1]] | ||
| + | [[Category:S2]] | ||
Latest revision as of 14:54, 22 November 2019
Replacing the exhaust silencer on the Elise is relatevely simple. The hardest part is removing the three bolts securing the silencer to the CAT.
S1
Tools
  17mm ring spanner
  17mm socket and breaker bar
  13mm socket
  Torch
  Plusgas
  8mm socket and 4mm (?) allen key to remove the undertray
If you want to be really through you could buy the following parts (in stainless if you like) which replace the nuts and bolts that are probably very rusty.
2 x cat gasgets (Rover WCM 10480),
6 x 10mm x 30mm hex bolts
12 x 10mm plain washers
6 x M6 full nuts
6 x M6 x 35mm hex bolts
6 x 6mm plain washers
6 x M6 full nuts
1 x Catalyst hanger bracket (Lotus part A111G6001F)
Back the car onto ramps
Remove the under-tray
Soak the Nuts at each end of the cat and the bolts fixing the exhaust hangers in PlusGas , WD40, or the like.
leave overnight
Often easier to unbolt the 17mm nuts on the inlet side of the cat as they tend to be less rusted, the cat and siliencer can bet seperated more easily once the exhaust system is off the car.
Put a jack or axel stand under the exhaust so it doesn't fall on your face.
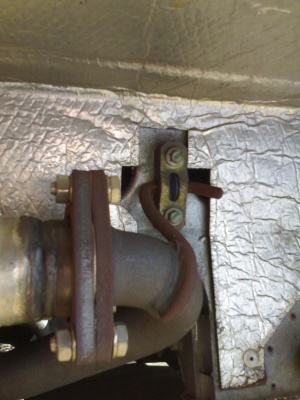
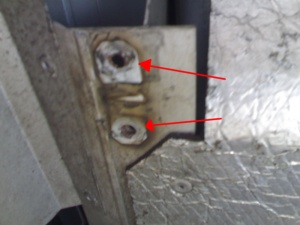
Remove the three exhaust hanger rubbers - two 13mm AF nuts on each - on early S1 you might have to build out the boot bag and the foam underneath as you need also a 10mm ring spanner to hold the bolts as they are not fixed - this will make it very easy to remove the bolt and nuts of the mounts of the silencer
The exhaust and cat should now be free.
seperate the cat and silencer
If you bought new 10mm bolts you can press out the studs from the ends of the cat using a heavy vice and an old socket.
copper grease everything liberally before putting it back together.
S2
TOOLS
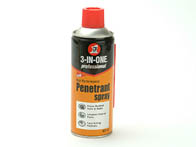
This will help remove those very rusted bolts
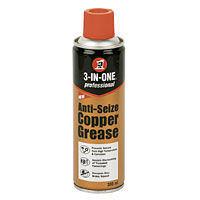
This should be used to coat all new bolts and nuts to prevent seizure in the future.
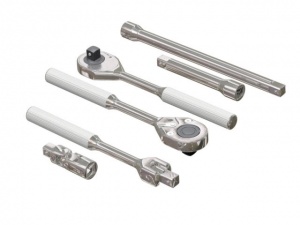
This is a must have item.
I also recommend a stainless steal bolt/gasket set from eliseparts that contains
6x Stainless Steel M10 bolts
12x Stainless steel M10 washers
6x M10 Stainless Steel full nuts
2 x new Exhaust Gaskets.
FITTING
New rubber exhaust mounts are a wise replacement as well ( 3 rubber mounts are used, 2 on the 'back box' and 1 one the CAT).
You may have to 'cut' off some of the old rusted bots, this is quite common.
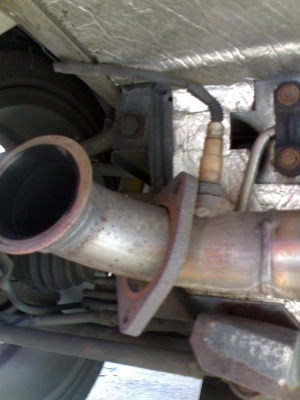
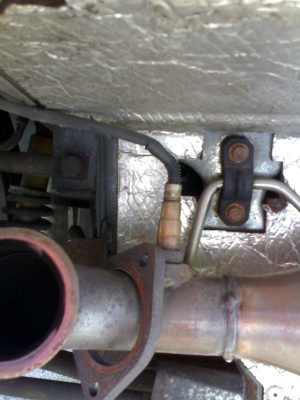
Another recommendation of mine is to undo the top bolt in the left hand side of the wheel arch so you can disconnect the Lambda sensor wire and 'drop' it through the flap. (this is because the 22mm Lambda bolt on my exhaust would not come undone.) so you may not have to do this.
Step 1: Remove the rear undertray
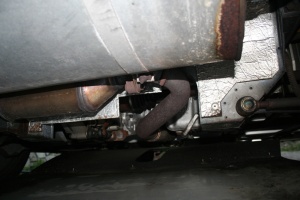
Standard Elise S2 exhaust system.
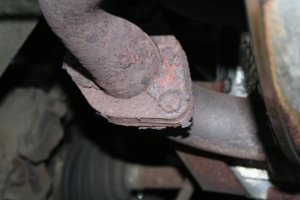
These are only 5 years old, yet very rusty!
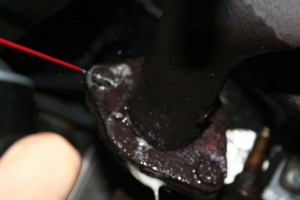
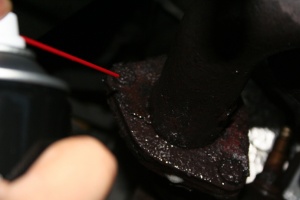
Soake the exhaust bolts over night, this should help the free-up some of the rusted bolts.
I used a good half a can on the bolts by soaking them and leaving for half an hour or so then and re-soaking them.
It can help to remove the nearside rear wheel, inorder to gain access to the back of the cat bolts. You will also be able to get better leaverage from here.
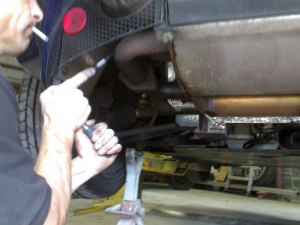
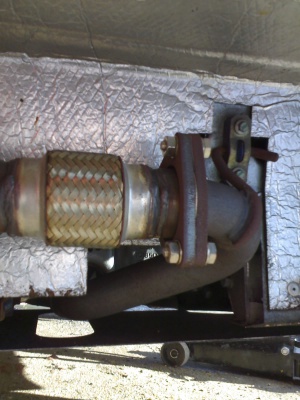
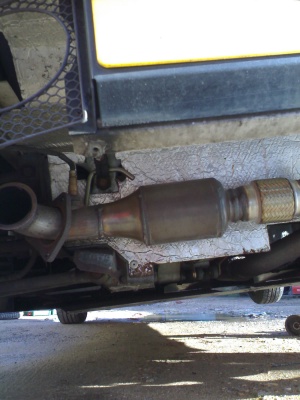
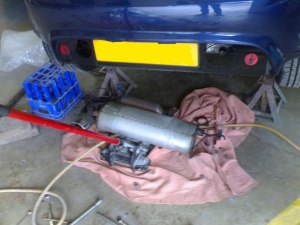
I forgot to take pictures / get my camera out when i was using a friends hydraulic ramp as it was a bit hectic, but i did take some with my camera phone, sorry
I would also like to say that on a scale of 1 to 10 ( 10 being a qualified mechanic). I am about a 2 (knowing little) and i think that changing the exhaust on the elise is easy, if you exclude the rusted/seized nuts that are more of a pain than a problem.
Also See http://www.elisenet.com/Exhaust.htm
