Difference between revisions of "Replace the horn"
Jump to navigation
Jump to search
m |
m |
||
| Line 15: | Line 15: | ||
{{clr}} | {{clr}} | ||
| − | *Attach the new horn in place of the old horn | + | *Attach the new horn in place of the old horn. |
| + | |||
| + | [[image:Stockhorn.JPG|thumb|left|The old horn]] | ||
| + | {{clr}} | ||
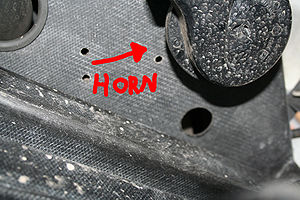
*You may need to drill a hole in the side, but there are lots there already, to make use of. | *You may need to drill a hole in the side, but there are lots there already, to make use of. | ||
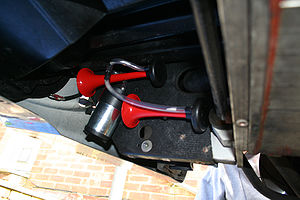
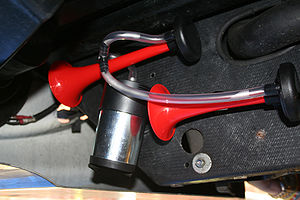
| − | *A | + | [[image:newhorn2.JPG|thumb|left|New Horn in Place]] |
| + | {{clr}} | ||
| + | [[image:newhorn.JPG|thumb|left|New Horn in Place]] | ||
| + | {{clr}} | ||
| + | |||
| + | *A '''Top Tip''' is put the tubing in hot water to help it fit over the connectors of the unit and horn ends. | ||
*Once new horn is fitted, fit a new 25AMP fuse inplace of the old 7.5AMP fuse you took out at the begining. | *Once new horn is fitted, fit a new 25AMP fuse inplace of the old 7.5AMP fuse you took out at the begining. | ||
| + | |||
| + | *Test horn, Jobs a carrot | ||
Revision as of 19:30, 4 February 2007
S2 Horn
- Jack up and secure car.
- Remove Drivers side wheel.
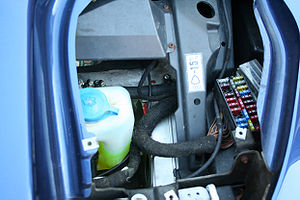
- Remove the right access pannel, and fuse cover and remove horn fuse (7.5AMP)
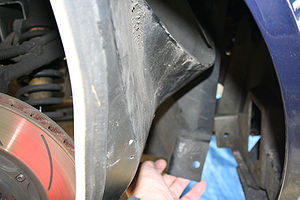
- Remove mudflap screws and pull mudflaps away to gain access to the old horn, there is a 8mm nut and two wires that you need to disconnect.
- Attach the new horn in place of the old horn.
- You may need to drill a hole in the side, but there are lots there already, to make use of.
- A Top Tip is put the tubing in hot water to help it fit over the connectors of the unit and horn ends.
- Once new horn is fitted, fit a new 25AMP fuse inplace of the old 7.5AMP fuse you took out at the begining.
- Test horn, Jobs a carrot
