Change a front wheel bearing
| Time & Tools | |
| Time: | Approx 1 hour - Assuming everything comes apart nicely and the outside bearing racer doesn’t snap off and stay attached to the hub flange - in which case you will need to carefully cut it off using an air grinder etc. |
|---|---|
| Tools: | 17, 19 and 2 x 24mm Sockets 2 x Extension bars 2 x Big wrenches or Breaker Bars 17mm Spanner 8mm Hex head socket or Allen key Torque wrench Bearing circlip pliers Penetrating fluid Hydraulic press (at least 10 tonne) Duralac Threadlock or Pipe Sealer Toothbrush CV Grease Fine Sandpaper Oven |
Preparation
Before you start, take your new wheel bearing and pop in the freezer until required! This will ensure the bearing is as small as it can be prior to fitment!
Replacing the bearing
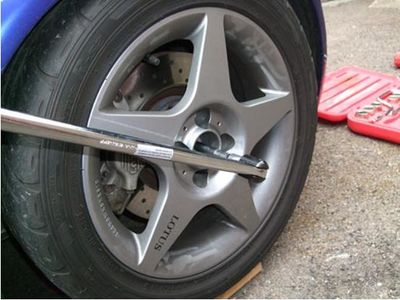
1. Whilst the car is sitting on the ground, pop the wheel cap off and using a breaker bar and a 24mm socket crack the torque off the M16 Clamp bolt as this is tightened to 210Nm.
Jack up the car and remove the wheel. Whilst it’s off you may also wish to take the opportunity to clean it thoroughly.
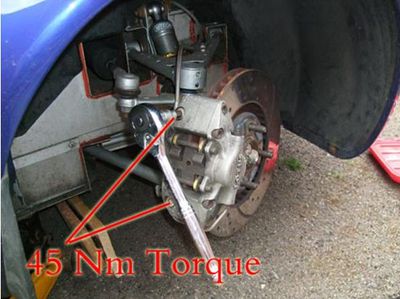
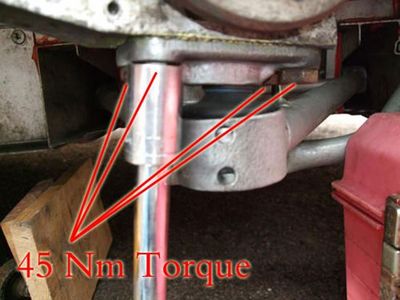
2. Remove the 2 bolts holding the calliper to the hub body using an 8mm hex socket or Allen key. (bolt to be re-installed using thread lock or pipe sealer and tightened to 45Nm
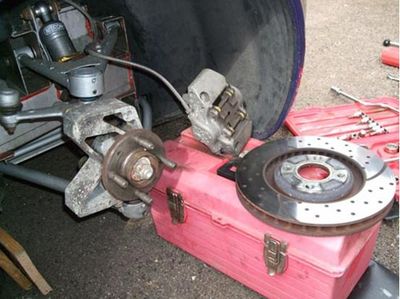
Providing your discs are not too badly worn, you should be able to extract the calliper complete with pads without having to remove the pads. Ensure the calliper is suspended to prevent any damage to the brake pipe work. Next remove the brake disc.
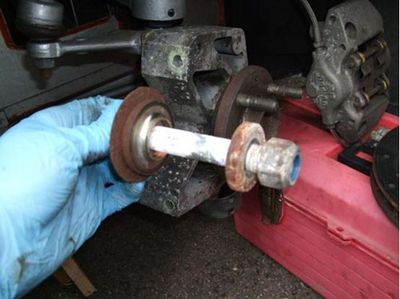
3. Remove the M16 Clamp bolt using a 24mm socket on each side
4. Now loosen all 6 bolts retaining the steering arm and bottom ball joint plinth. 2 x 8mm hex bolts on steering arm, 4 x 17mm bolts on the bottom plinth. At this point you'll probably want to remove the brake dust shield which is held on with two allen bolts and third hex headed nut hidden under the flange of the hub. The allen bolts will probably be seized and a slot dremelled into the head is enough to get them out. The hidden bolt only needs to be loosened as the shield is slotted. If you had to slot the bolts to get them out then obviously you'll need new ones, take note of the shallow depth of the head, any deeper headed bolts from the drawer will foul the back of the disc.
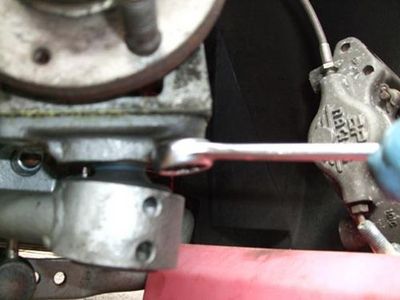
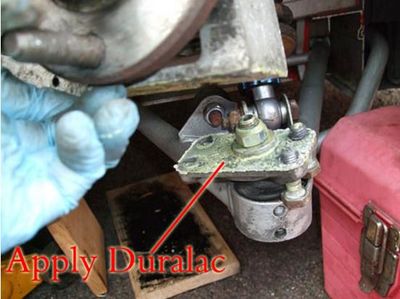
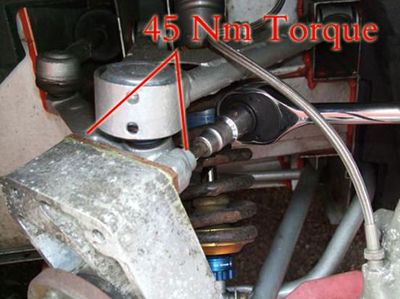
5. Remove the 4 x 17mm bolts attaching the bottom plinth, note a 17mm spanner will be necessary for the front 2 bolts do to limited clearance for a socket. When these bolts are re-installed they should be tightened to 45Nm, thread lock applied to bolts and Duralac applied to the plinth to prevent corrosion.
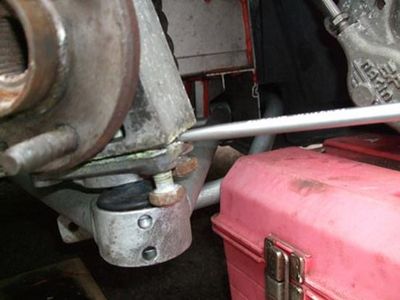
It may be necessary to prize the hub from the plinth with a flat screwdriver as previous application of duralac will cause them to stick together.
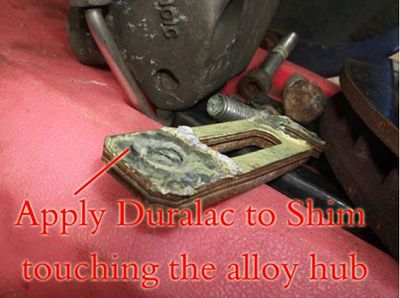
6. Remove the 2 x 8mm hex bolts connecting the steering arm ensuring you catch any camber shims that fall out, note Duralac again should be applied to the nearest shim to the alloy hub and bolts re-installed at 45Nm with thread lock.
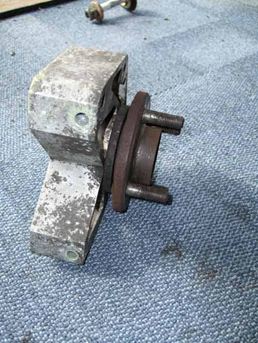
7. Now the hub is removed the specialist tool and part where you make your missus very angry begins.
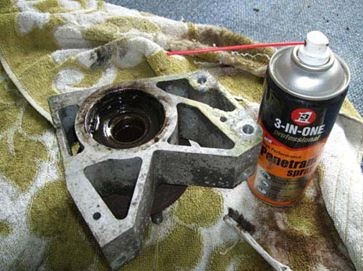
Spray the bearing and inner hub carrier thoroughly with penetrating fluid and leave a few minutes to soak.
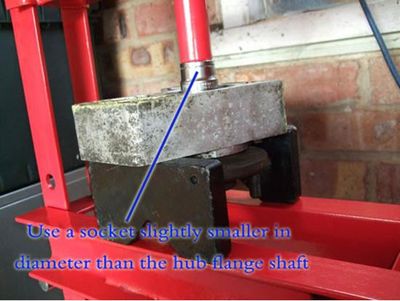
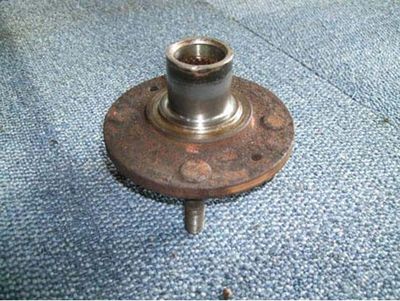
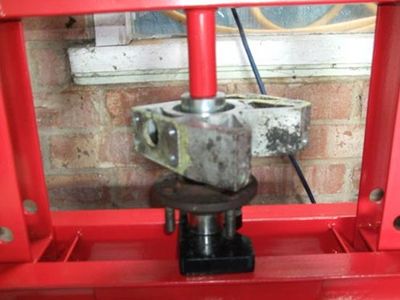
Using a socket which is slightly smaller than the inner bearing shaft of the hub flange suspend the hub flange facing down and press the flange free of the bearing assembly.
Ensure none of the wheel studs contact the stand base or they will be pressed from the flange too.
Clean the flange shaft and if necessary use the fine sand paper to remove any corrosion, apply a tiny bit of grease to aid re-assembly once the bearing has been replaced. There's a reasonable chance here that your bearing has torn itself in half leaving the bottom race still pressed onto the shaft. Don't panic. The simplest way to remove this is to cut 2/3rds of the way through the race with a dremel cutoff wheel (Ideally reinforced but works fine with the regular abrasive wheel). Take your time and cut neatly without nicking into the shaft. With a decent slot cut pop a screwdriver in and tap it sharply. The bearing race is brittle and will crack the rest of the way then it can be slid off easily.
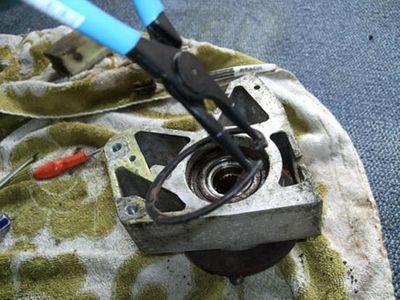
8. Clean the hub assembly thoroughly and remove the 2 cir-clips front and rear using special cir-clip pliers.
Pre-heat an oven to 90degrees and place the whole hub on a piece of greaseproof paper for 20 minutes.
After 20 minutes, remove the hub spray some more penetrating fluid on the bearing itself, this will cause the bearing to cool quicker whilst the alloy is still warm.
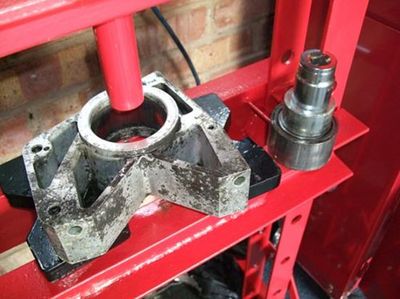
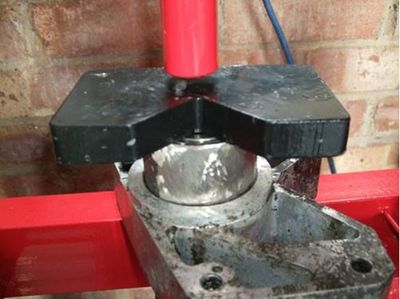
9. Pop the whole assembly in the press with the flattest side facing down, allowing space beneath for the bearing to drop clear. Using a large socket to press the bearing clear. Since the bearing is 68mm you are going to need a monster of a socket to do this with an outer diameter in the 66-67.5mm range. Better if you have a set of bearing drifts in the correct size. At a pinch you can use a handful of equal height impact sockets to make a stable platform to push against but take care that the press doesn't splay them out and start scoring the bore. At this stage the bearing is scrap so you can always use a smaller drift and push on the inner race. Don't even think about doing this without a press, some of mine took 6tonnes force to start them moving then 4 tonnes to drift out.
10. Clean the inside of the empty hub including the cir-clip recesses, apply a thin smear of grease to the inside of the hub, re-install the inside cir-clip.
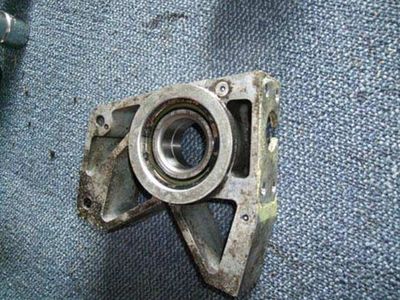
Remove the wheel bearing from the freezer, apply a thin smear of grease to the outside of the bearing and seat on top of the hub and using a flat surface on top press the bearing as far home as you can until your flat surface touches the hub body.
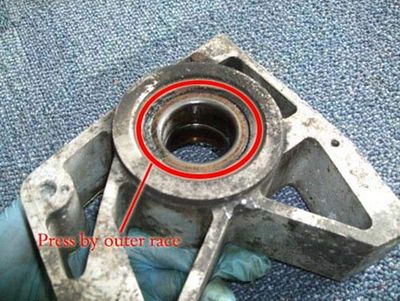
To finish pressing the bearing the remainder of the way, it is Important the bearing is pressed home by its outer body to avoid damage to the inner bearing (as pictured) obviously this object needs to have a smaller diameter than the inner hub walls otherwise it will end up attached to the hub too.
I ground down the old bearing to make a slightly smaller diameter and used this to finish pressing the new bearing home to the installed cir-clip. (Without a proper grinder you can achieve enough diameter reduction in about 20 minutes either with a dremel or by rolling over a belt sander.
11. Re-install the final cir-clip and the bearing replacement is complete.
12. Re-press the hub flange home being careful to support the bearing on the inner race to prevent damage. STOP Ensure you press this home the correct way round, as shown. STOP AGAIN Before you press the flange in... make sure the hex head bolt for the dust shield is already threaded in, you can't put it in once the flange is pressed back.
13. Re-install the hub, plinth, steering arm and brakes as per guide above.
14. Stand back and admire your handy work!
More photos and info in this post
http://forums.seloc.org/viewthread.php?tid=353090&page=1#pid5976460
